Overview
This guide will help you deploy a CloudFormation stack using a template that sets up IAM roles, EC2 instances, JuiceFS, and an AWS Batch Compute Environment. The stack has been updated to use JuiceFS with Amazon S3 as the backend for checkpoint storage and as a scratch directory.
The updated stack also supports multiple job queues and compute environments, catering to diverse customer workloads. Customers can reach out to us for tailored multi-queue setups. This guide provides details on deploying the stack in the us-west-2 region.
If you're looking for an overview of the MM Batch Engine for AWS, visit this link.
Prerequisites:
Before launching the stack, ensure that you have the following resources created in the us-west-2 region:
-
VPC (Virtual Private Cloud)
-
Subnet (in the VPC)
-
Security Group (SG):
-
Inbound Rules: Allow required traffic for batch processing. Port 6379 for JuiceFS is required.
-
Outbound Rules: Allow necessary internet access if required.
-
-
EC2 Key Pair:
- Create an EC2 key pair to SSH into instances.
-
GitHub Token:
- Note: Do not modify the path to the github_token.txt file. This path is predefined and managed automatically by the stack.
-
AMI ID:
- The default AMI ID is set to ami-0d3bb50d3c35f67d4 (us-west-2), but you can use another AMI if required. Here's list of all accepted AMI ID provided by AWS corresponding to the region:
us-east-1 (N.Virginia) - ami-09ef698301ad80887
us-east-2 (Ohio) - ami-0e9a7e80656bb9530
us-west-1 (N.California) - ami-0156527dd7a8280a3
us-west-2 (Oregon) - ami-0b1bd1ab8a168b55d
- The default AMI ID is set to ami-0d3bb50d3c35f67d4 (us-west-2), but you can use another AMI if required. Here's list of all accepted AMI ID provided by AWS corresponding to the region:
Steps to Deploy the Stack:
-
Log in to AWS Management Console:
- Ensure you are in the us-west-2 region.
-
Create the Required VPC, Subnet, and Security Group:
-
VPC: If you don’t already have one, create a new VPC, or use the default VPC.
-
Subnet: Ensure the subnet is associated with your VPC and has internet access (if needed).
-
Security Group: Create a security group allowing inbound access on port 6379 for JuiceFS. You can also use the default security group if preferred.
-
-
Create an EC2 Key Pair:
- Go to the EC2 service, navigate to Key Pairs, and create a new key pair for SSH access to the EC2 instances.
-
Gather Your Parameters:
-
VPC ID: You can find this in the VPC dashboard.
-
Subnet ID: In the Subnet dashboard, copy the ID of the subnet associated with your VPC.
-
Security Group ID: Find your security group ID in the EC2 console.
-
EC2 Key Pair Name: The name of the key pair you created.
-
-
Deploy the Stack:
-
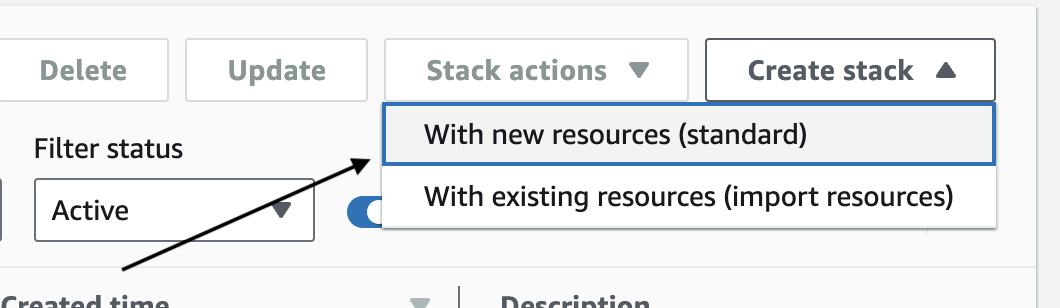
Go to the CloudFormation Console and click Create Stack.
-
Choose With new resources (standard).
-
Under Specify template, choose Amazon S3 URL provided and paste the following URL:
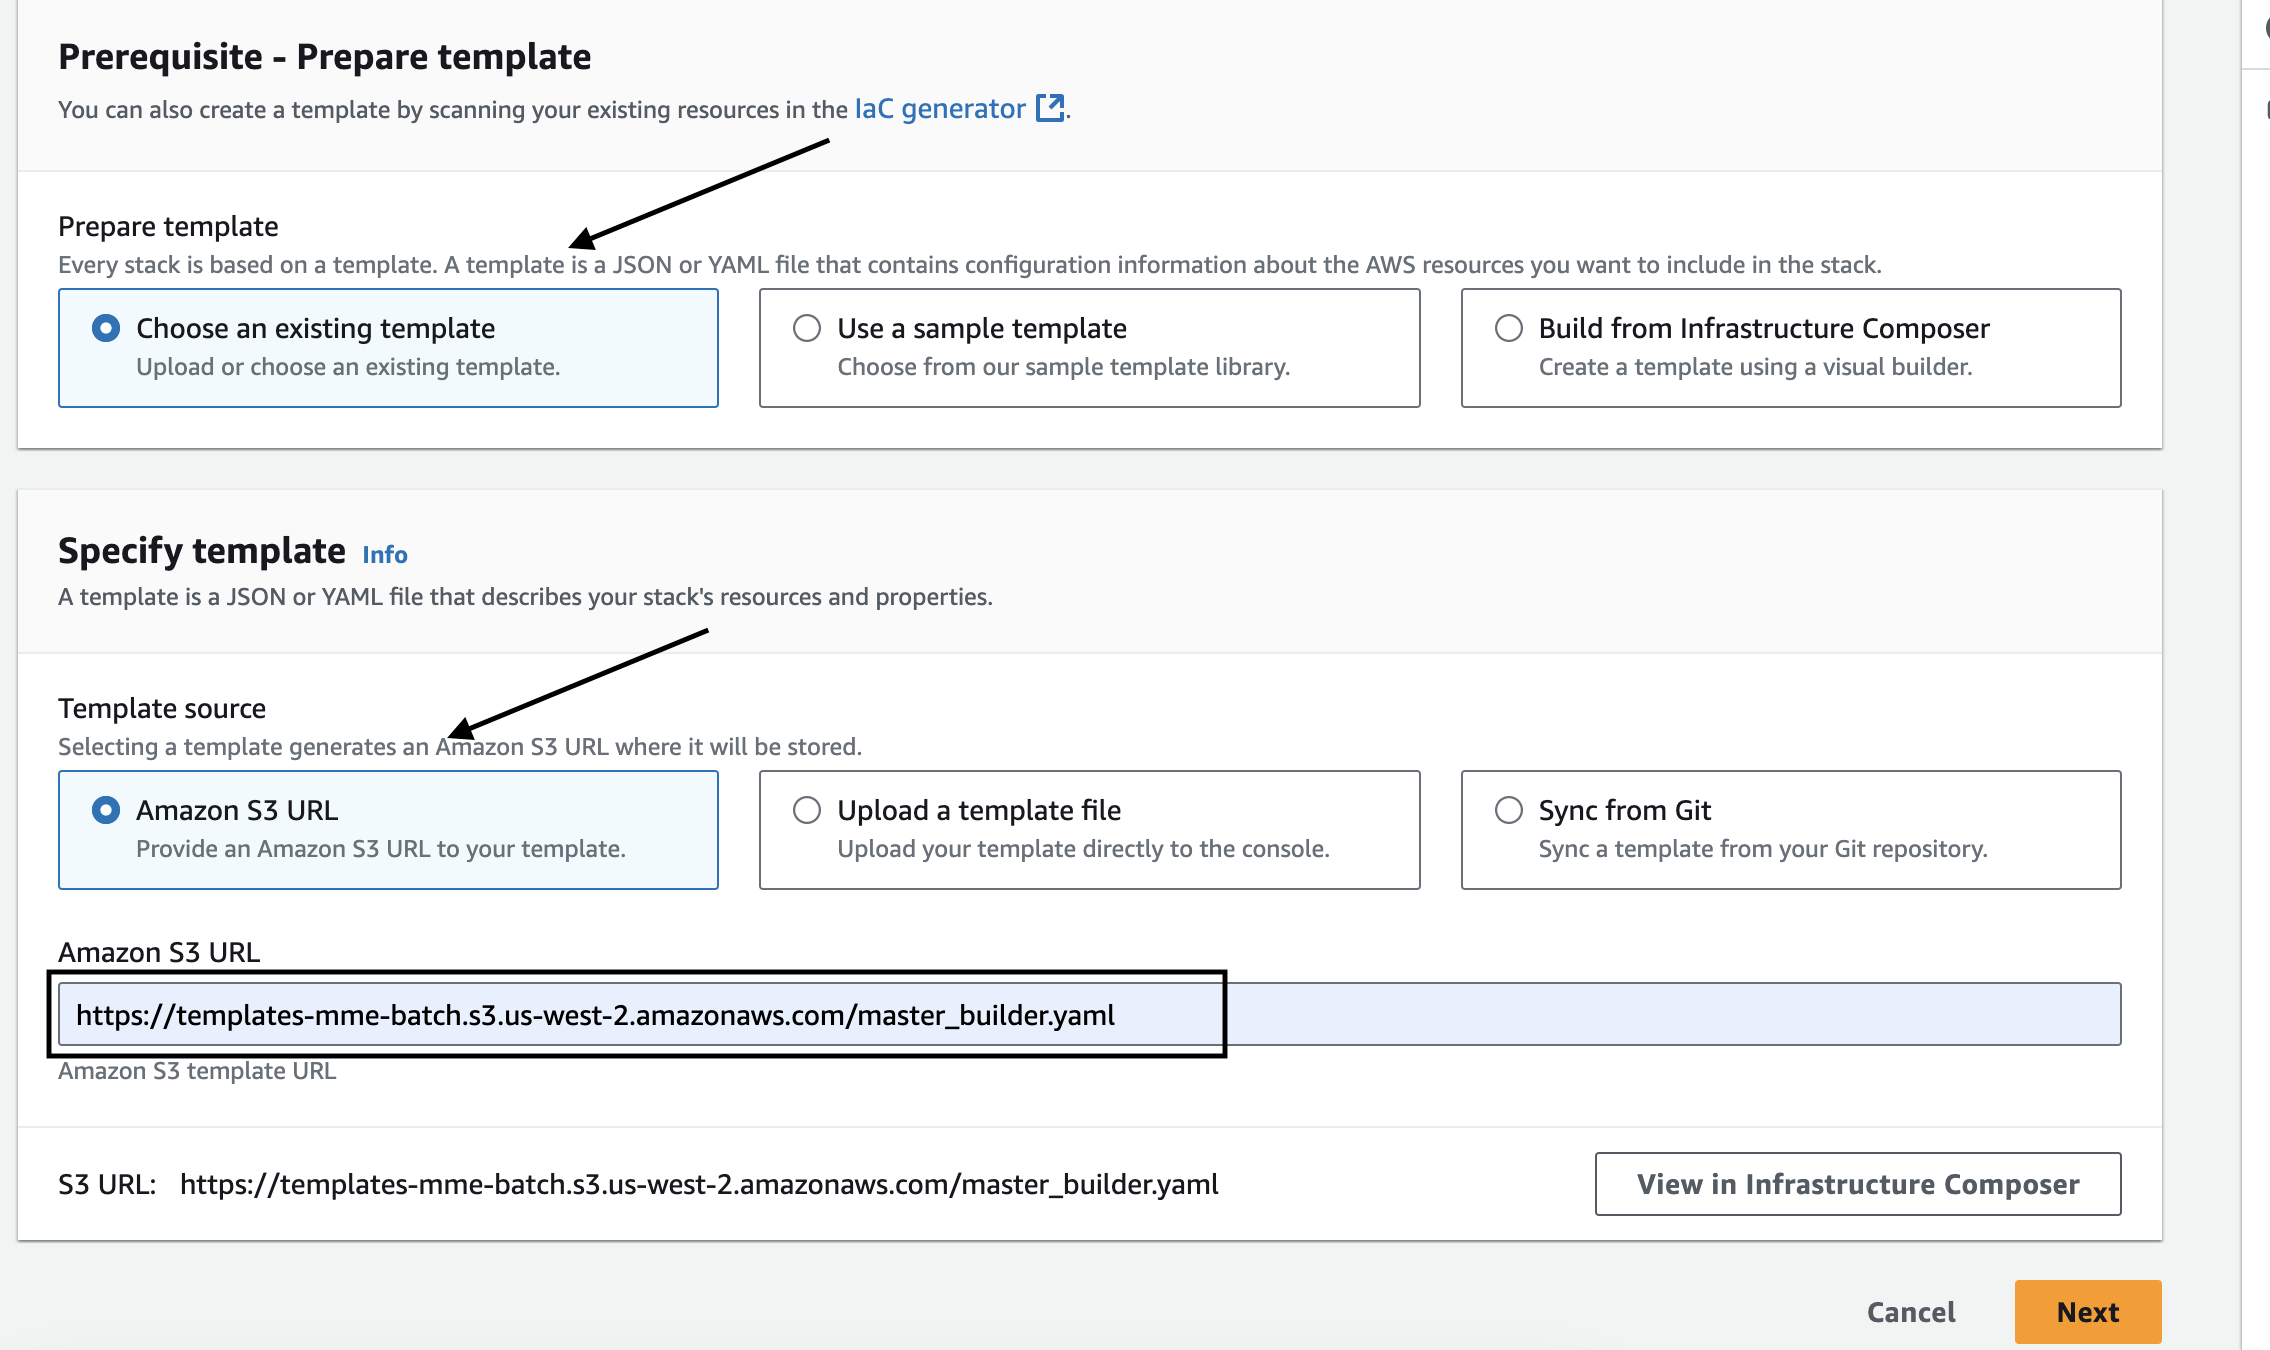
-
Click Next.
-
-
Enter the Parameters:
-
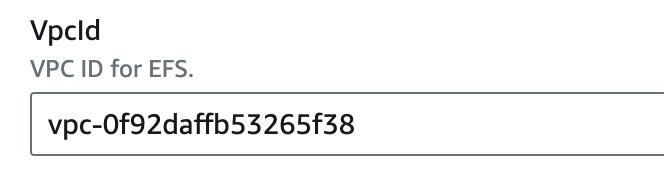
VPC ID: Paste your VPC ID.
-
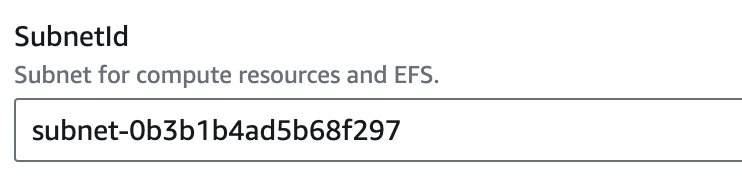
Subnet ID: Paste the Subnet ID. (This is only for Compute Resources)
-
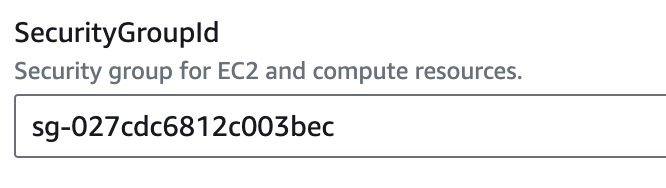
Security Group ID: Paste the Security Group ID.
-
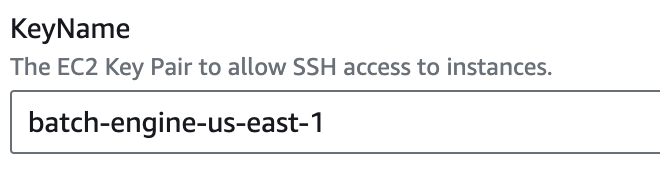
EC2 Key Pair: Enter the name of your EC2 key pair.
-
Unique Prefix: A unique prefix for naming resources (e.g., project name or a random string).

-
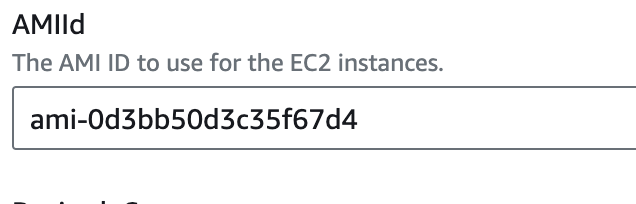
AMI ID: Leave as default, or enter a different AMI ID if needed.
-
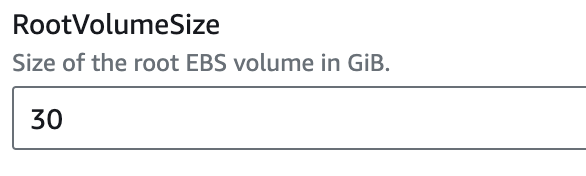
Root Volume Size: Optionally adjust the root volume size (default is 30 GiB).
-
Default Instance Types: Modify or leave the default instance types.

-
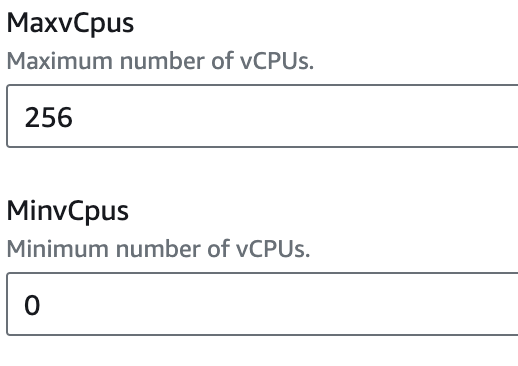
vCPU Settings: You can modify the minimum, maximum, and desired vCPU values to meet your requirements.
-
Subnet IDs: Provide a list of Subnet IDs for MemoryDB, ensuring they cover at least two Availability Zones. (Multi-select Subnet ID for JuiceFS Redis MemoryDB)

-
Redis Node Type: Specify the node type for MemoryDB (default is db.t4g.small).

-
Enable Multi-Queue: Set to true to enable multiple job queues and compute environments, or false for a default single-queue setup.

-
Multi-Queue Instance Types: Provide instance types for each compute environment in the multi-queue setup
- Jq1Ce1 Instance Types: Default is c5.large,c5.xlarge.
- Jq1Ce2 Instance Types: Default is c5.2xlarge.
- Jq2Ce1 Instance Types: Default is m5.large,m5.xlarge,m5.2xlarge.
- Jq2Ce2 Instance Types: Default is m5.4xlarge.
- Jq3Ce1 Instance Types: Default is m5.8xlarge.
- Jq3Ce2 Instance Types: Default is m5.12xlarge.

-
-
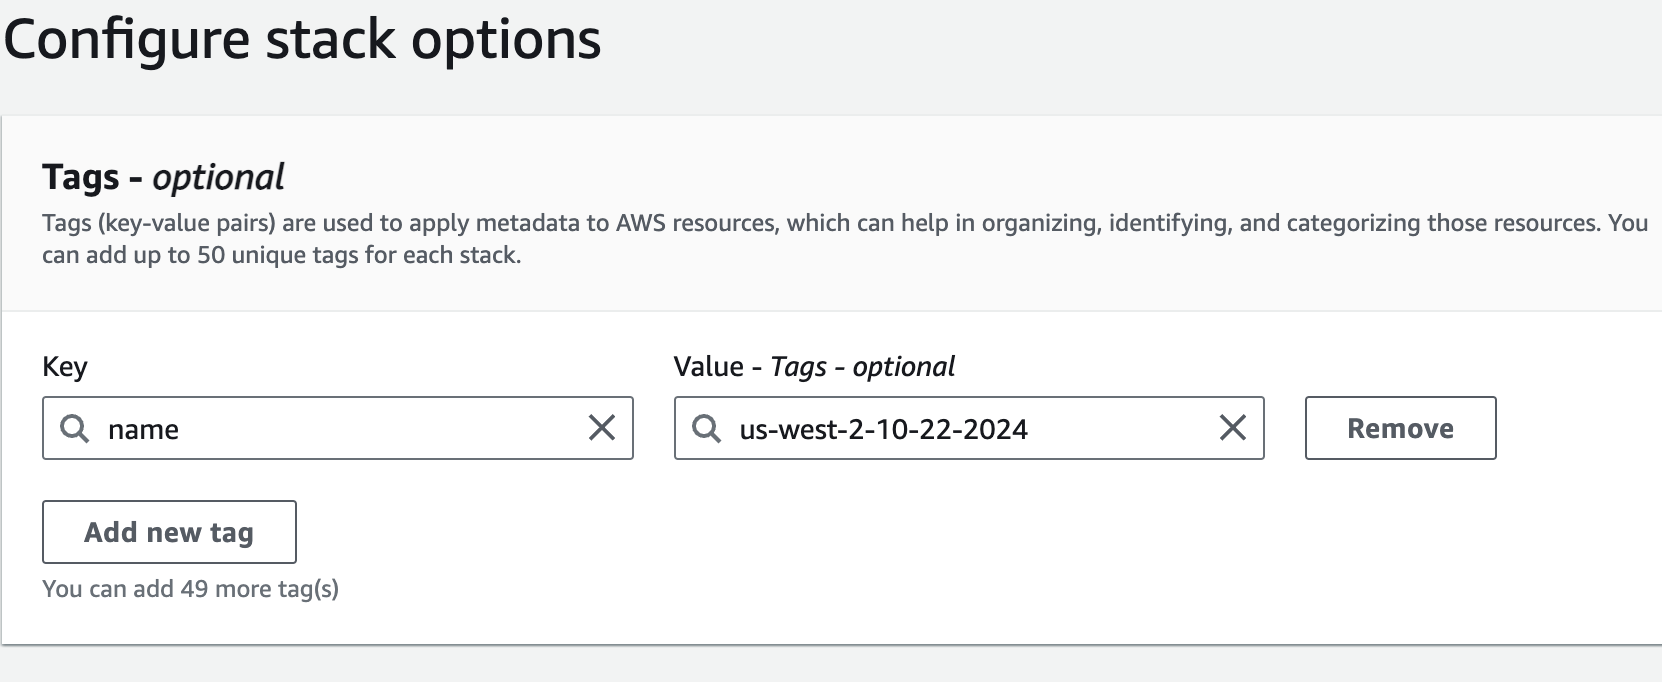
Configure Stack Options:
-
When moving to the Next page after entering parameters, you have the option to add tags to the resources. It is recommended to:
-
Add a tag with:
-
Key: {Tag Key Name}
-
Value: The same value as the Unique Prefix parameter.
-
-
-
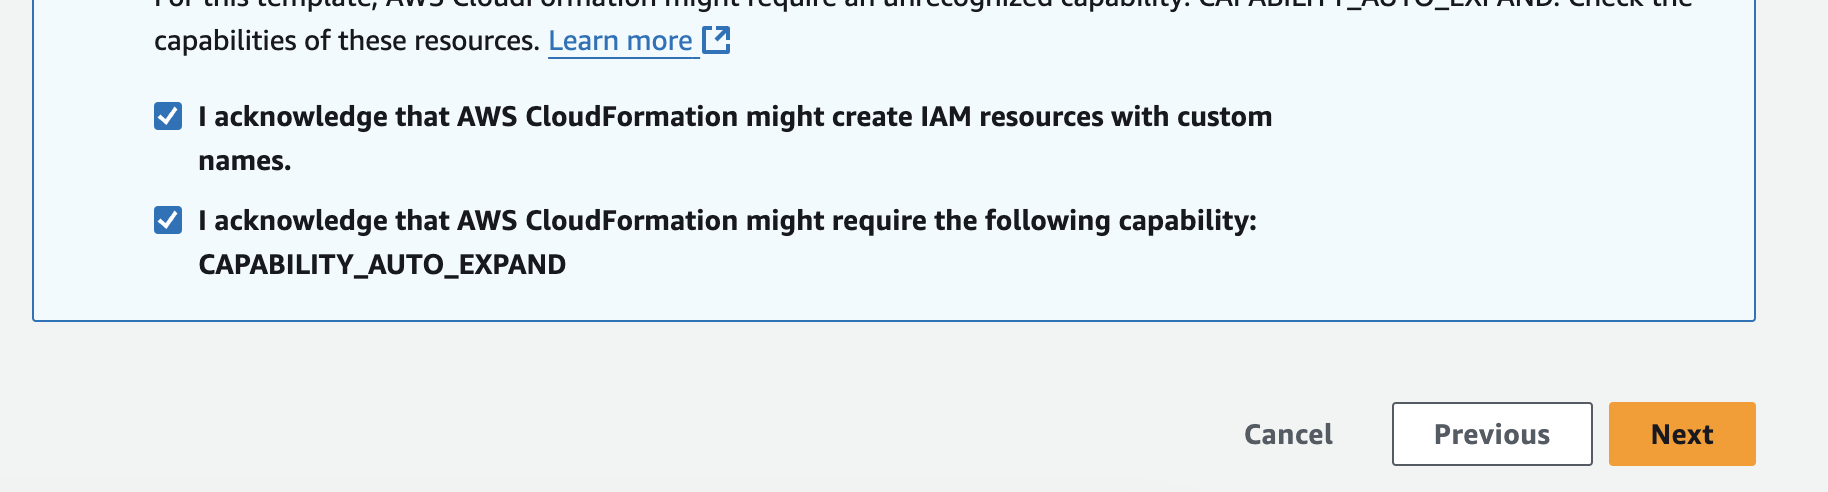
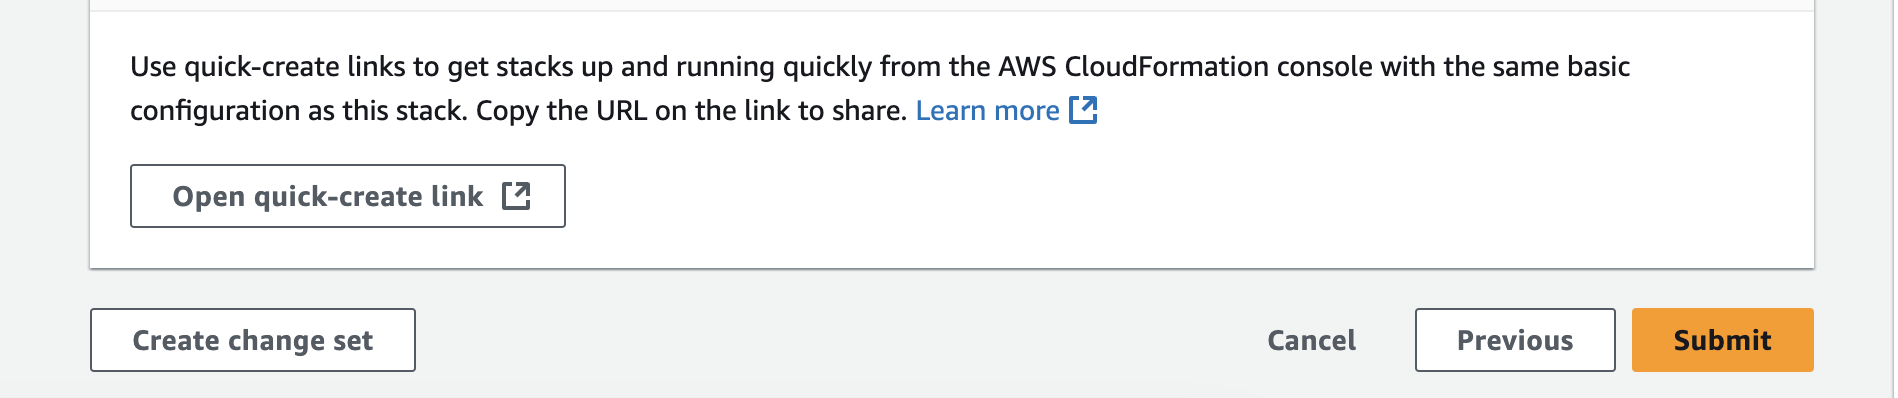
Review and Deploy:
- Review your parameters and click Create Stack. CloudFormation will now begin deploying the resources.
- Review your parameters and click Create Stack. CloudFormation will now begin deploying the resources.
-
Monitor the Deployment:
- Check the CloudFormation Events tab to monitor the deployment process. It may take several minutes to complete.
-
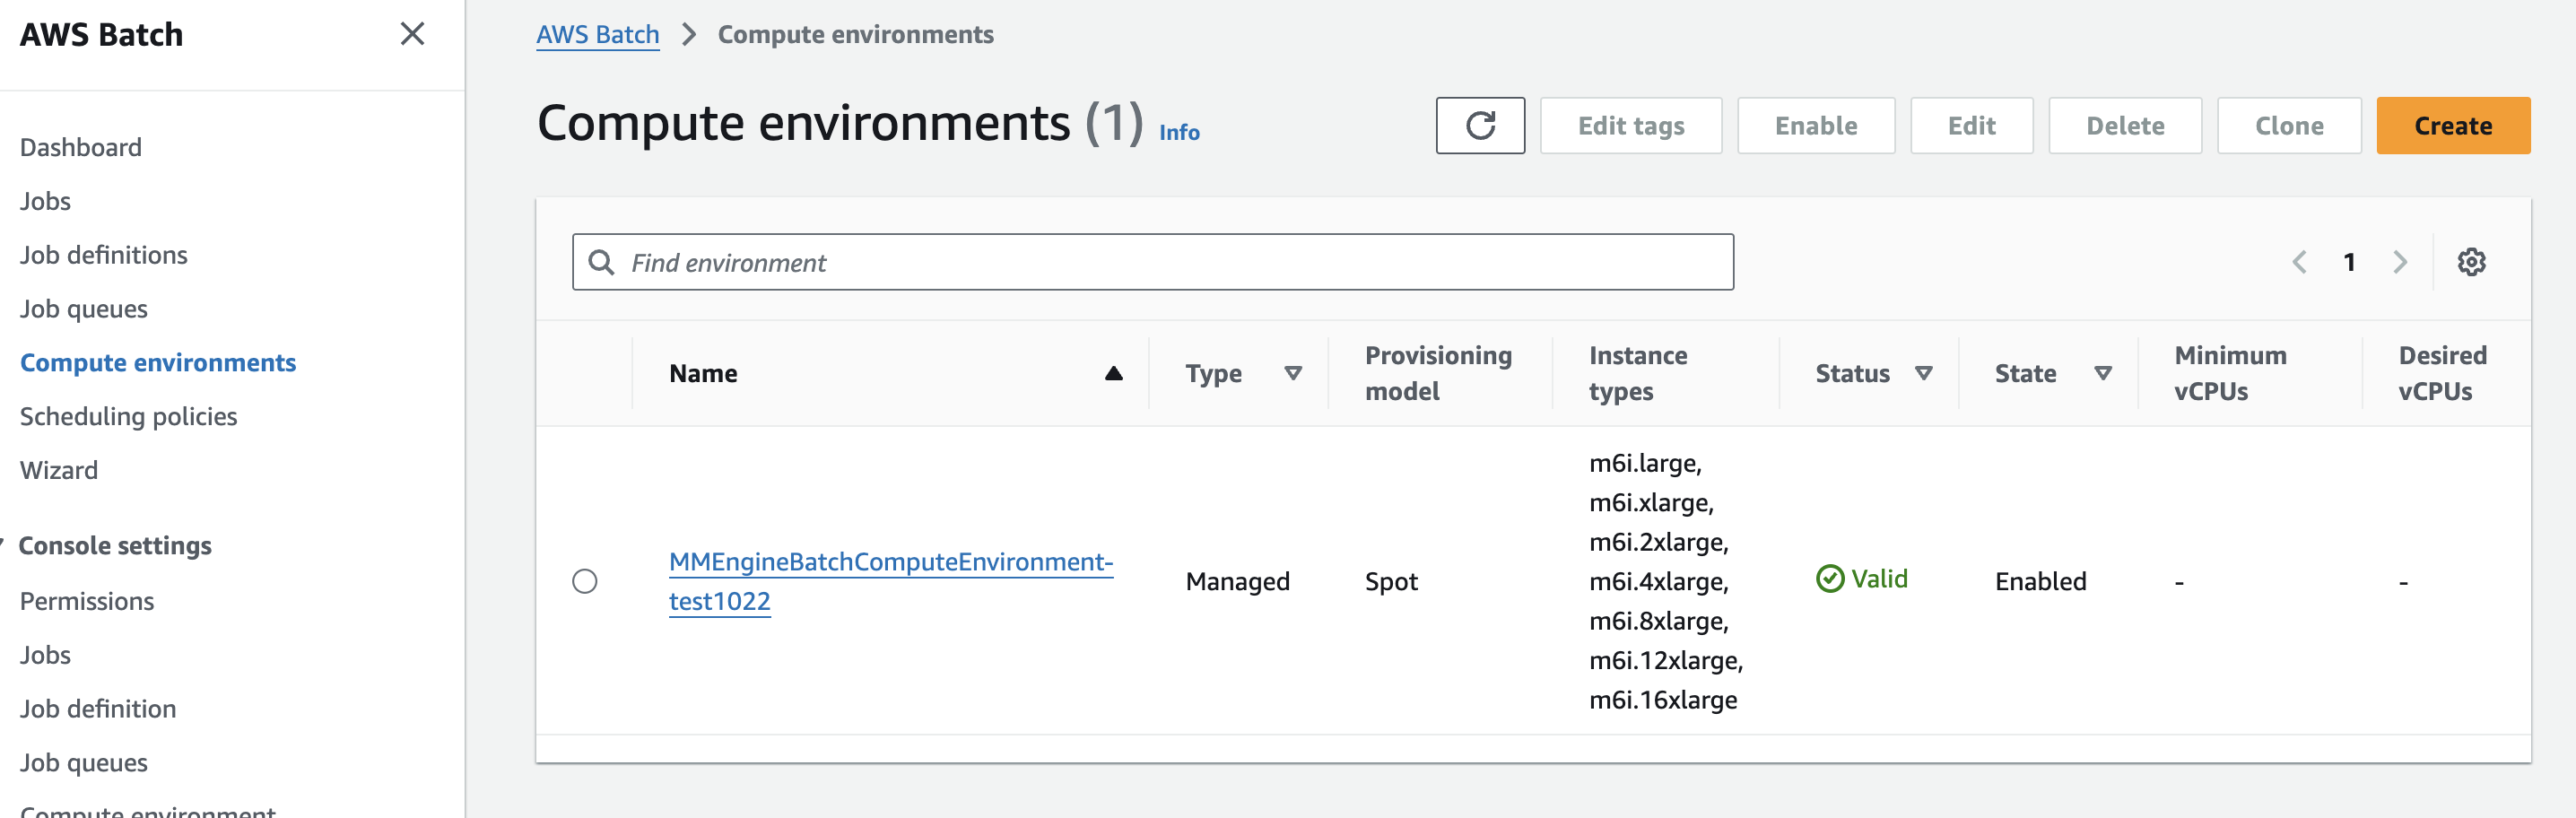
Access the Resources:
- Once the stack is complete, navigate to the Batch console to view the resources created by the CloudFormation stack.
- Create a job definition and submit it to test the setup.
- Once the stack is complete, navigate to the Batch console to view the resources created by the CloudFormation stack.
-
Clean up:
- Before deleting the Cloudformation Stack, make sure to clear the S3 buckets created by the Stacks
mm-engine-juice-fs-scratch-{UniquePrefix}andmm-engine-juice-fs-checkpoint-{UniquePrefix}.
- Before deleting the Cloudformation Stack, make sure to clear the S3 buckets created by the Stacks
Running Nextflow Batch Jobs with Your Stack:
After deploying the CloudFormation stack, you can use the following guide to run Nextflow jobs on AWS Batch.
- Set Up the Nextflow Configuration:
-
To submit Nextflow jobs to AWS Batch, use the provided Nextflow configuration file (aws.config).
-
Replace the queue parameter with your Batch Job Queue created by the CloudFormation stack
-
You'll need to create AWS IAM Access and Secret Keys for an IAM user in the IAM Console.
Copy and paste these keys in the appropriate place in the config file.
-
-
You can also update the AWS region if needed (the default is us-west-2).
aws.config
plugins {
    id 'nf-amazon'
}
process {
    executor = 'awsbatch'
    queue = 'jq-mm-batch-<UniquePrefix>'
    maxRetries = 5
    memory = '20G'
}

process.containerOptions = '--env MMC_CHECKPOINT_DIAGNOSIS=true --env MMC_CHECKPOINT_IMAGE_SUBPATH=nextflow --env MMC_CHECKPOINT_INTERVAL=5m --env MMC_CHECKPOINT_MODE=true --env MMC_CHECKPOINT_IMAGE_PATH=/mmc-checkpoint'

aws {
    accessKey = '<ACCESSS KEY>'
    secretKey = '<SECRET KEY>'
    region = 'us-west-2'
    client {
        maxConnections = 20
        connectionTimeout = 10000
        uploadStorageClass = 'INTELLIGENT_TIERING'
        storageEncryption = 'AES256'
    }
    batch {
        cliPath = '/nextflow_awscli/bin/aws'
        maxTransferAttempts = 3
        delayBetweenAttempts = '5 sec'
    }
}
- Explanation of the Environment Variables:
The following --env variables are used to configure checkpointing and image paths for Nextflow:
MMC_CHECKPOINT_DIAGNOSIS = true: Enables checkpoint diagnostics.MMC_CHECKPOINT_INTERVAL = 5m: Sets the interval for creating checkpoints (every 5 minutes).MMC_CHECKPOINT_MODE = true: Enables checkpoint mode.MMC_CHECKPOINT_IMAGE_PATH = /mmc-checkpoint: Defines the path for storing the checkpoint image on EFS.
-
Run Your Pipeline:
You can now run your Nextflow pipeline using the following command:nextflow run nf-core/<PIPELINE> -profile test \ -work-dir 's3://<WORKDIR_BUCKET>' \ --outdir 's3://<OUTDIR_BUCKET>' \ -c aws.config
- Replace
with the name of your Nextflow pipeline (e.g., rnaseq). - Replace <WORKDIR_BUCKET> and <OUTDIR_BUCKET> with your S3 bucket paths for work and output directories.
By following these steps, you can submit and manage Nextflow jobs efficiently using AWS Batch with checkpointing enabled.