Setup MMC OpCenter on AWS
Setup & Download EC2 Key-Pair for OpCenter Access
- Login to
AWS& navigate to theEC2console and choose the appropriate region
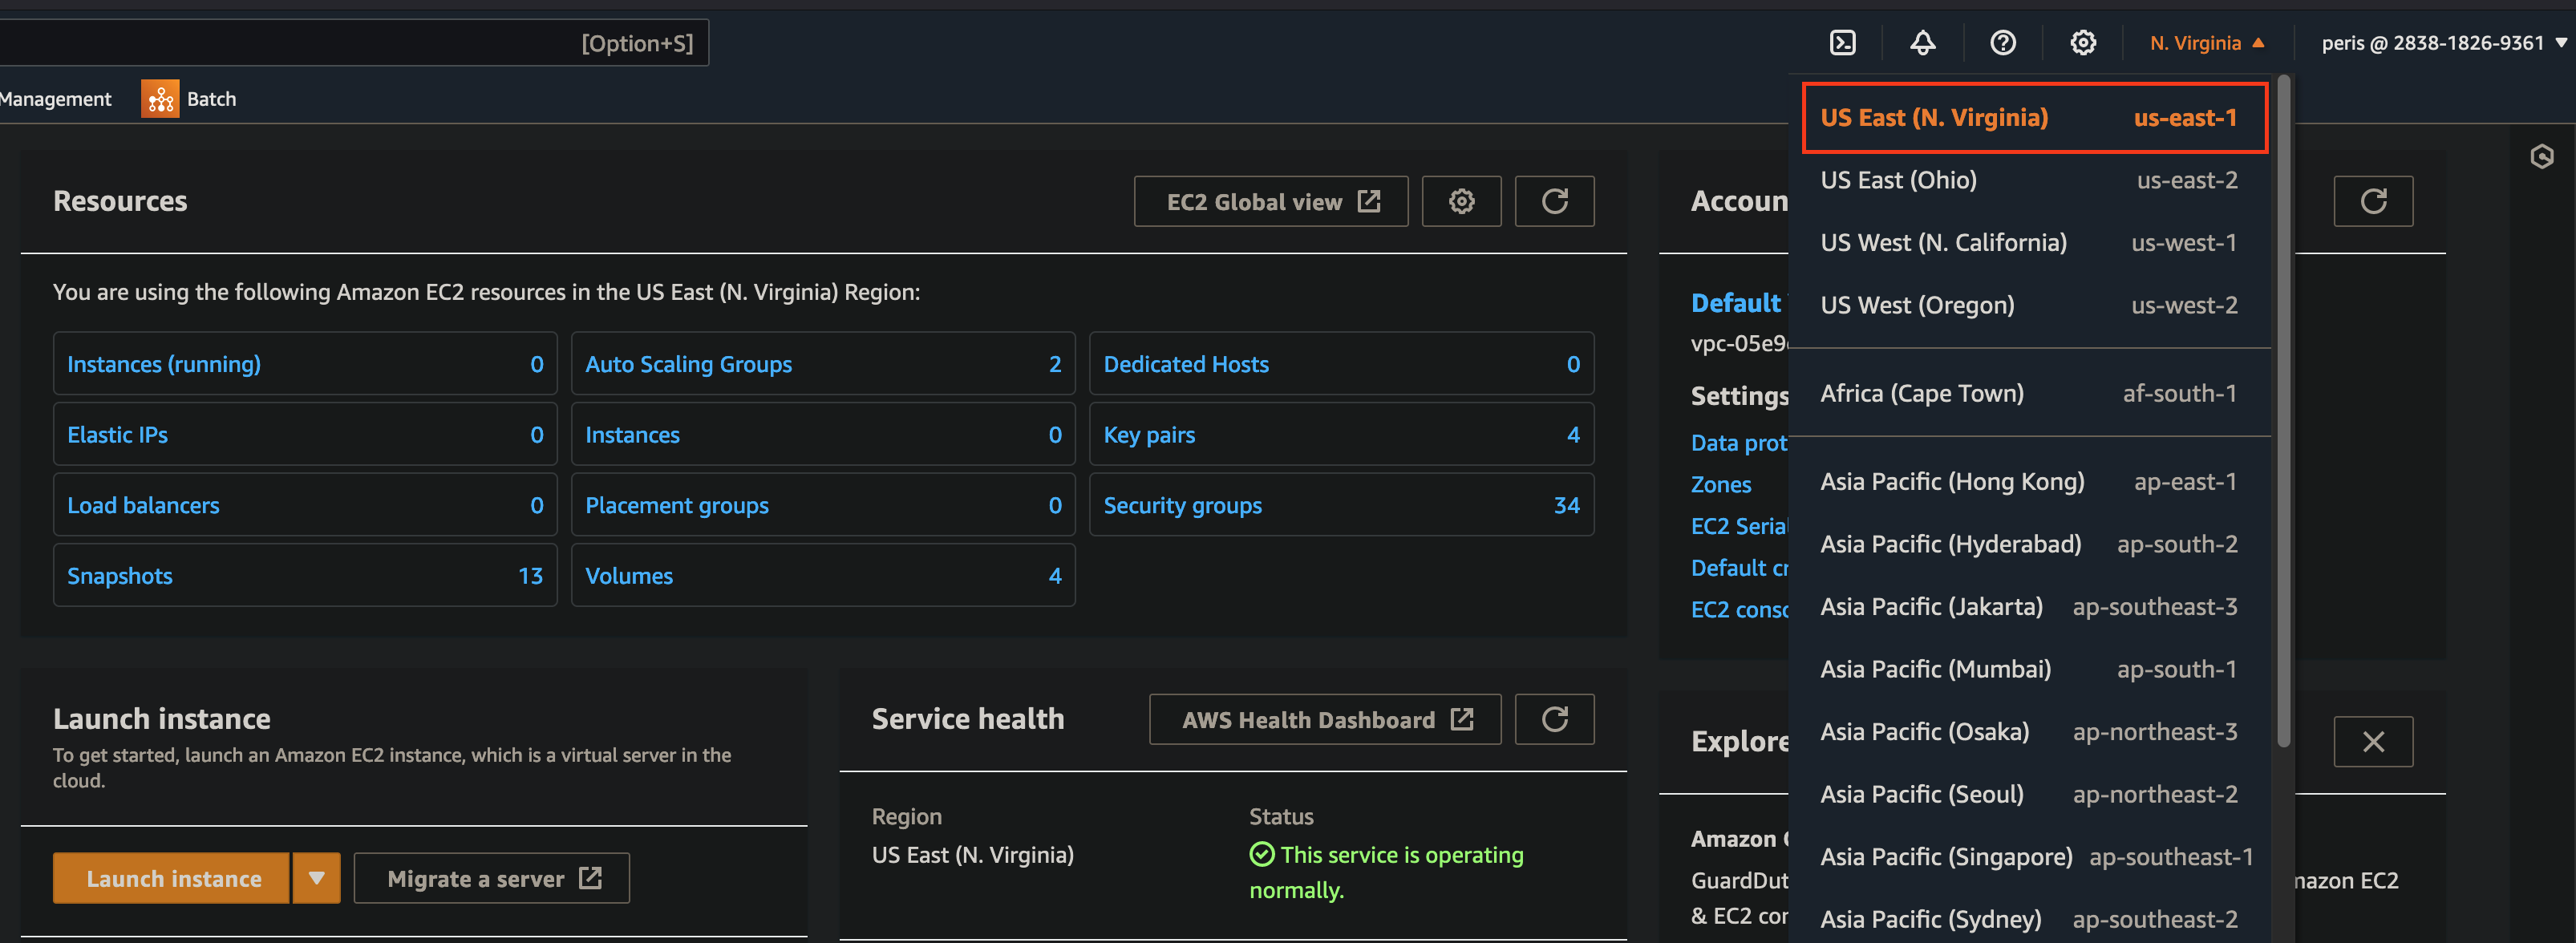
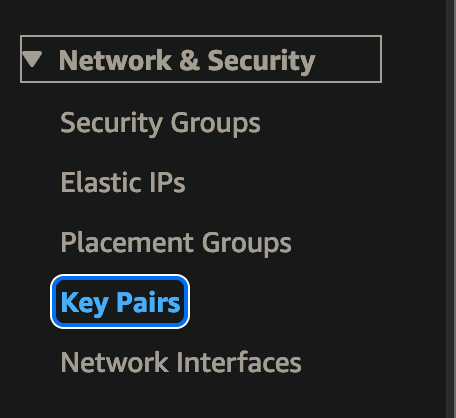
- Navigate to
Network & Securityfrom the left navigation bar and click onKey Pairs.
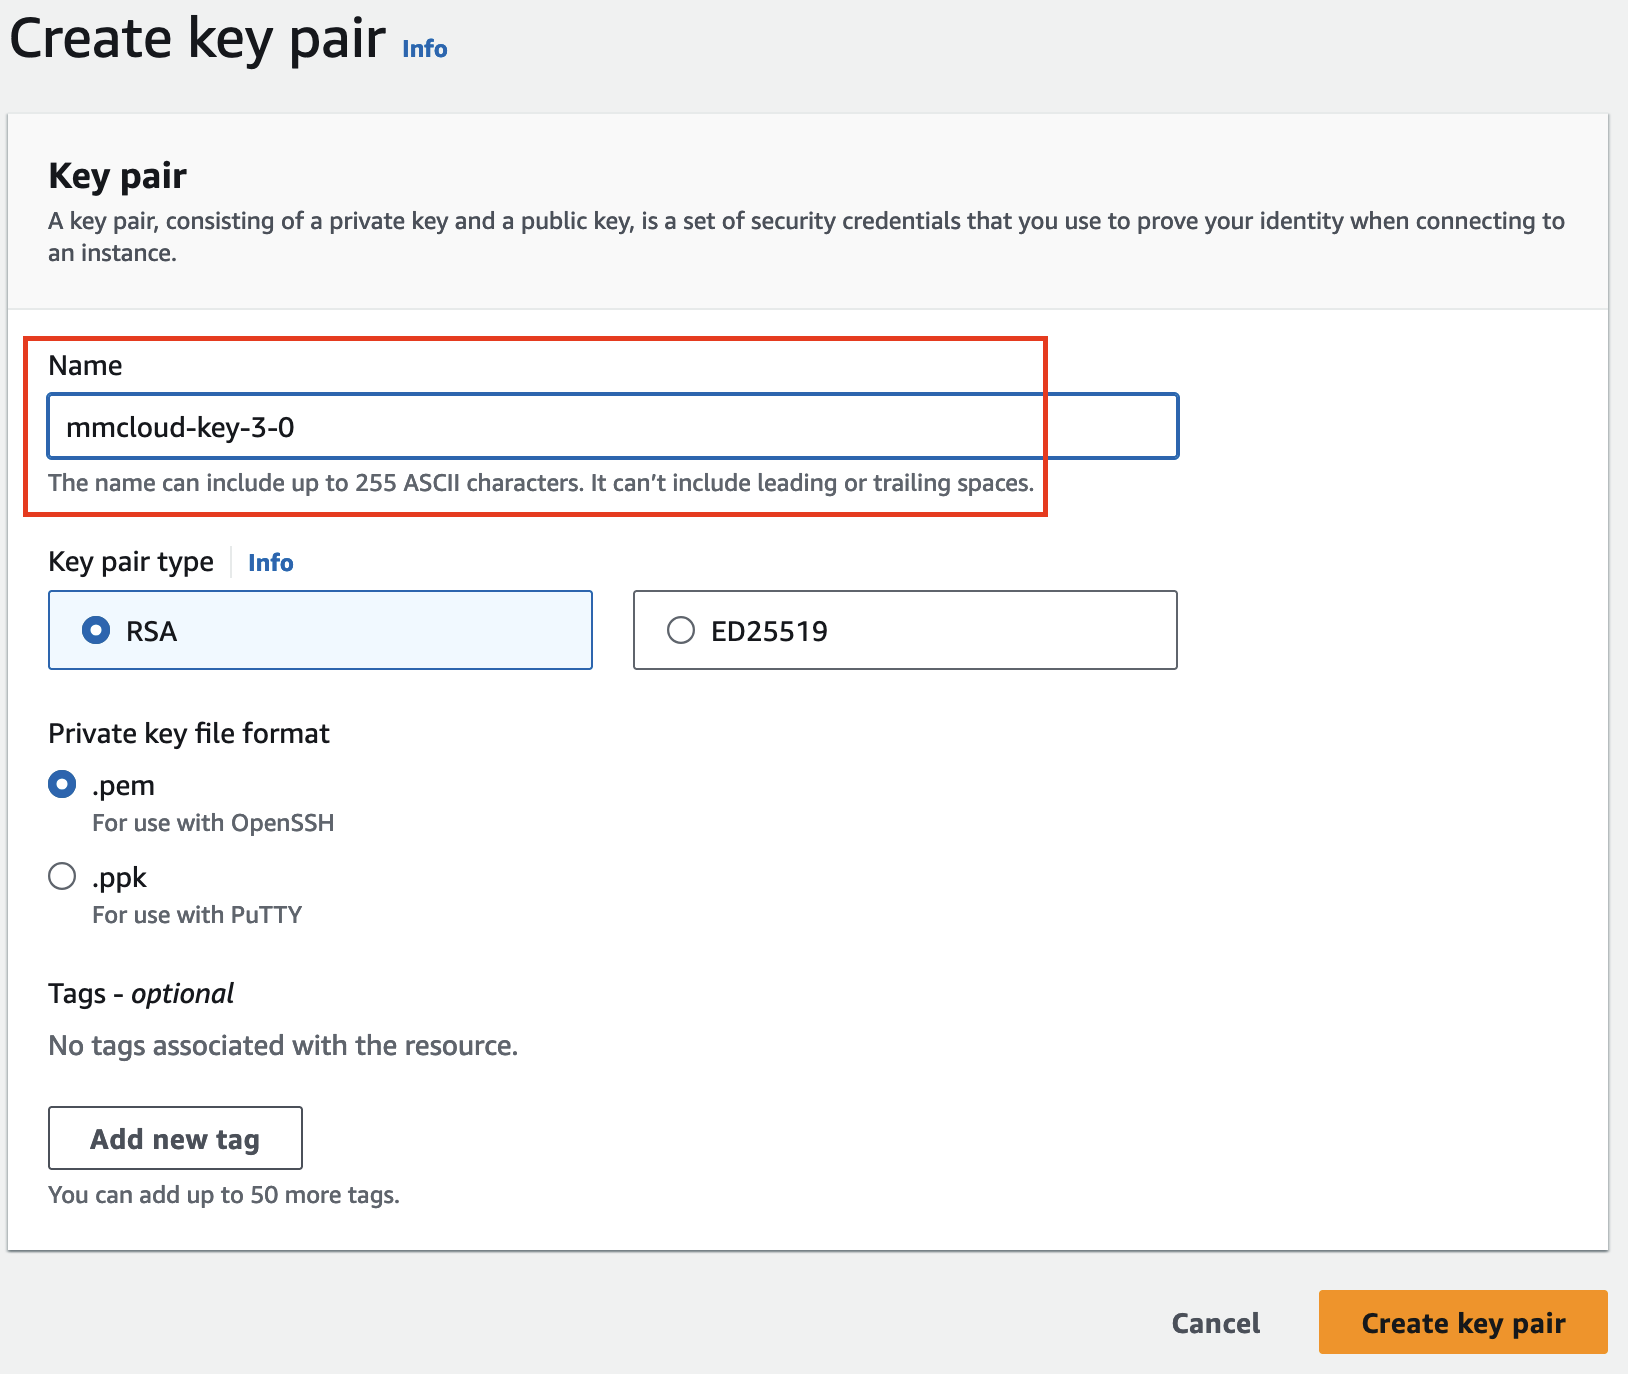
- Create a key-pair if you don't have one and save this key. NOTE: You will need this key only to SSH into the opcenter instance.
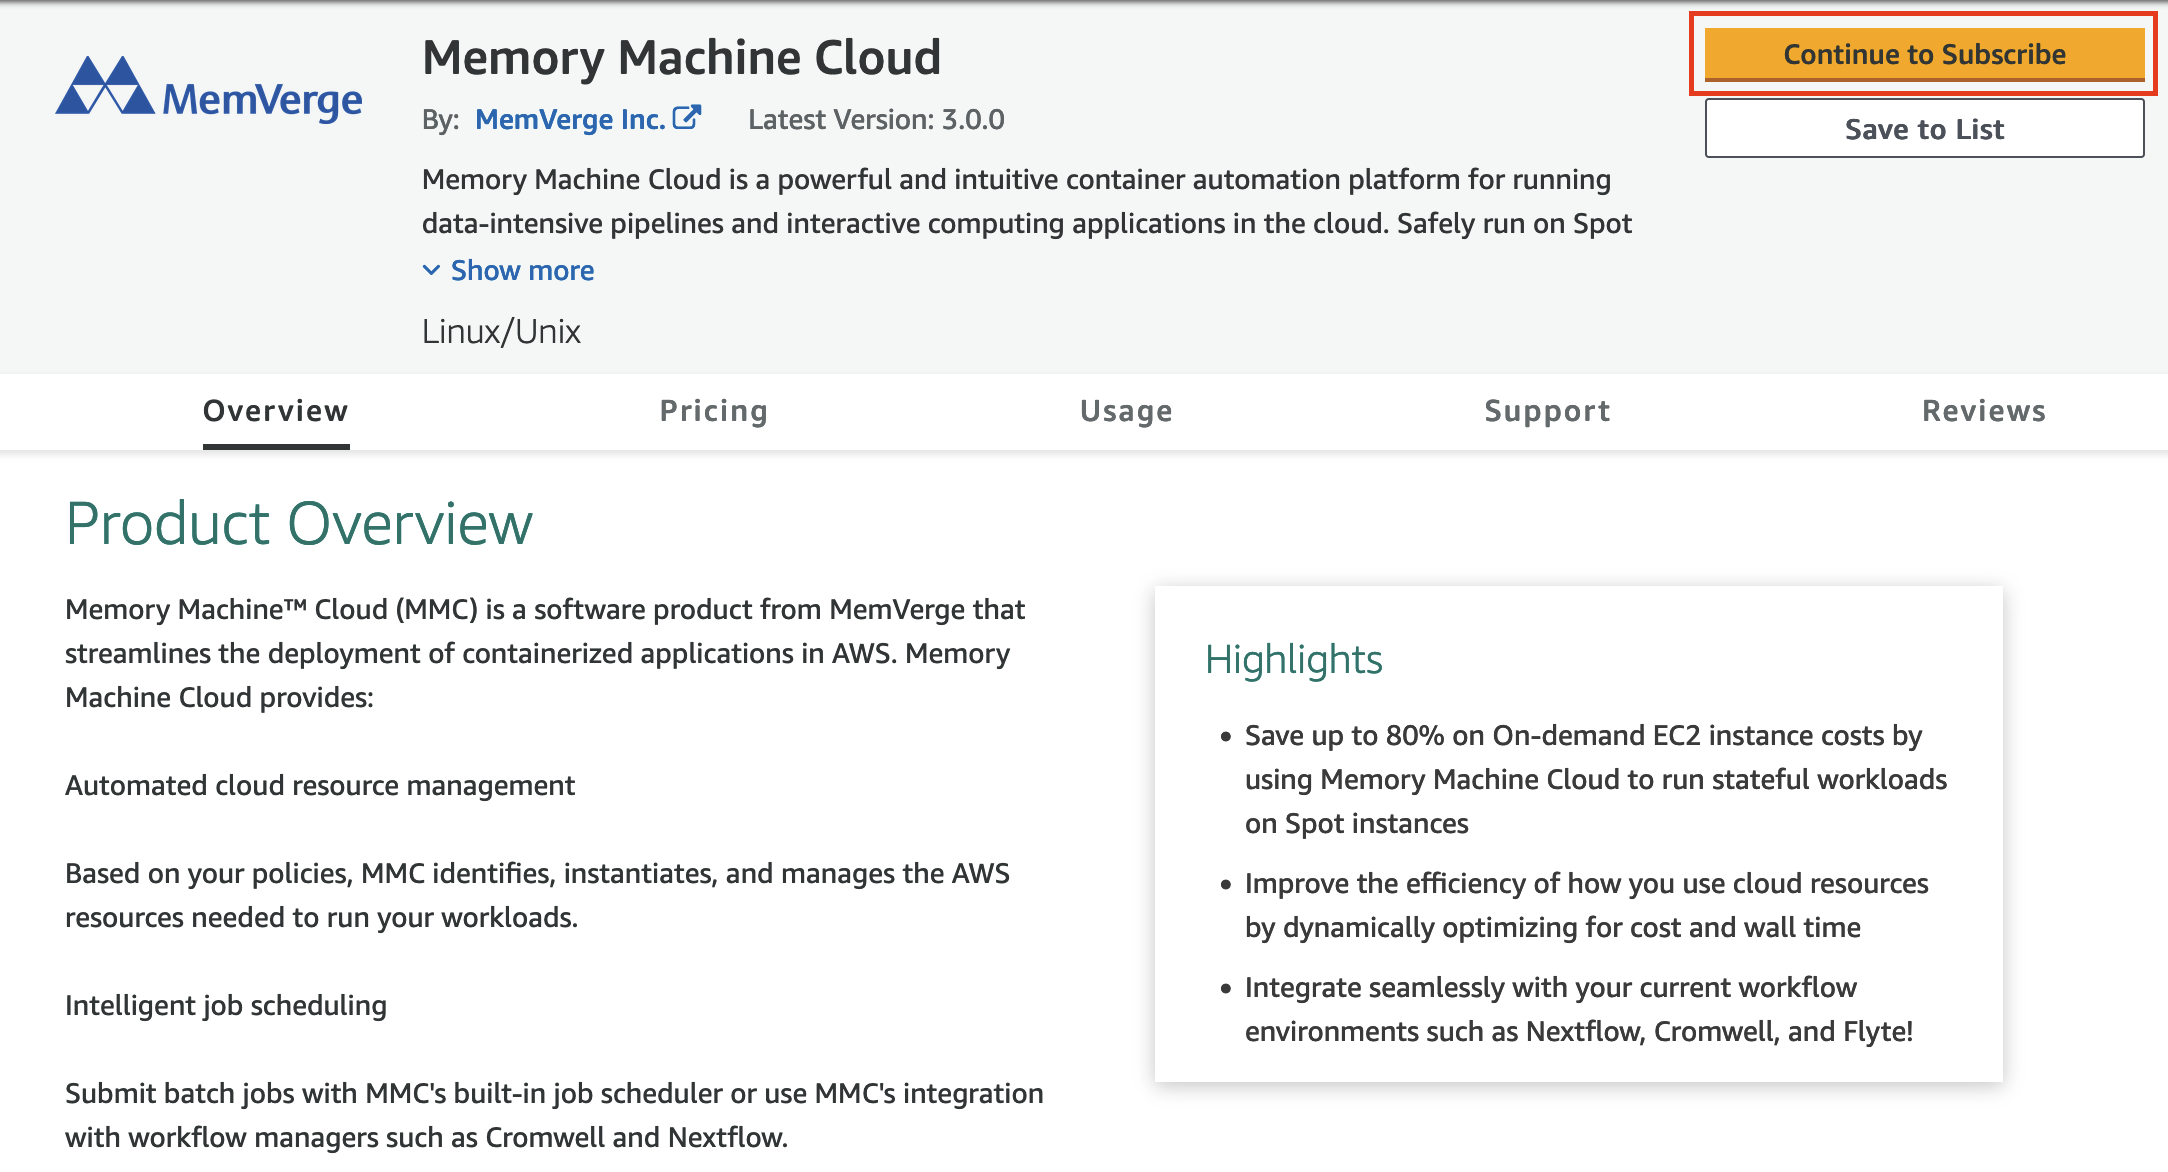
AWS Marketplace - Memory Machine Cloud Subscription
- Next, navigate to
AWS Marketplaceand search formemory machine cloudand click onContinue to Subscribe

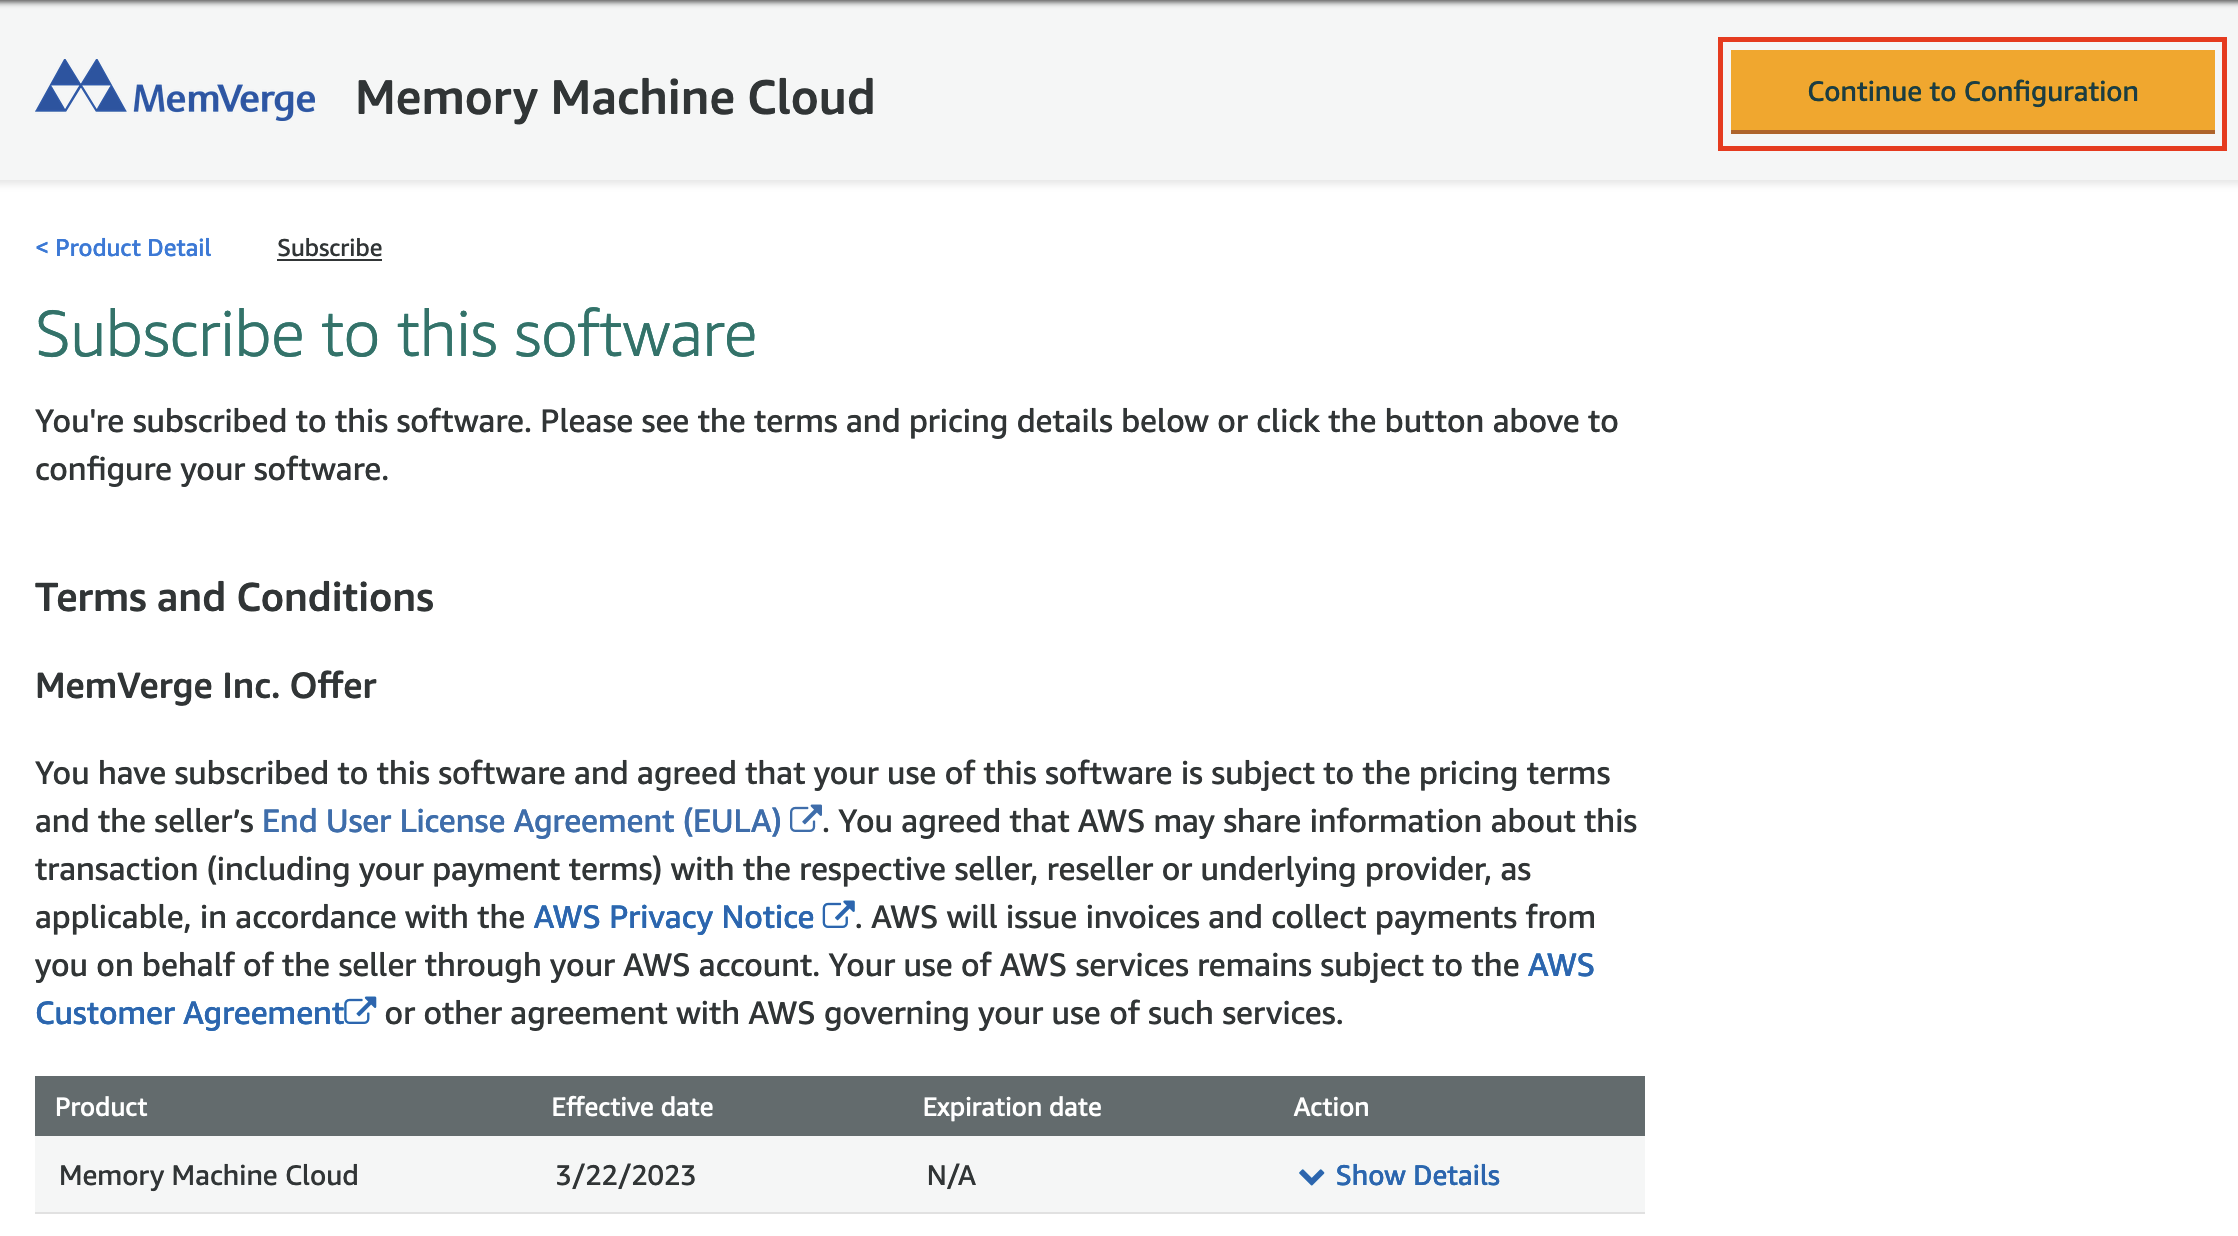
- Next click on
Continue to Configuration
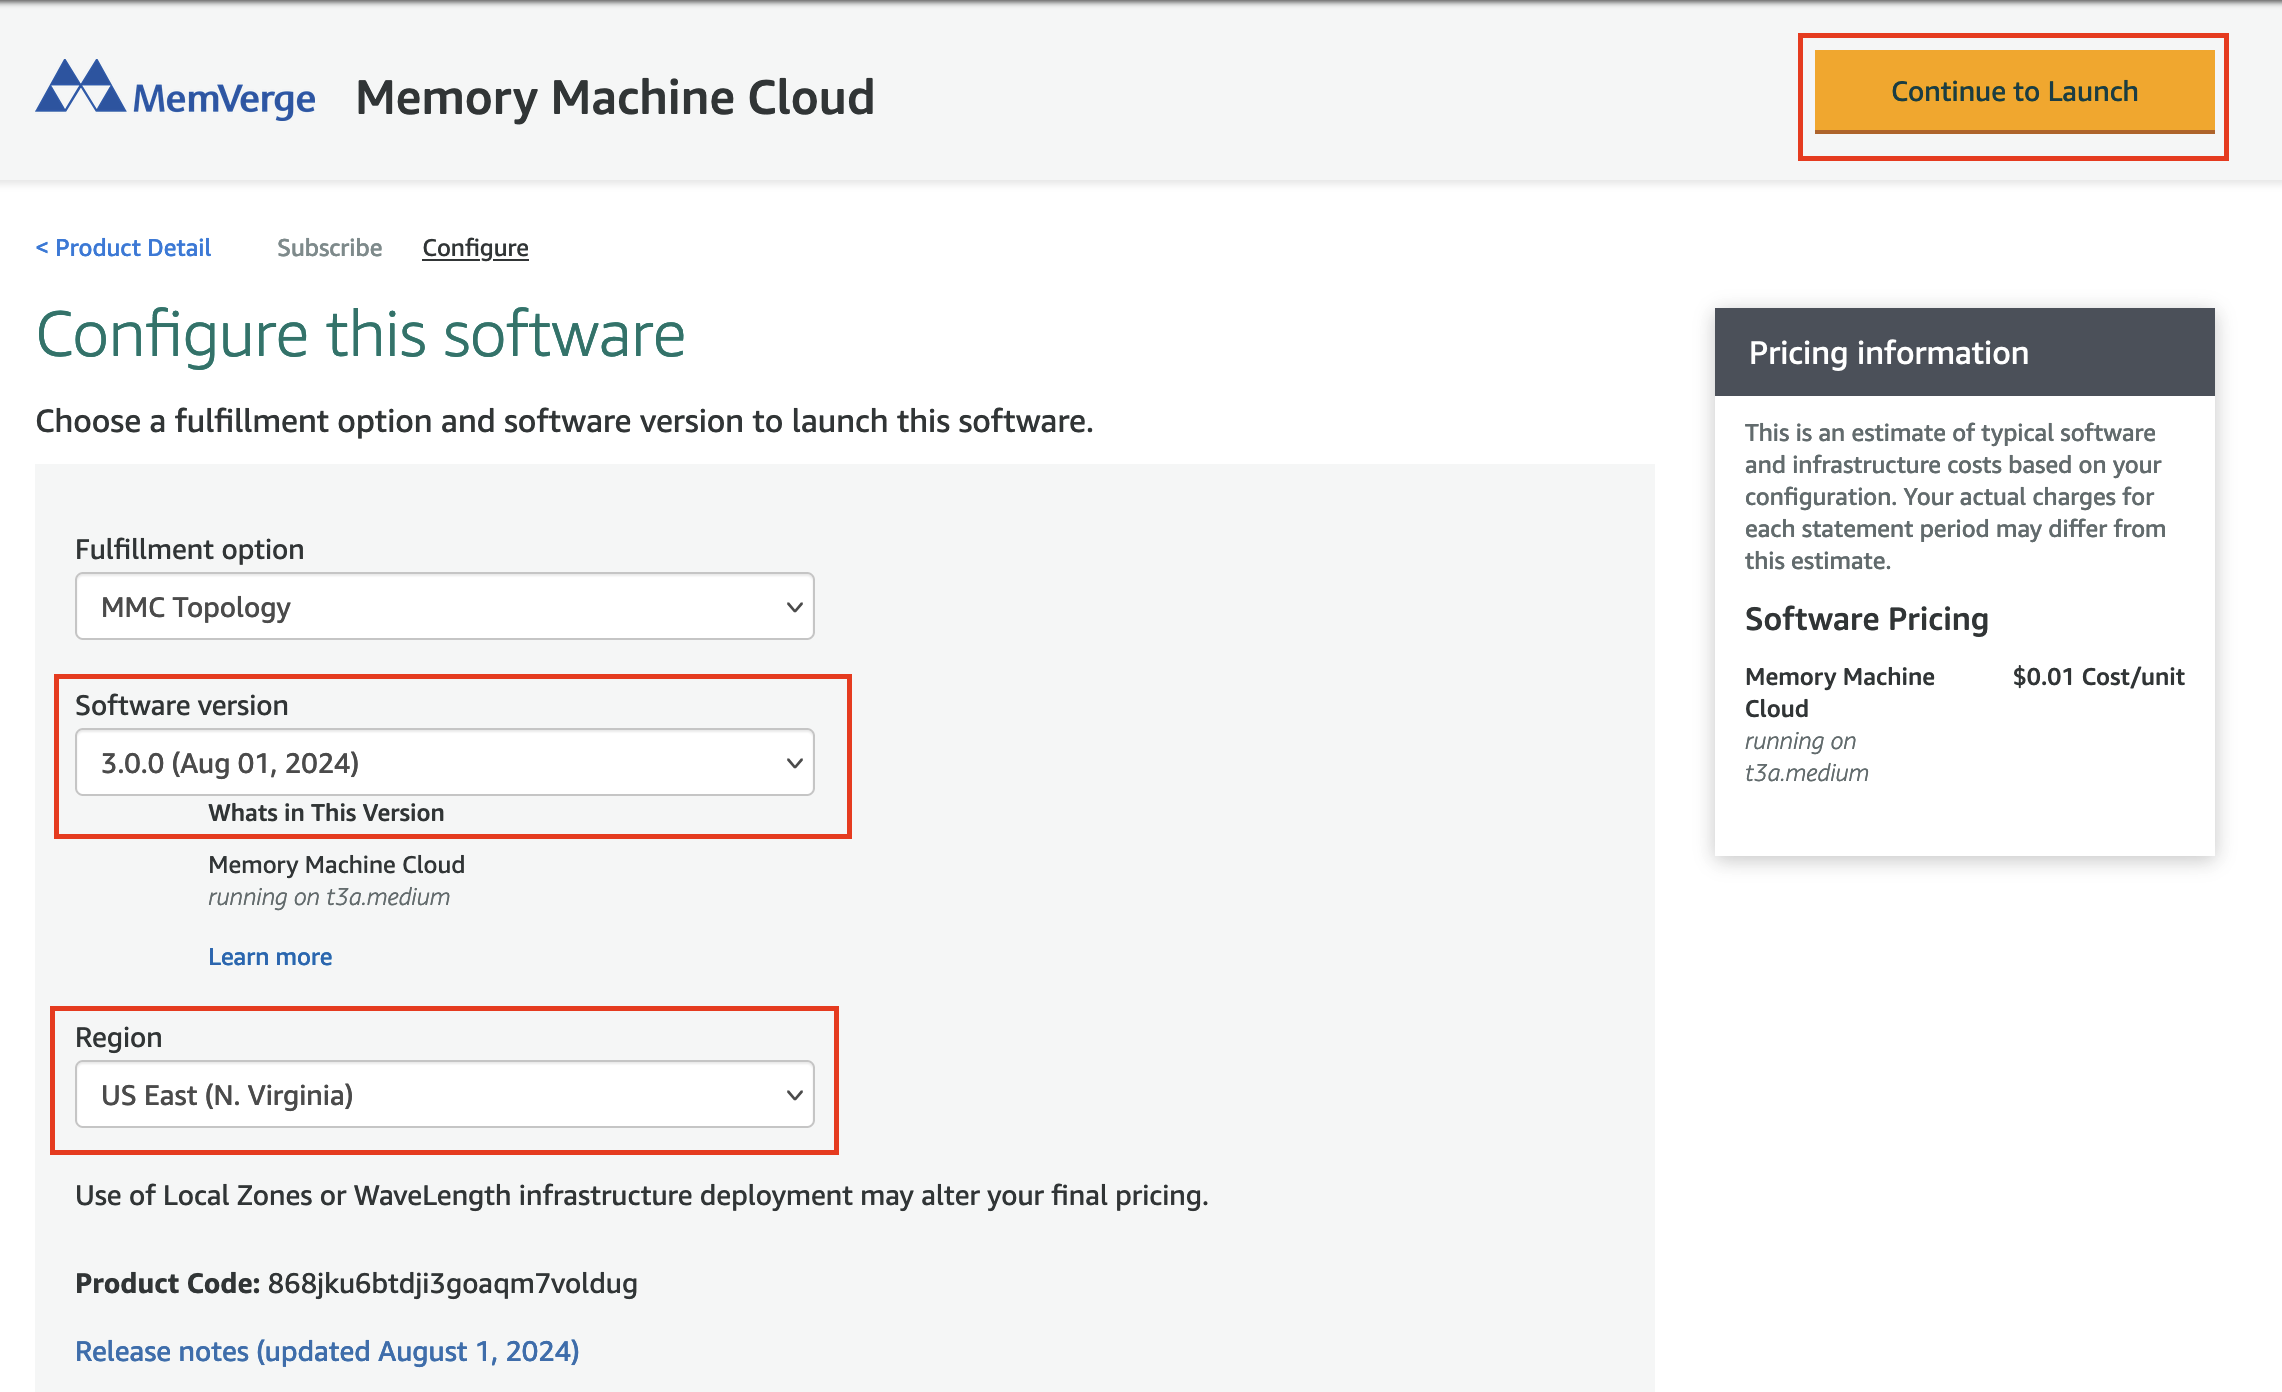
- Make sure the region is correct and leave the rest to defaults and click on
Continue to Launch
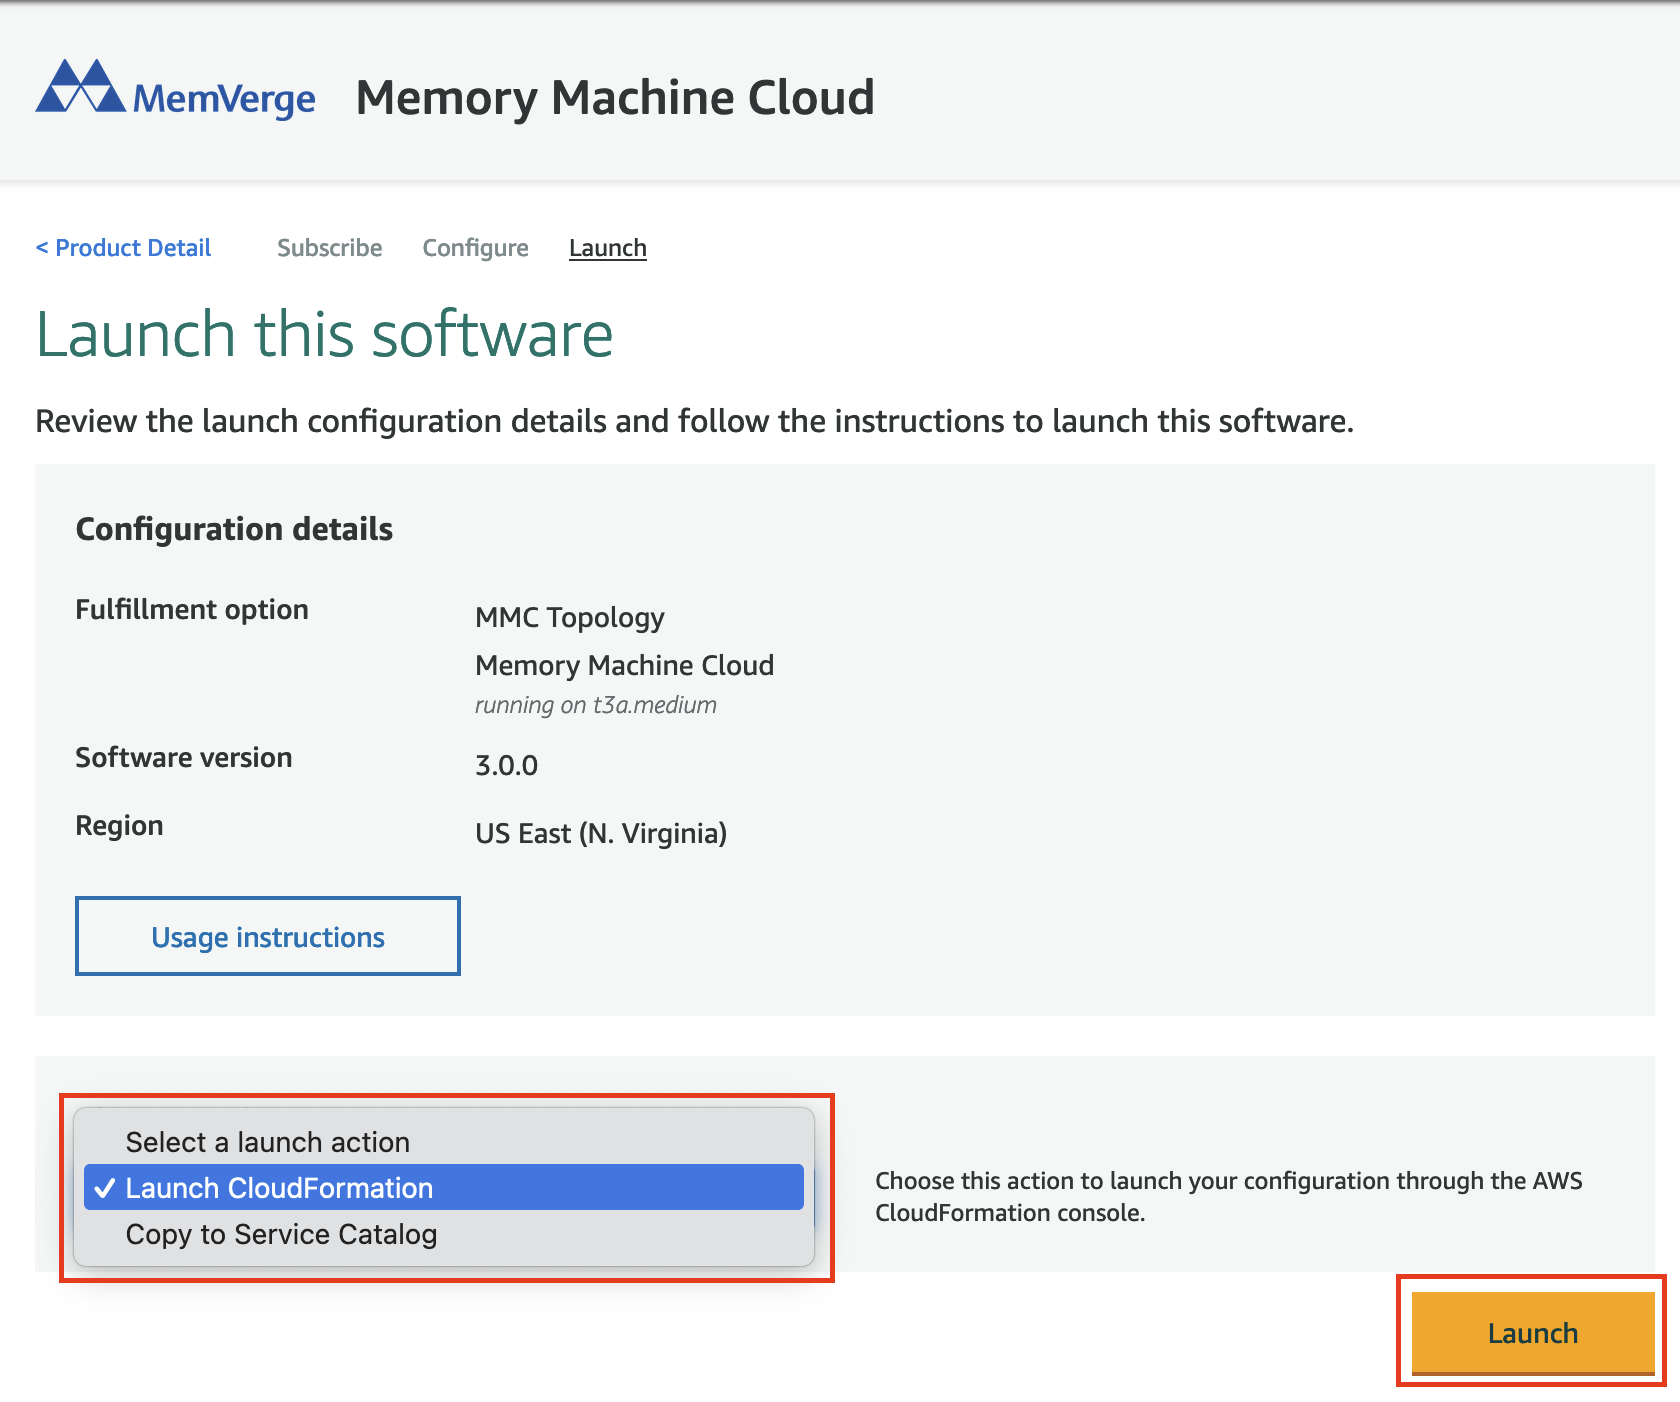
- Next choose
Launch CloudFormationfrom the drop down box and click on theLaunchbutton
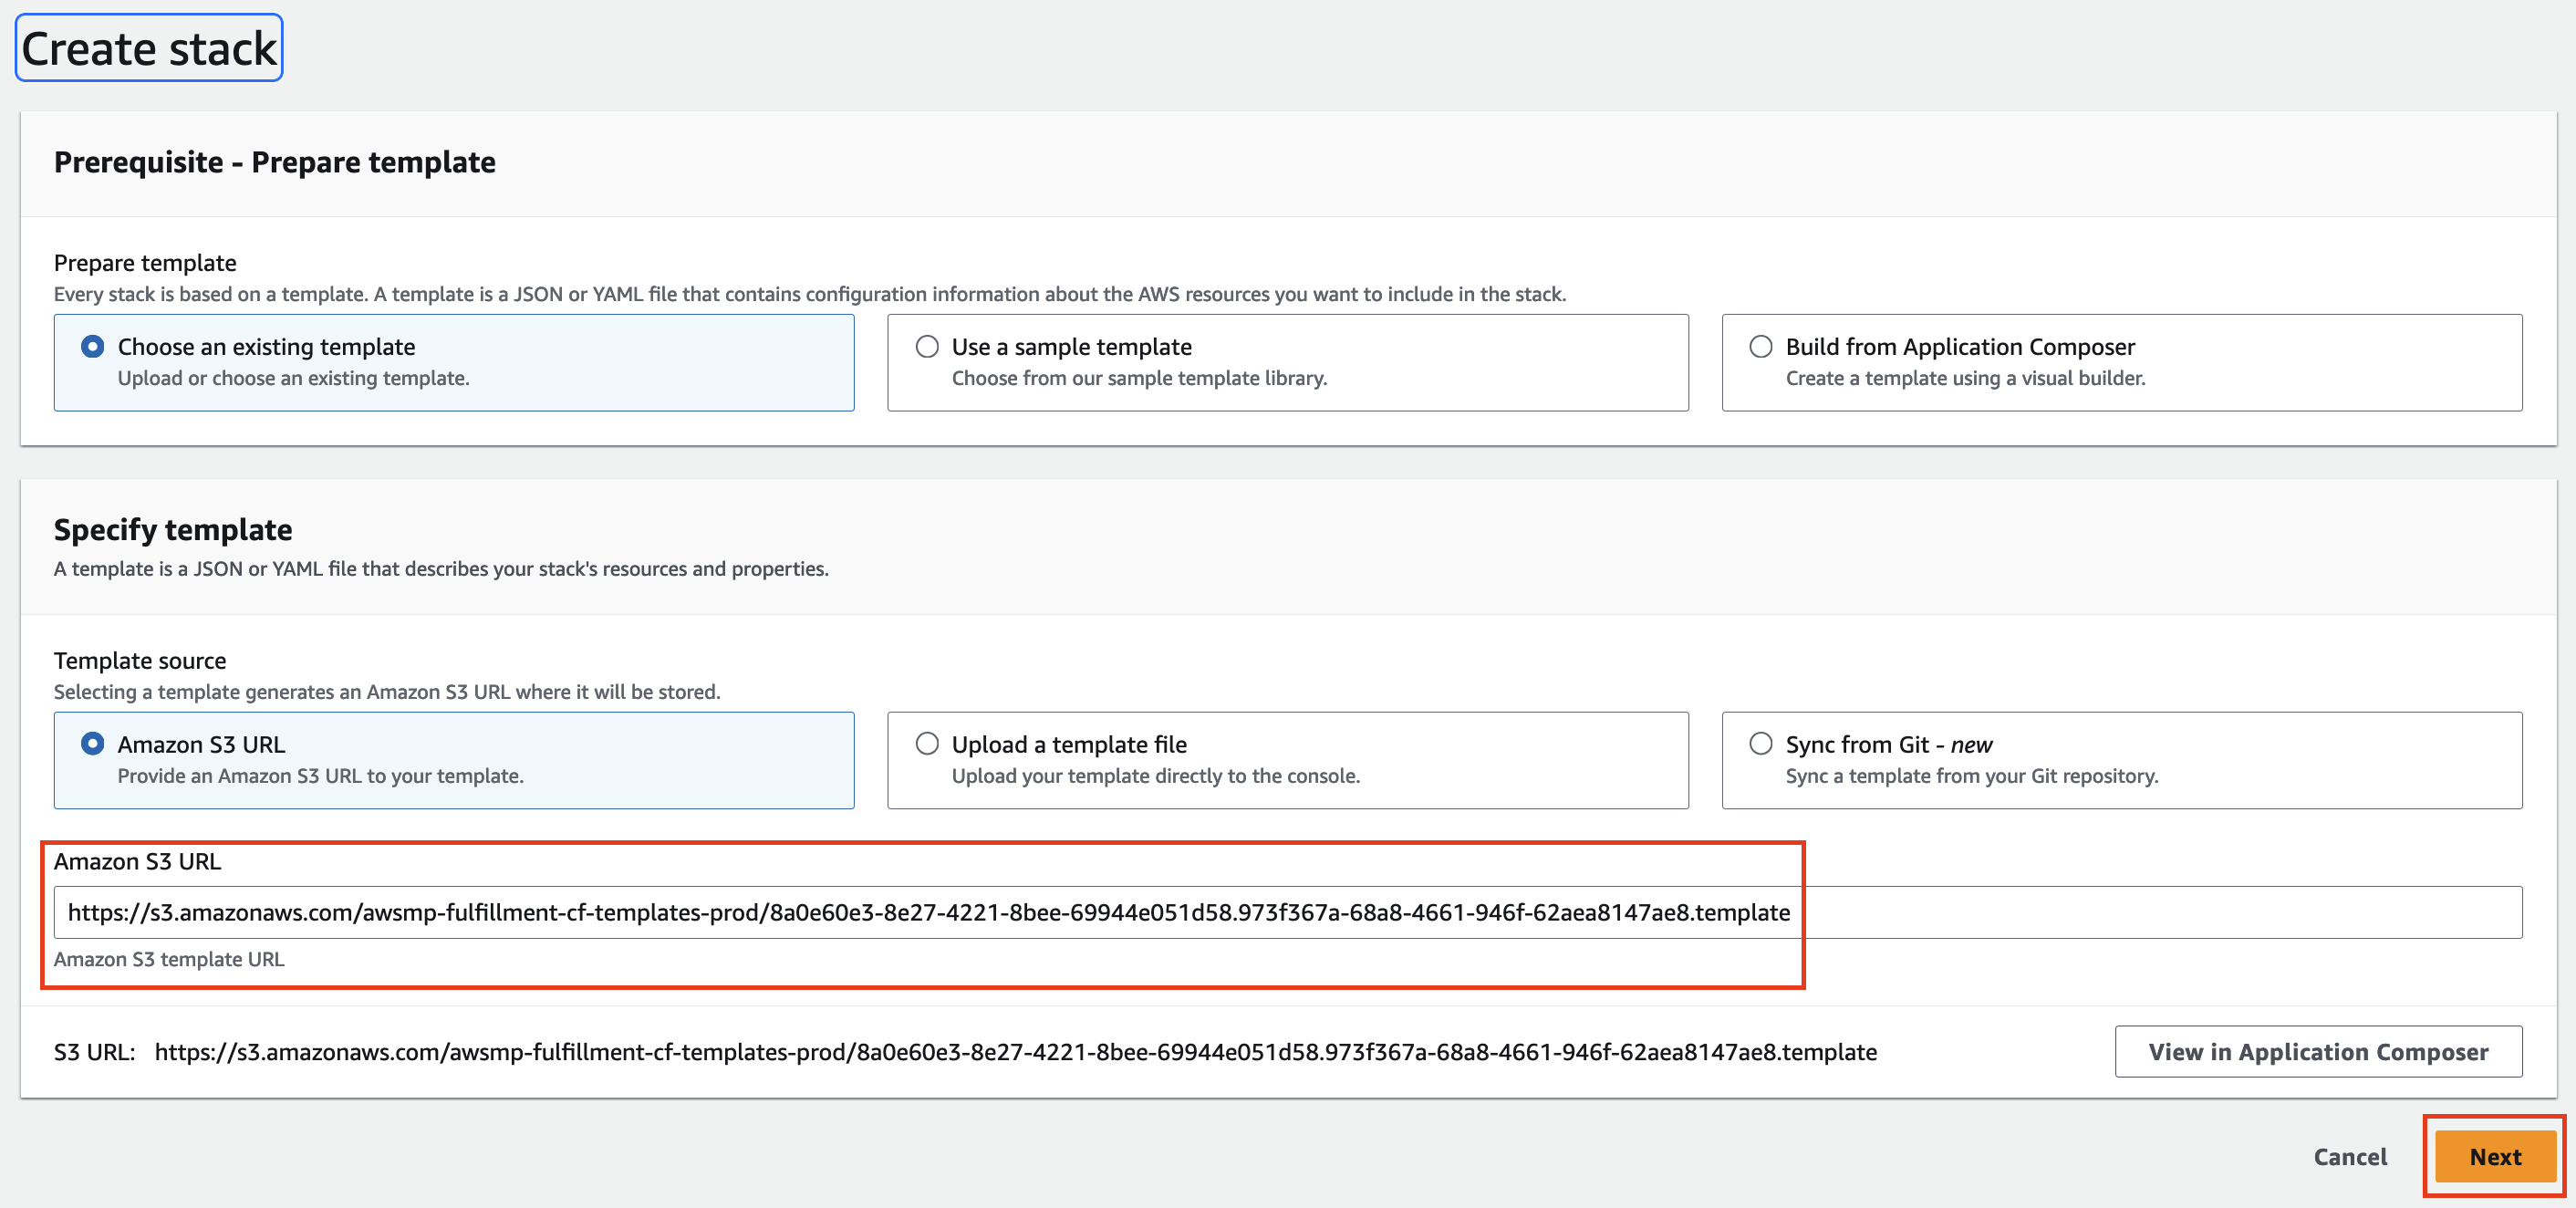
- You will be re-directed to a new window to create a stack. Use defaults on this page for tempaltes and click
Next
- Next, specify a stack name

- Next, select an instance type for MMCE OpCenter under
OpCenterType
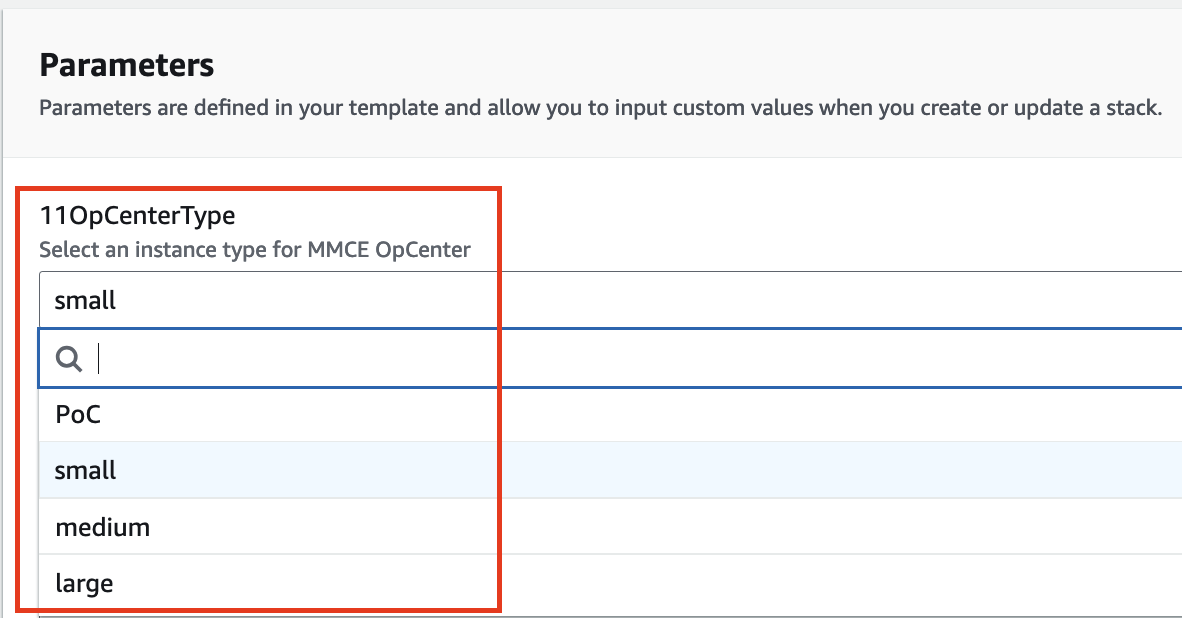
| Type | CPU | Memory(GB) | Price/hour | Guidance |
|---|---|---|---|---|
| POC | 2 | 2 | $0.0188 | All historic jobs < 13K |
| Small | 2 | 4 | $0.0765 | All historic jobs < 26K |
| Medium | 4 | 8 | $0.1530 | All historic jobs < 80K |
| Large | 4 | 16 | $0.2016 | All historic jobs < 185K |
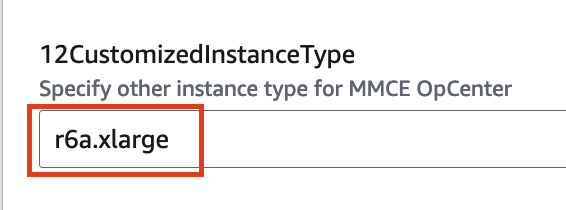
- If you prefer a
CustomizedInstanceTypespecify other instance type for MMCE OpCenter. Note this field is OPTIONAL.
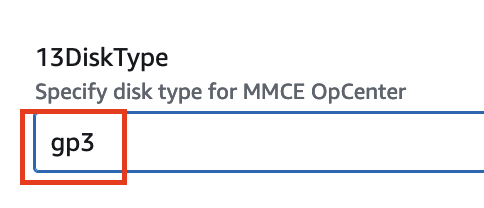
- Next specify disk type for MMCE OpCenter. Available types are
gp2&gp3. Choose defaultgp3for better performance.
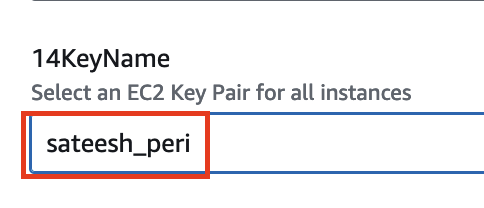
- Next, select an EC2 Key Pair for all instances
- Next, select a web-accessible VPC to run MMCE service
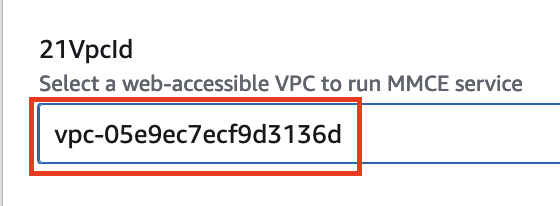
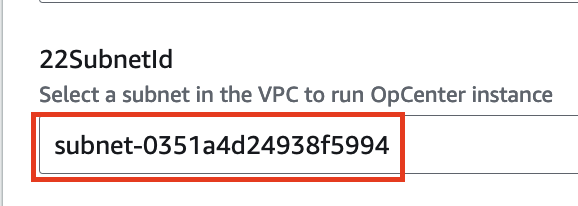
- Next, select a subnet in the VPC to run OpCenter instance
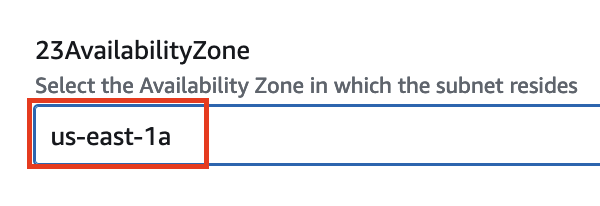
- Next, select the Availability Zone in which the subnet resides
- Next, select
Trueif you want to assign public IP to MMCE service
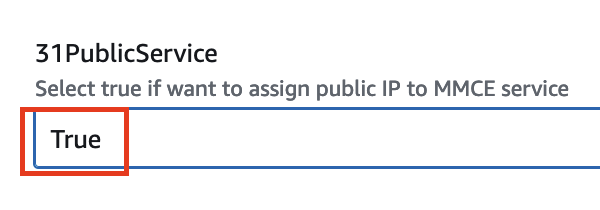
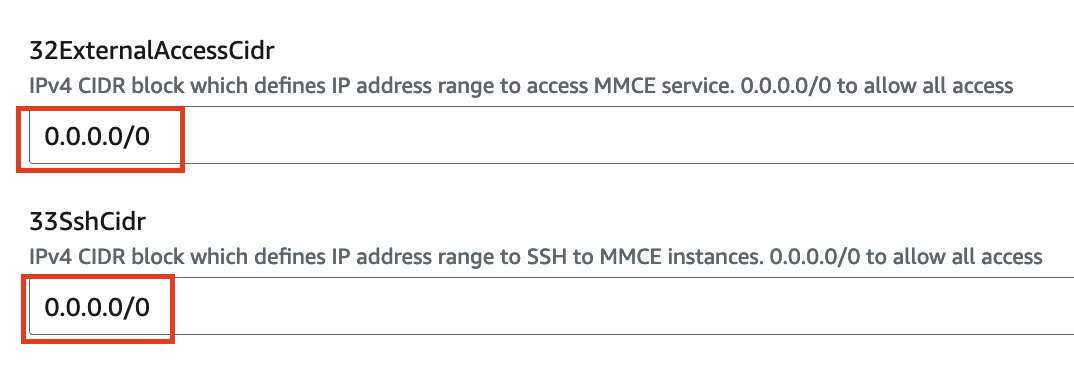
- Next, define the IP address range to access MMCE service under
ExternalAccessCidr&SshCidr.
0.0.0.0/0to allow all access
- Next, select
Trueif you want to enable worker nodes to access other nodes internally. (Default isFalse)

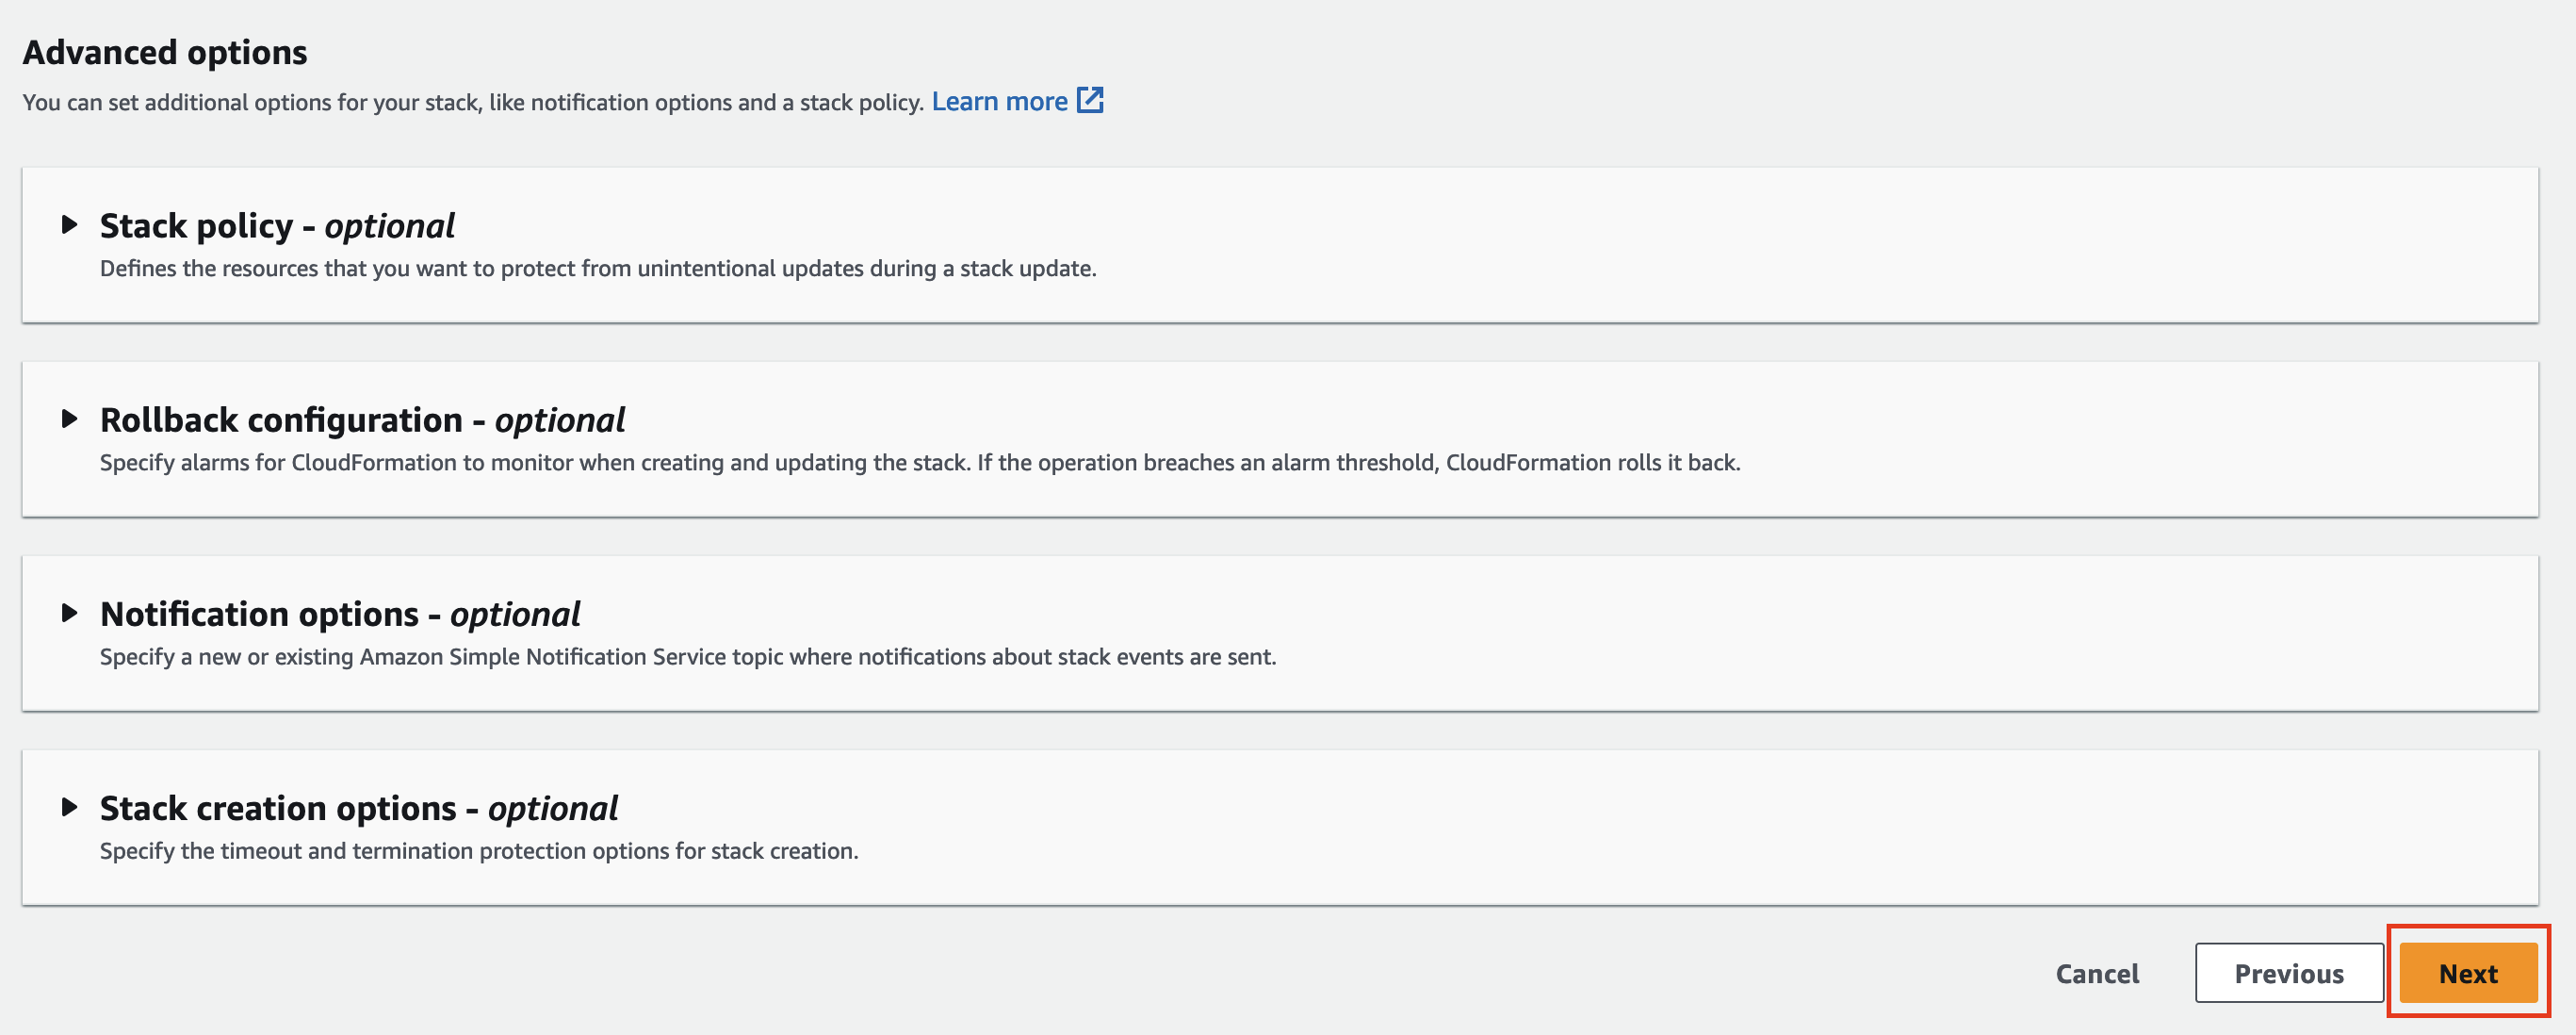
- Next, For
Configure stack optionsoptions keep all defaults on this page and clickNext
- Next on the
Review and createpage, review all the parameters and finally select the check-box to allow CloudFormation to create resources and click onSubmit

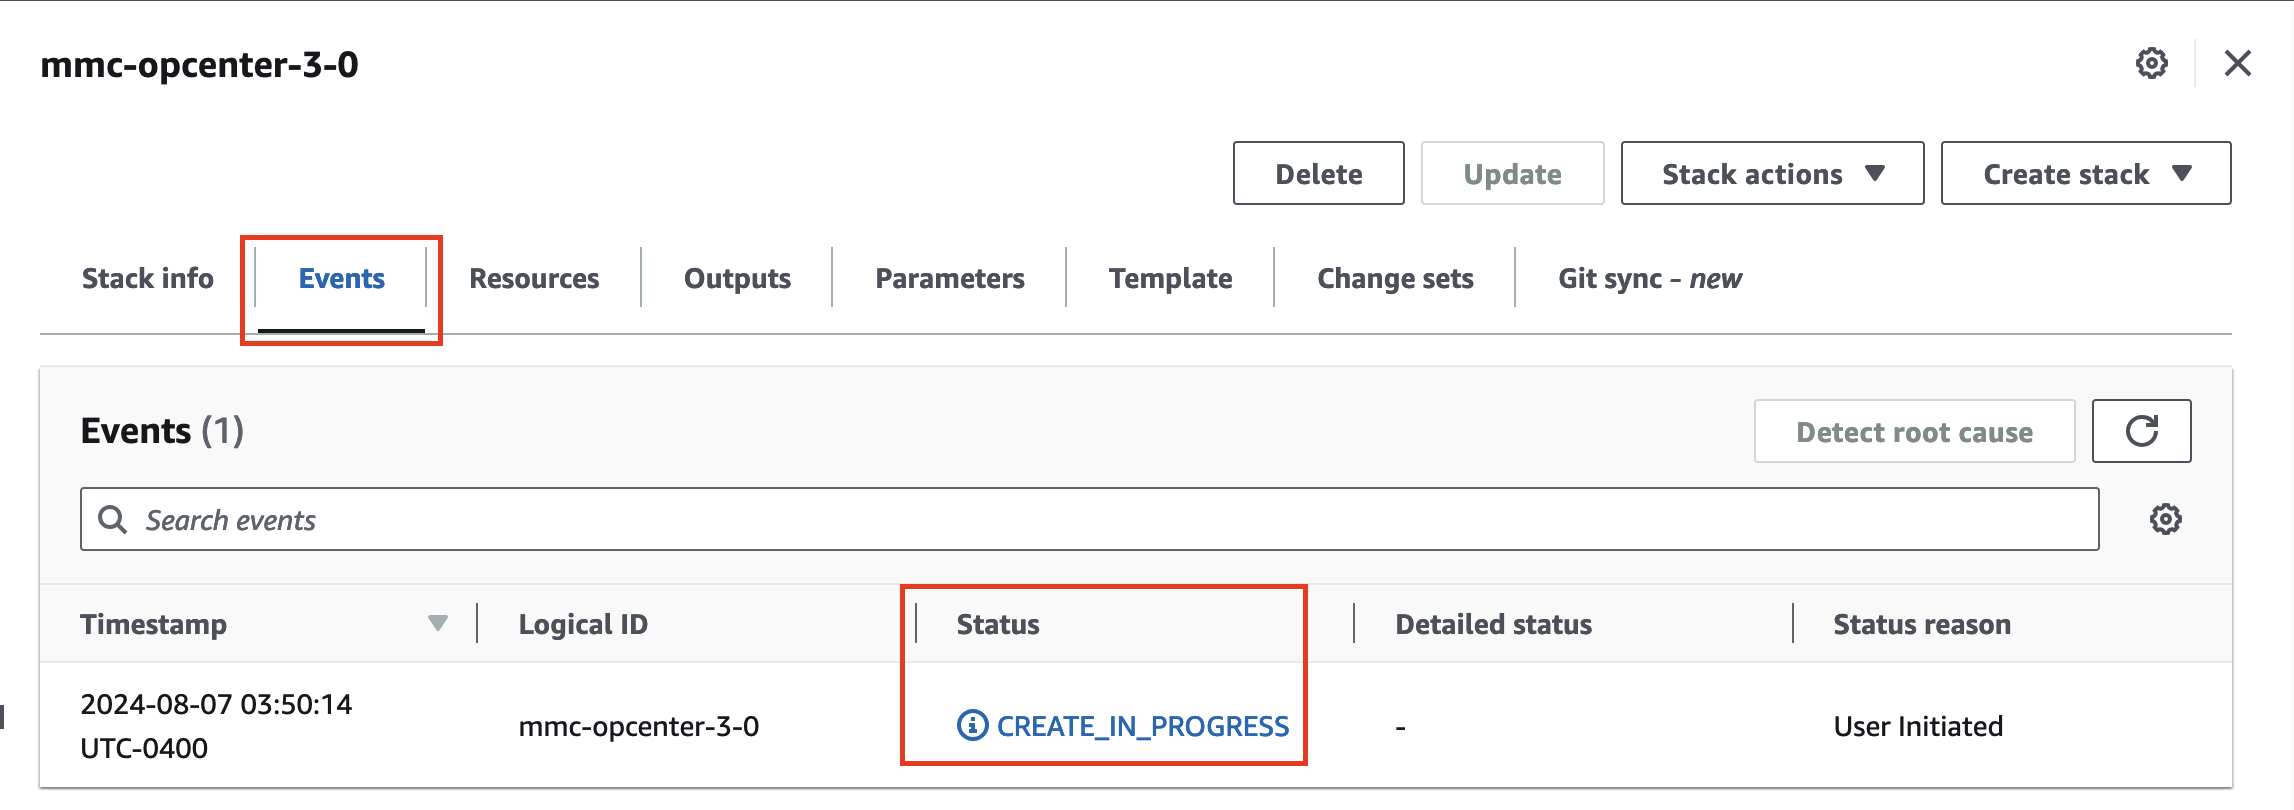
- Next, you will see the stack creation in progress
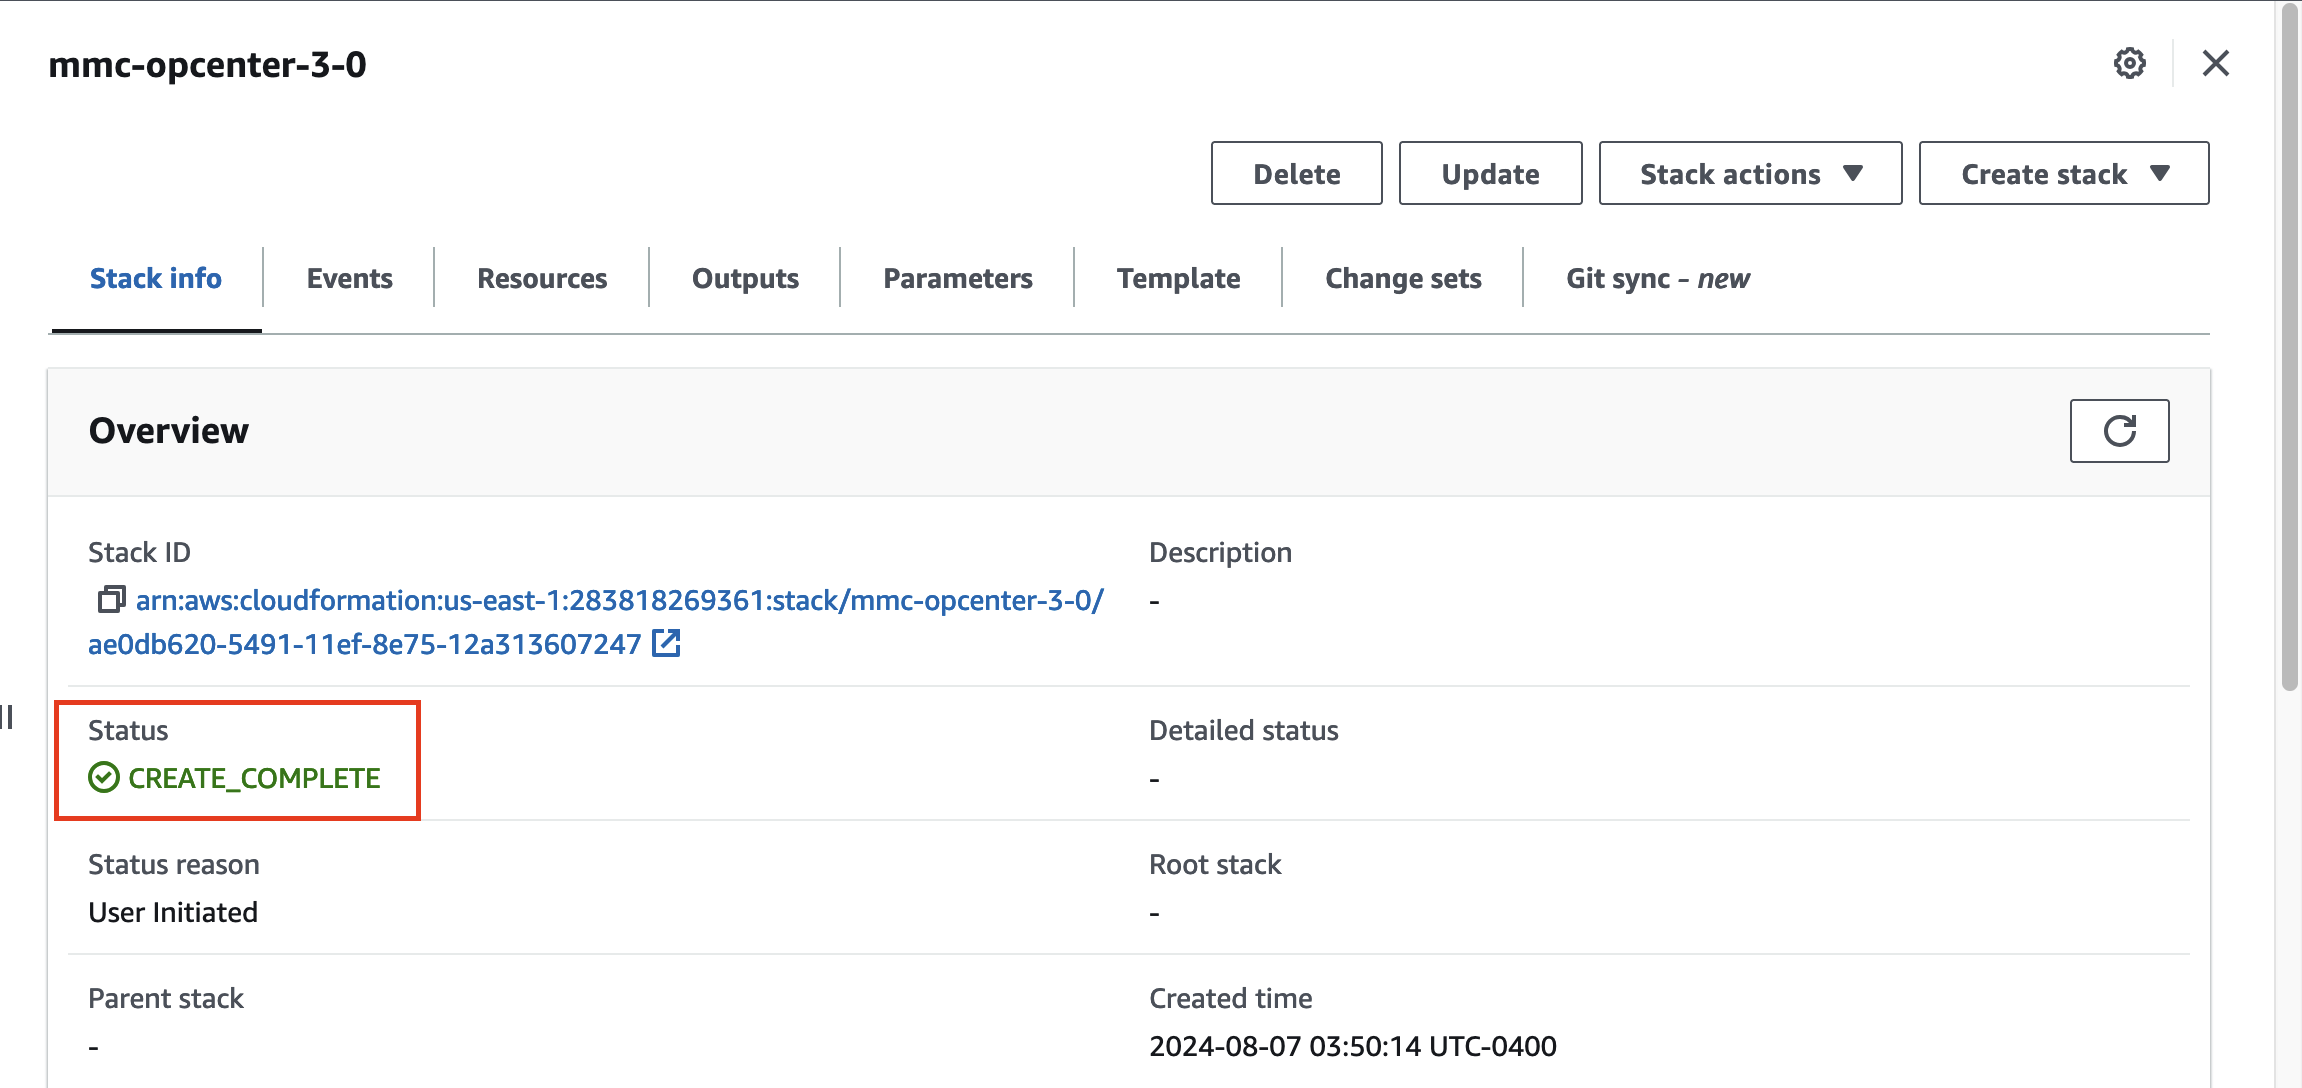
- Successful creation of stack will look as shown below with status
CREATE_COMPLETE
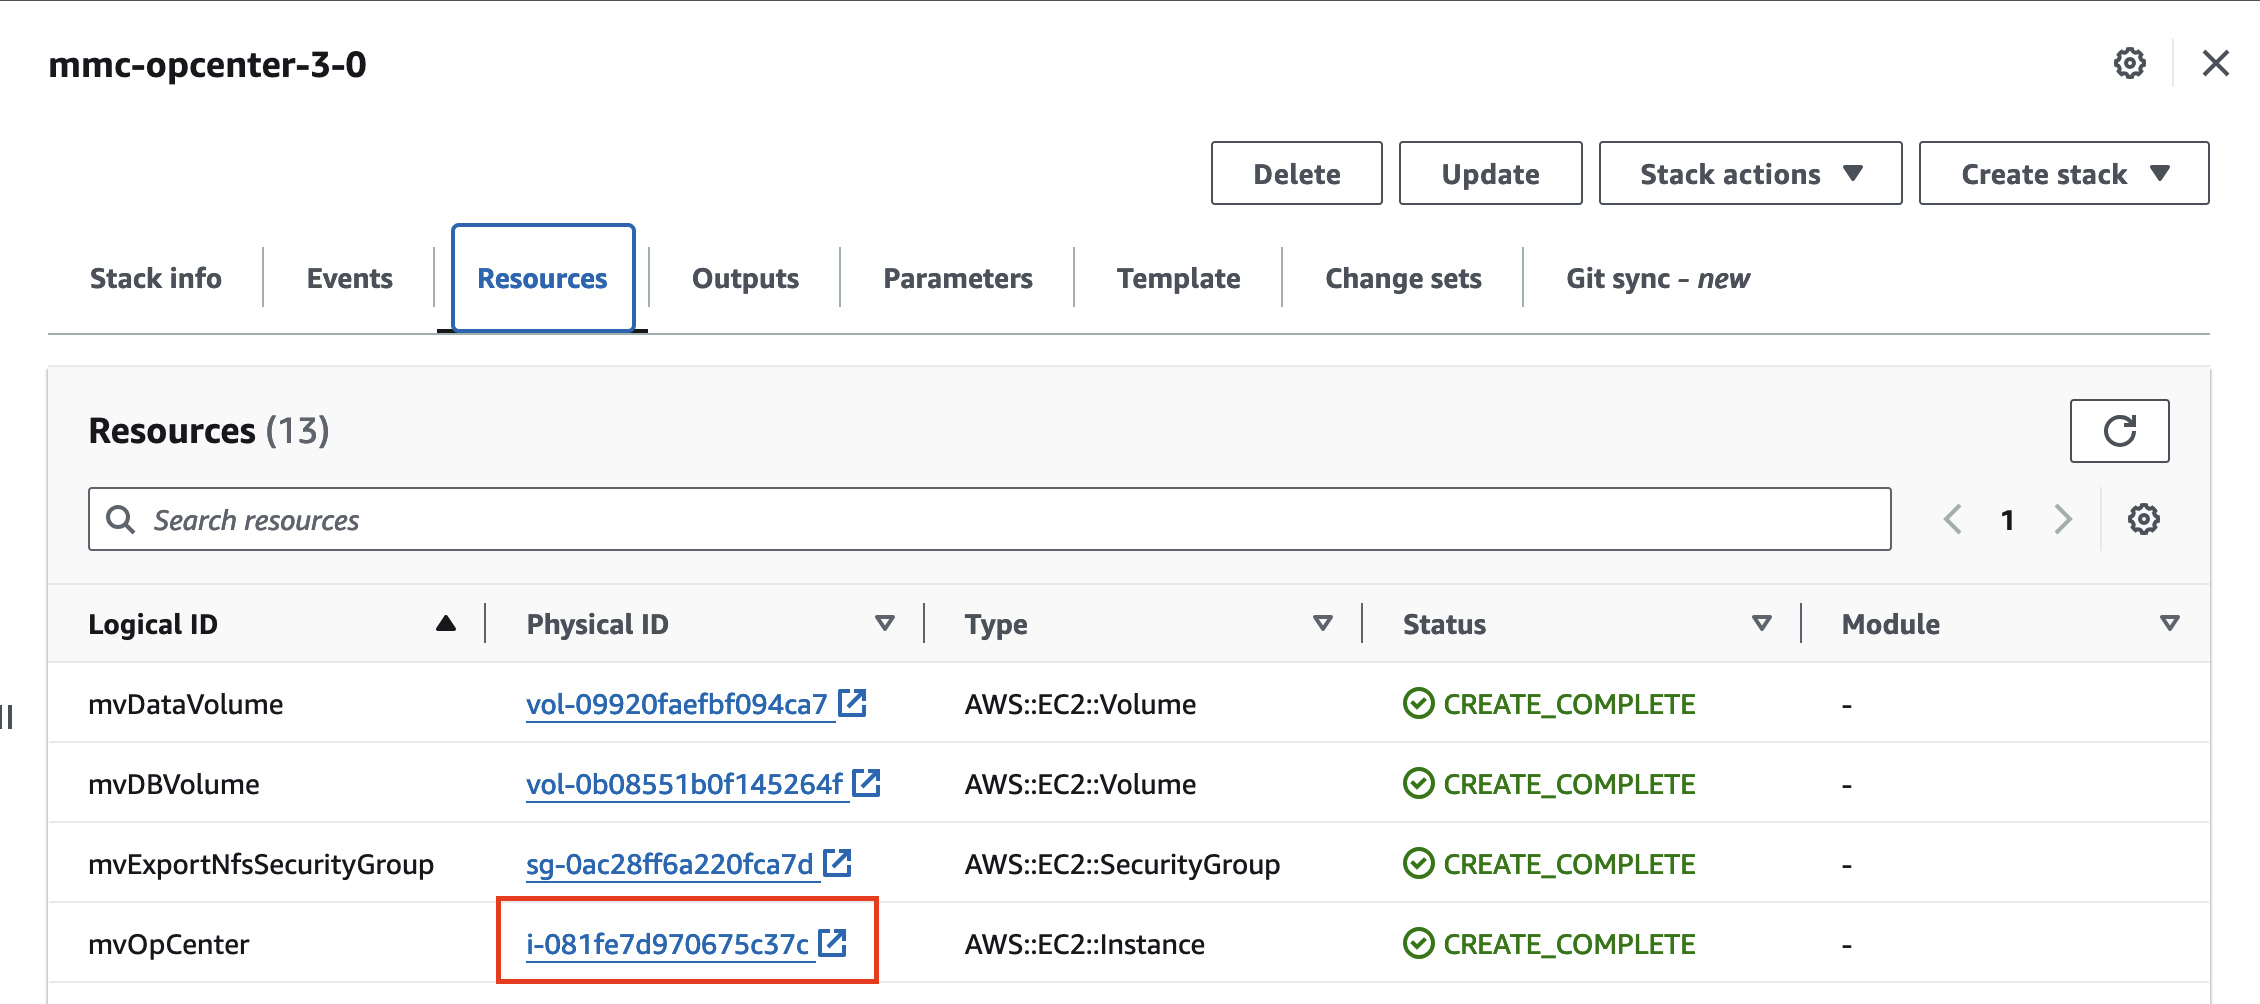
- Click on the
Resourcestab and click on themvOpCenterid to re-direct to the EC2 instance assigned to the MMC OpCenter
- Next, click on the
Instance IDfor more details of the instance

- Next, click on the open address link of
Public IPv4 addressto be re-directed to the OpCenter

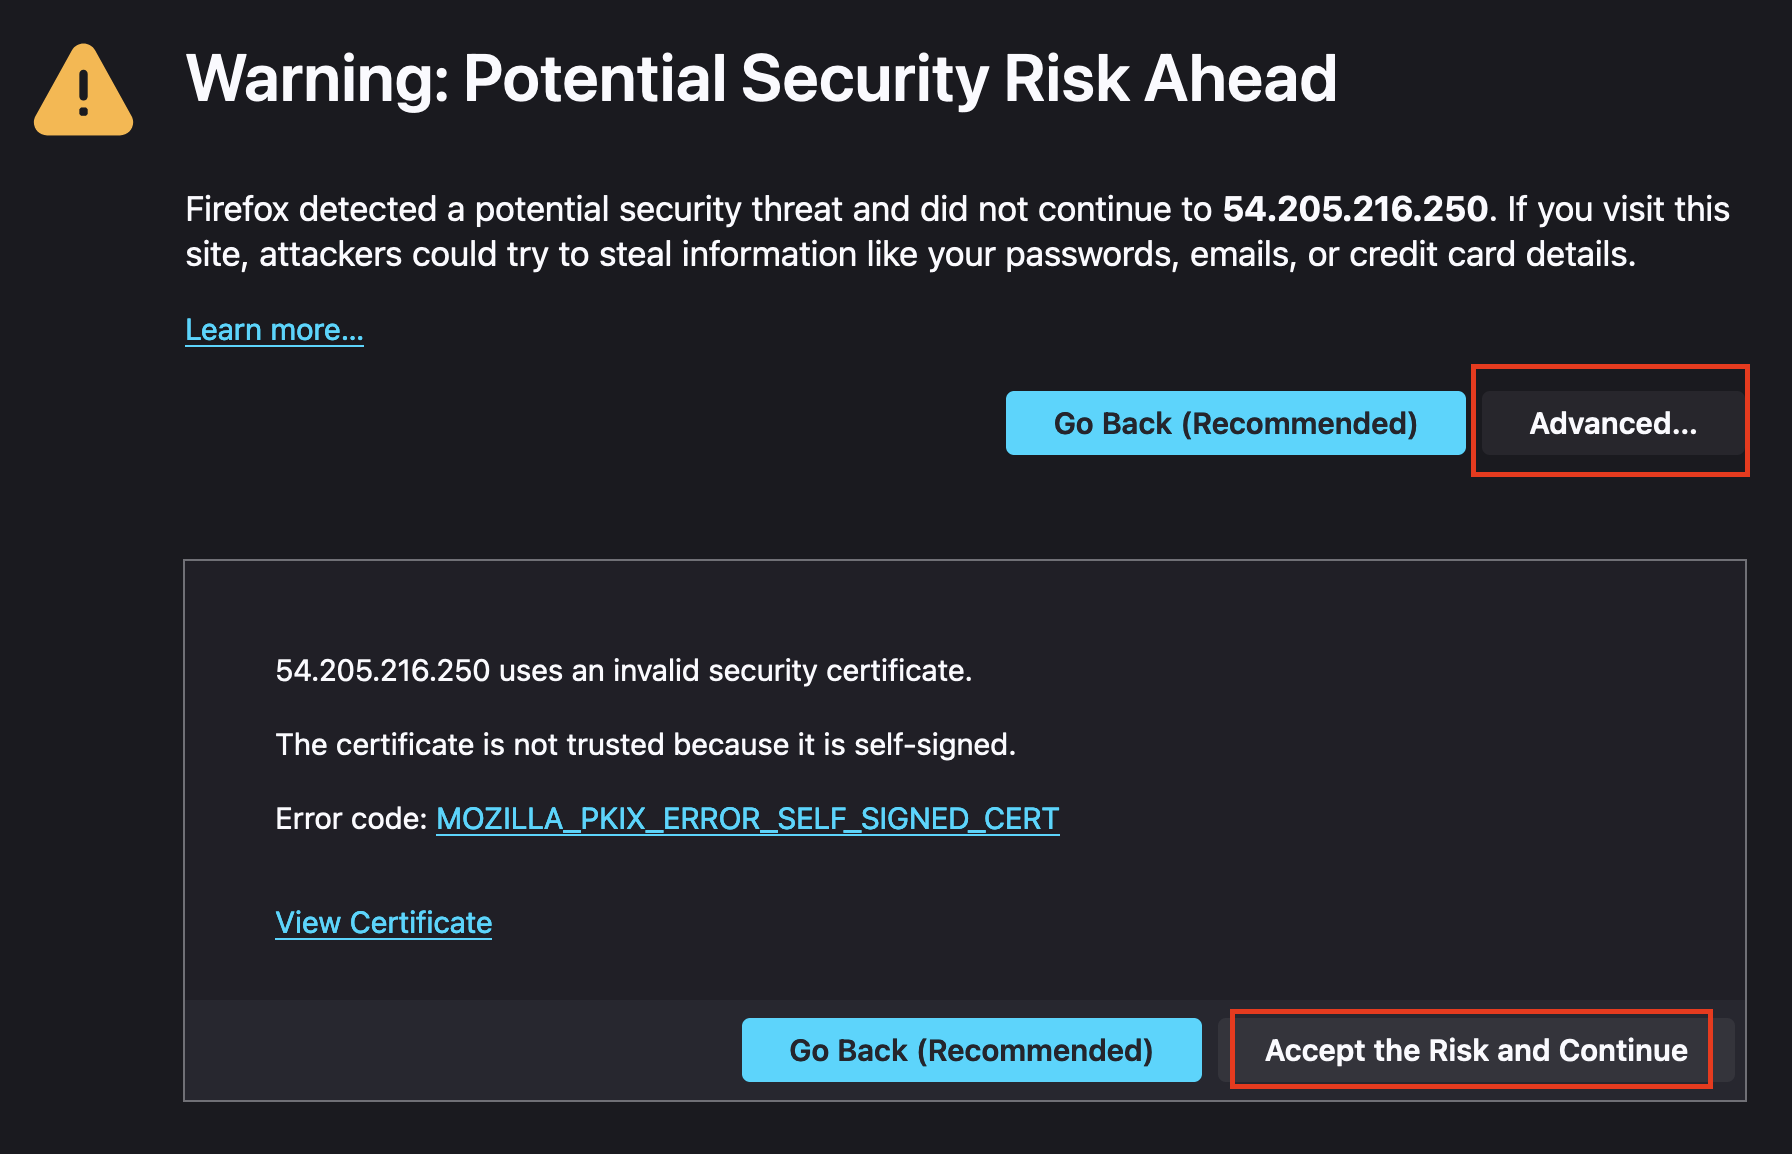
NOTE: When logging in for the first time to the opcenter, you might see a warning about invalid security certificate. Click on
Advanced->Accept the Risk and Continue
- The MMCloud OpCenter landing page will look as below.
The opcenter can now be accessed via its public IP address:
https://54.295.216.250/#/login
Bookmark this link for easy access
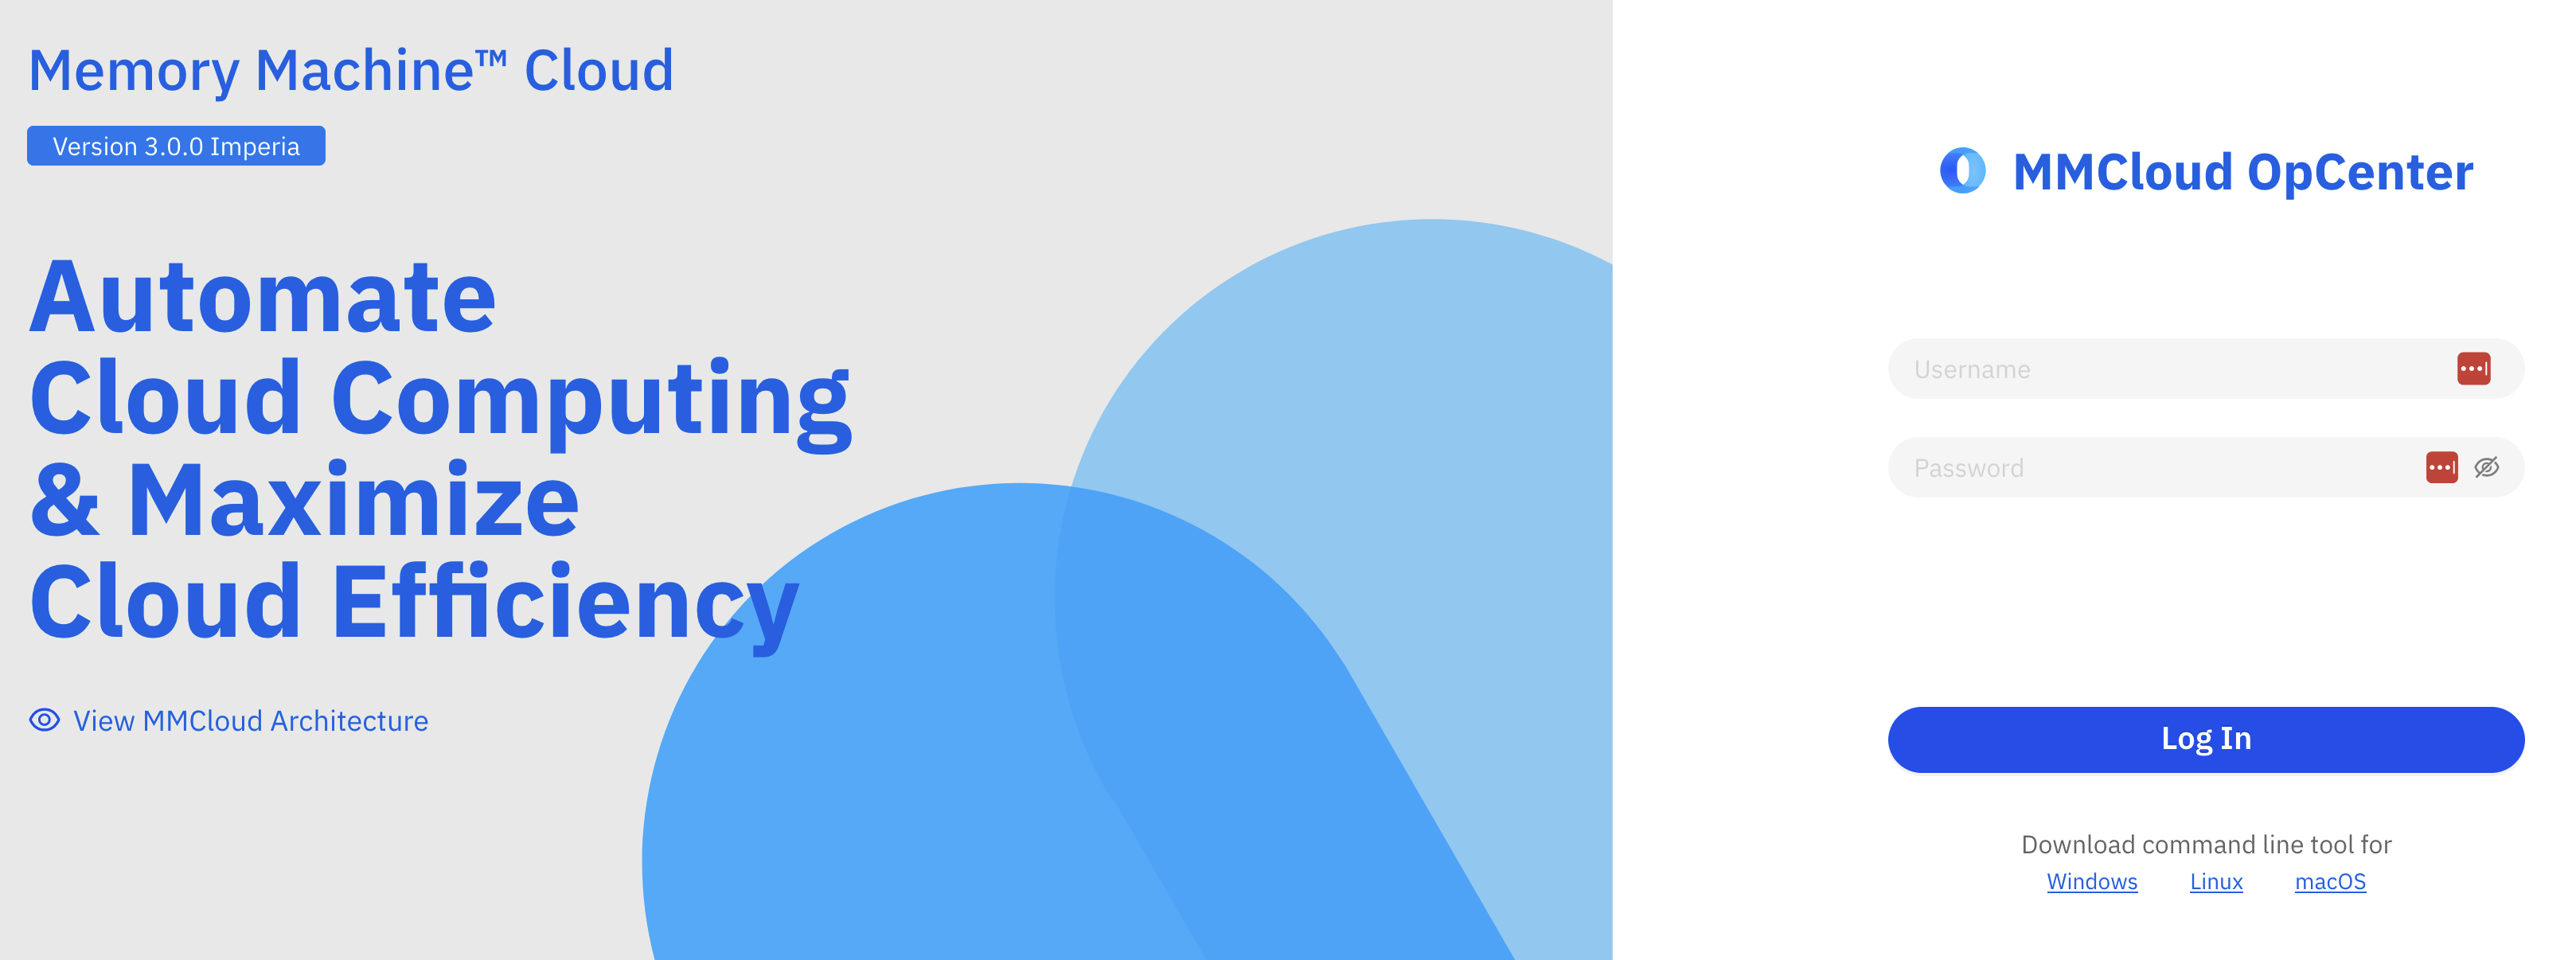
NOTE:
default username:admin
default password:memverge
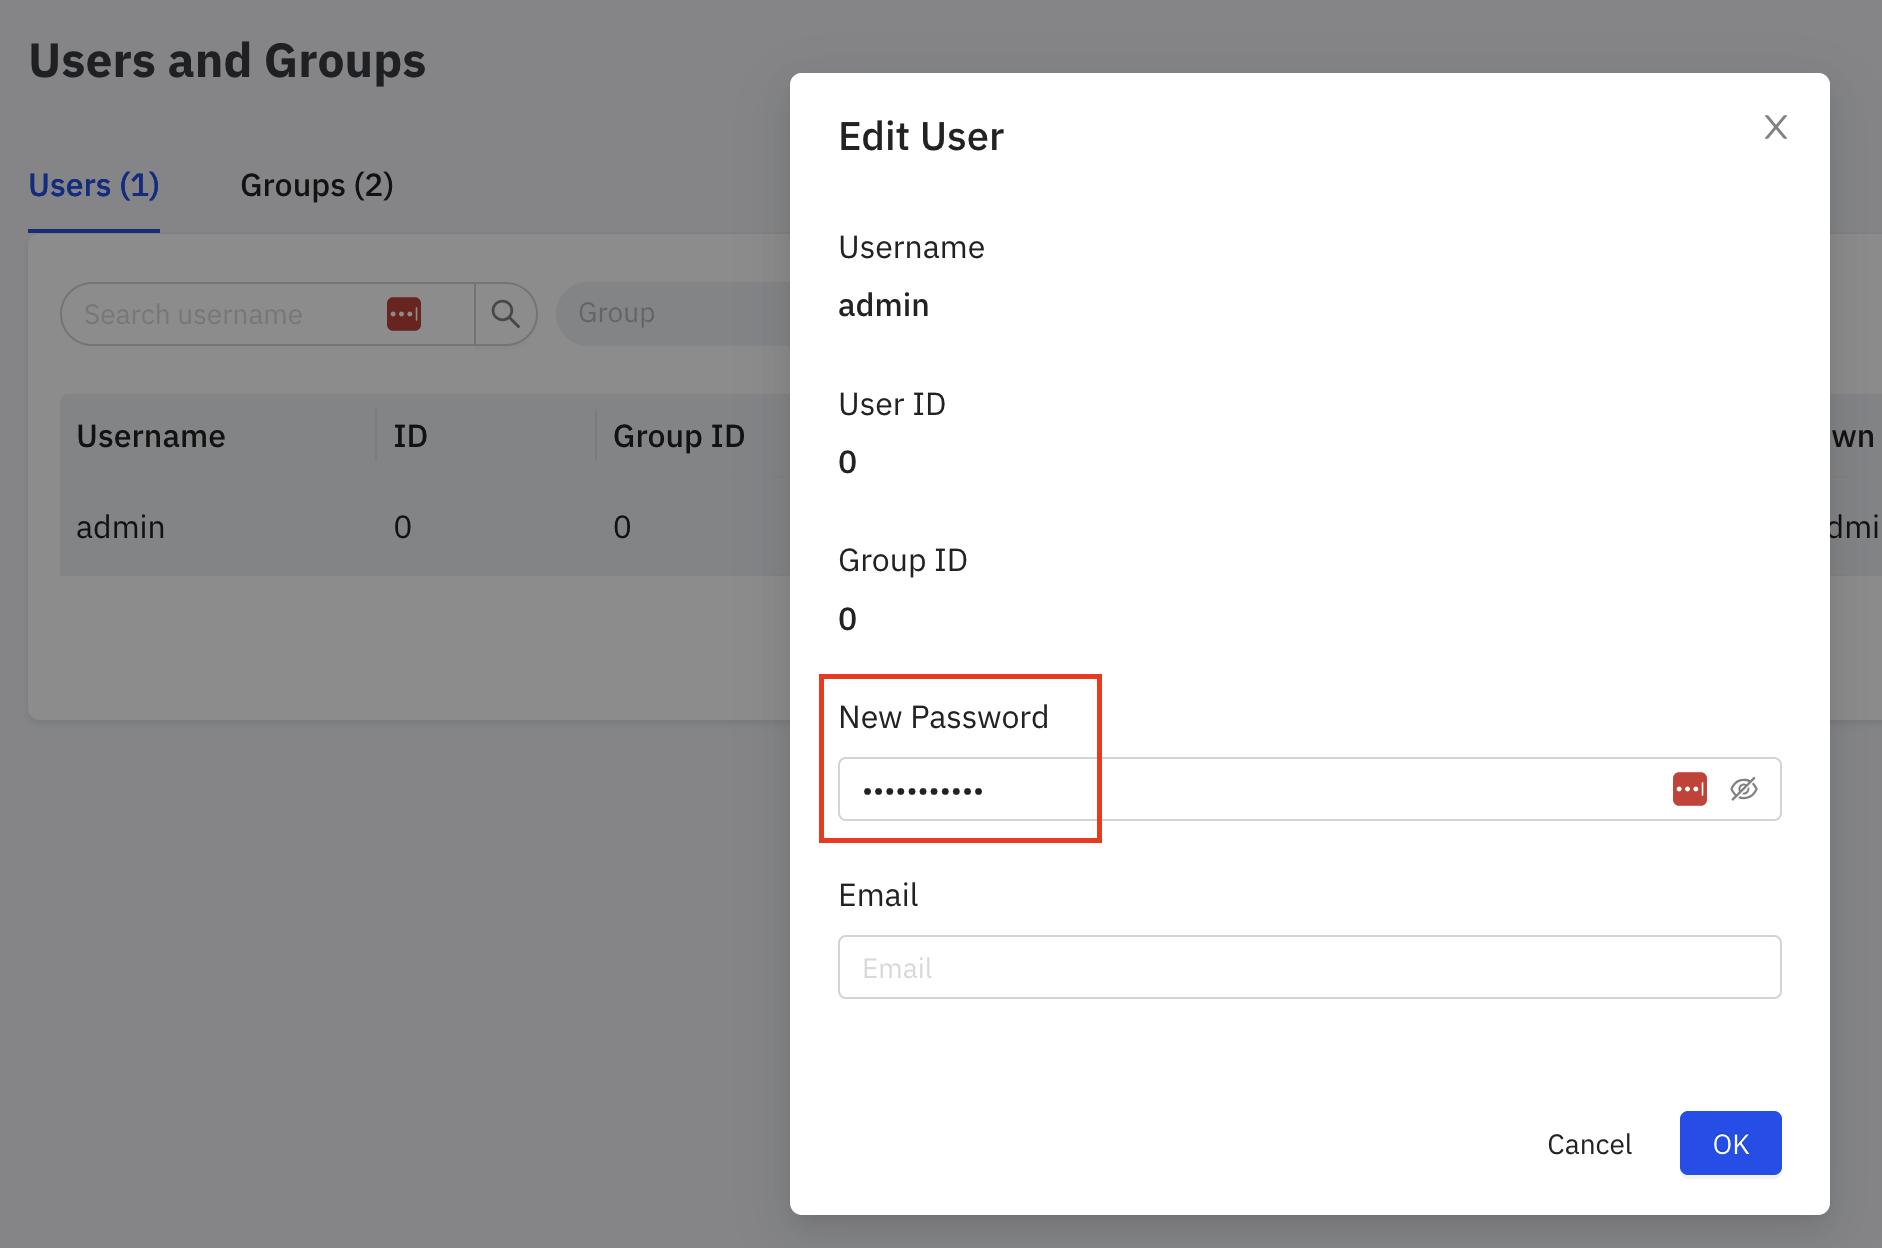
Change Admin Password
-
We recommend changing the default username (
admin) and password (memverge) for the opcenter after logging in for the first time. -
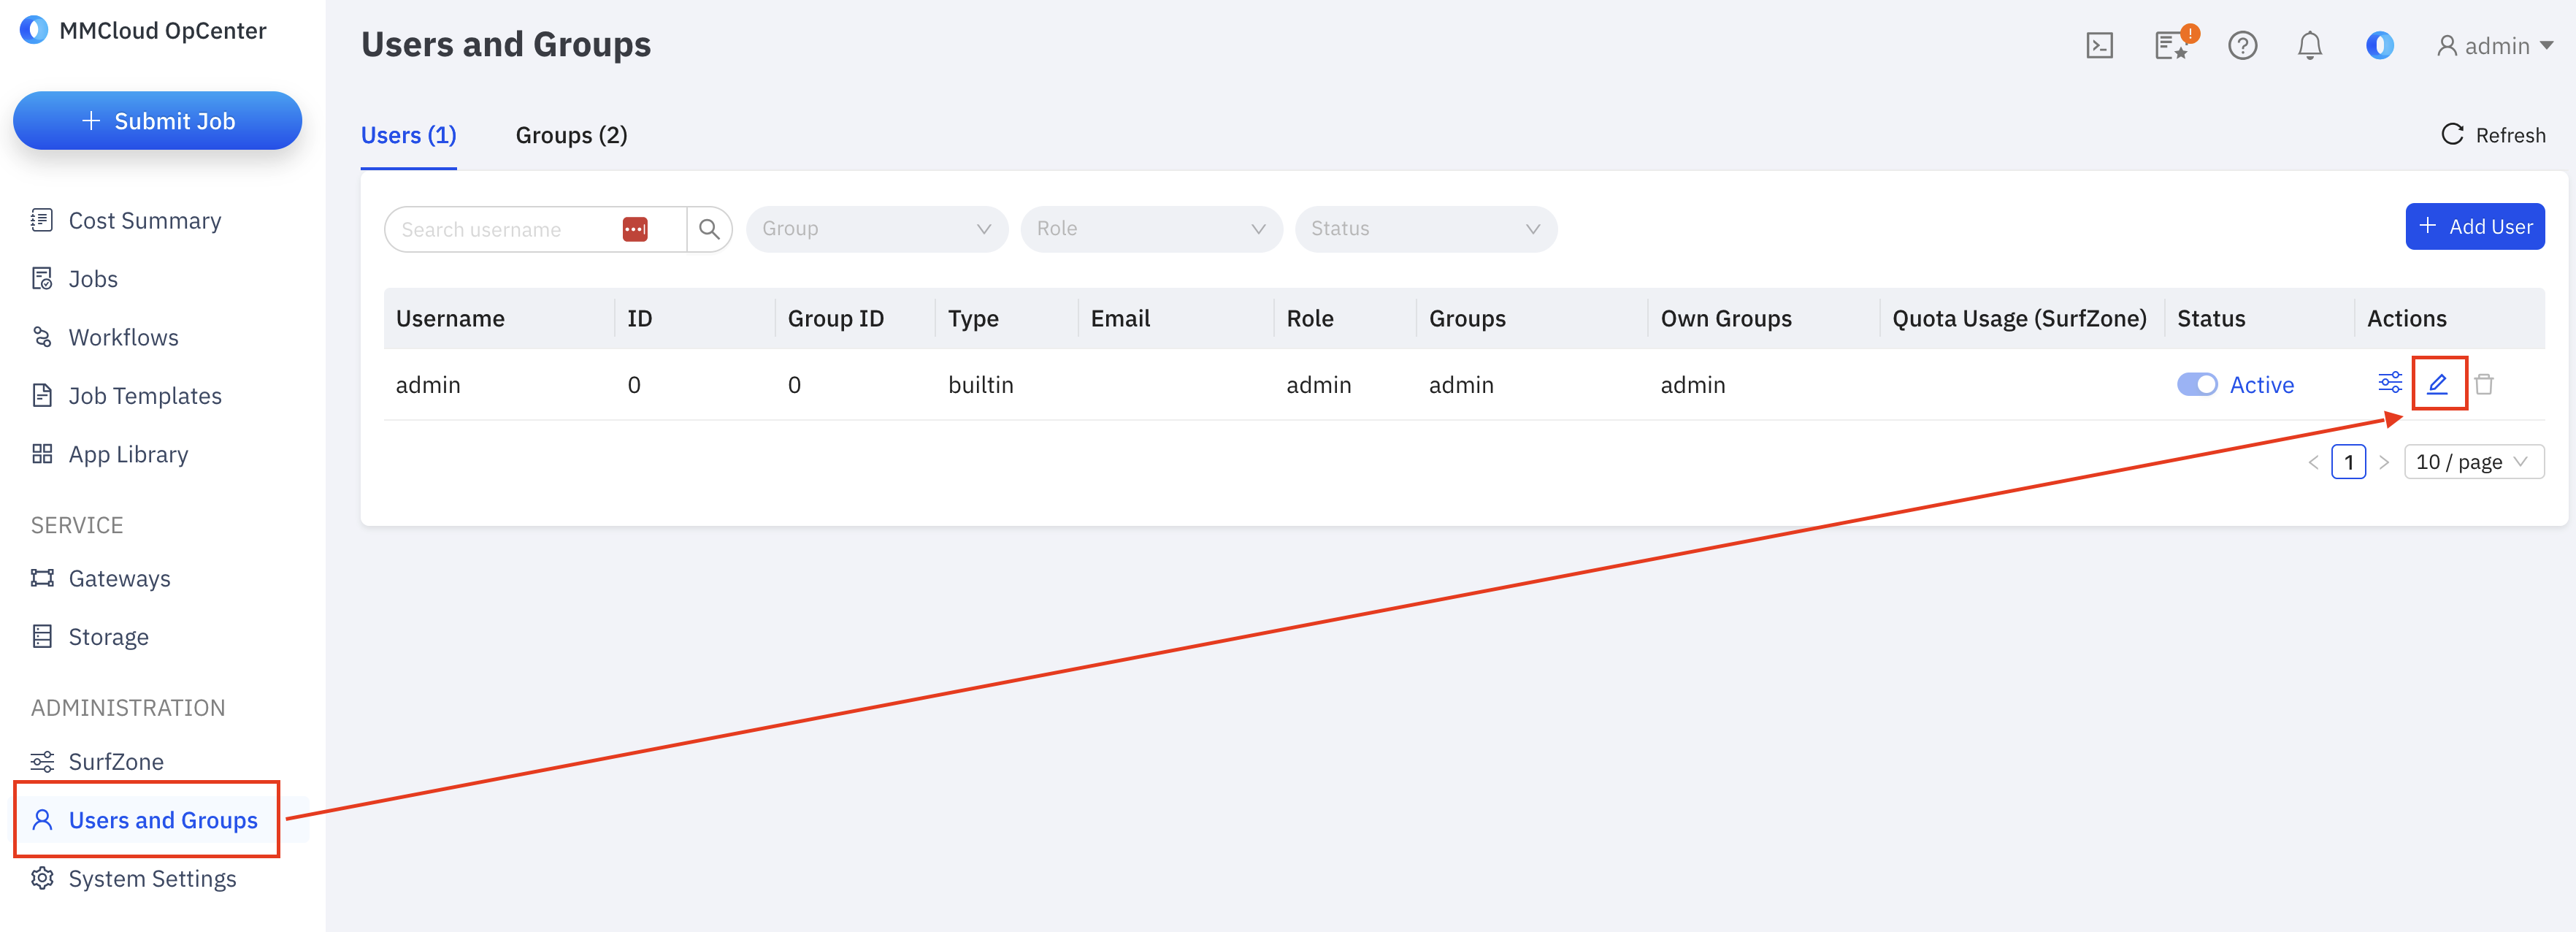
Click on
Users & Groupsfrom the left navigation menu and for the admin user click onActionsand change the password as necessary.
Activate MMCloud License
- Next, activate your mmcloud license by clicking on the star icon in the top-right corner and enter your mmcloud account credentials
Not registered? Visit www.mmcloud.io

Download FLOAT CLI
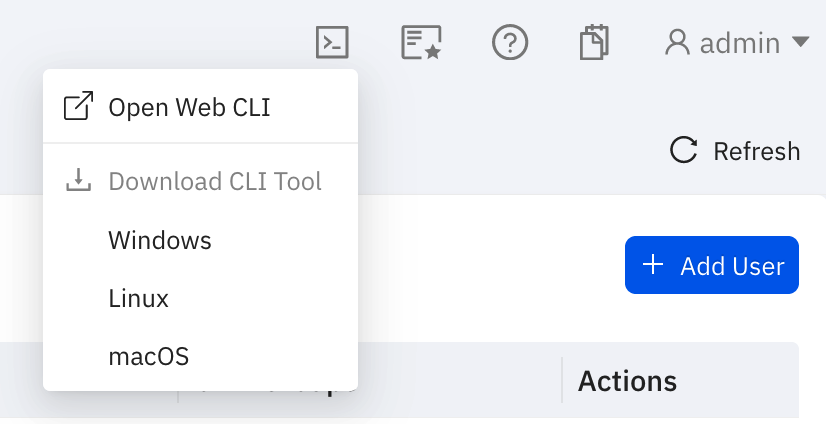
- The float CLI binary helps connect a user from any local machine to the MMCloud opcenter. To download the CLI, click on the terminal icon towards the top right corner of the opcenter and choose the version of CLI tool based on the operating system
- From macOS 10.15 (Catalina) onwards, zsh is the default shell. In zsh, float is a reserved word. To use the float CLI with macOS, either change the shell to bash or alias the word float to the float binary, as follows:
alias float = /path/to/float_binary/floatwhere
/path/to/float_binary/is the path to where you placed the float binary.
- To change the MAC-OS default shell from
zshtobashsee the following guide