Persistent Nextflow JuiceFS
Introduction to JuiceFS
JuiceFS is an open-source, high-performance distributed file system designed specifically for cloud environments. It offers unique features, such as:
- Separation of Data and Metadata: JuiceFS stores files in chunks within object storage like Amazon S3, while metadata can be stored in various databases, including Redis.
- Performance: Achieves millisecond-level latency and nearly unlimited throughput, depending on the object storage scale.
- Easy Integration with MMCloud: MMCloud provides pre-configured nextflow head node templates with JuiceFS setup, simplifying deployment.
- Comparison with S3FS: For a detailed comparison between JuiceFS and S3FS, see JuiceFS vs. S3FS. JuiceFS typically offers better performance and scalability.
Deployment Steps for Individual Users on MMCloud
Float Login
Ensure you are using the latest version of float CLI:
sudo float release syncLogin to your MMCloud opcenter:
float login -a <opcenter-ip-address> -u <user>After entering your password, verify that you see
Login succeeded!
Deploy Nextflow Head Node
Deploy the Nextflow head node using the nextflow:jfs template:
float submit -n <head-node-name> \
--template nextflow:jfs \
-e BUCKET=gs://<bucket-name>Note: Replace
<bucket-name>with your specific details. Thenextflow:jfstemplate comes pre-configured with JFS setup.
Overriding Template Defaults
Customizing CPU and Memory
To override default CPU and memory settings:
--overwriteTemplate "*" -c <number-of-cpus> -m <memory-in-gb>Example: To set 8 CPUs and 32GB memory
--overwriteTemplate "*" -c 8 -m 32
Specifying a Subnet
For deploying in a specific AWS subnet:
--overwriteTemplate "*" --subnet <SUBNET-ID>Incremental Snapshot Feature (From v2.4)
Enables faster checkpointing and requires larger storage:
--overwriteTemplate "*" --dumpMode incrementalAdvantages:
- Supports larger workloads
- Lower impact on job running time
- No need for periodic snapshot interval configuration
Disadvantages:
- Requires larger storage for delta saves
- Final snapshot is necessary for restore
Checking Head Node Deployment Status
float listExample Output:
+-----------------------+---------------------+-----------------------------------+---------+---------------+----------+----------------------+------------+
|          ID           |        NAME         |           WORKING HOST            |  USER   |    STATUS     | DURATION |     SUBMIT TIME      |    COST    |
+-----------------------+---------------------+-----------------------------------+---------+---------------+----------+----------------------+------------+
| qcraofa3dydy6q6zjuarw | pers-gcp            | 35.224.90.211 (2Core4GB/OnDemand) | sateesh | Executing     | 2h23m38s | 2024-06-20T23:54:25Z | 0.1494 USD |
+-----------------------+---------------------+-----------------------------------+---------+---------------+----------+----------------------+------------+
SSH into Head Node
- Locate the public IP address of the head node in the
Working Hostcolumn. - Retrieve the SSH key from Float's secret manager:
float secret get <job-id>_SSHKEY > <head-node-name>-ssh.keyNote: If you encounter a
Resource not founderror, wait a few more minutes for the head node and SSH key to initialize.
- Set the appropriate permissions for the SSH key:
chmod 600 <head-node-name>-ssh.keySSH to Nextflow JFS Head Node
SSH into the Nextflow head node using the provided SSH key, username, and the head node's public IP address:
ssh -i <head-node-name>-ssh.key <user>@<head-node-public-ip-address>Note: Use the username
nextflowto login as admin
MMC nf-float configuration
Editing the configuration file
- Copy the template and edit the configuration file:
cp mmcloud.config.template mmc-jfs.config
vi mmc-jfs.configNote: If you're new to using
vi, check out this Beginner's Guide to Vi for basic instructions.
-
The
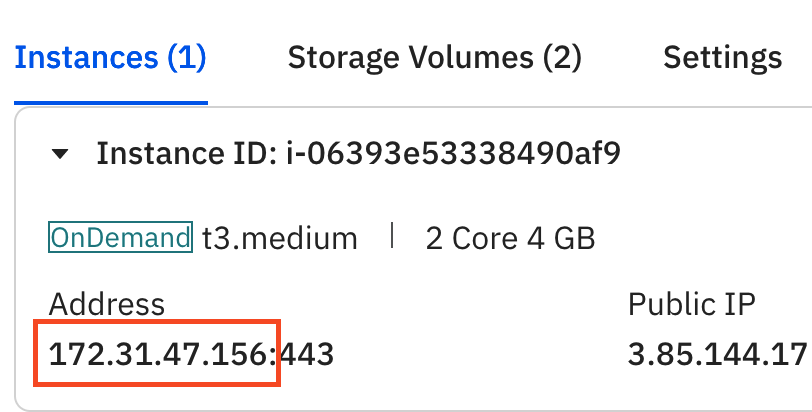
mmc-jfs.configfile copied from the template will be pre-filled with the OpCenter IP address, and the PRIVATE IP address of the Nextflow head node. You only need to provide your OpCenter username, password and AWS access and secret keys in the config.
plugins {
  id 'nf-float'
}

workDir = '/mnt/jfs/nextflow'

process {
    executor = 'float'
    errorStrategy = 'retry'
    extra ='  --dataVolume [opts=" --cache-dir /mnt/jfs_cache "]jfs://10.128.0.44:6868/1:/mnt/jfs --dataVolume [size=120]:/mnt/jfs_cache'
    /*
    For some special tasks like Qualimap which generates very small IO request, using this -o writeback_cache can help with performance. Here's an example.
    withName: "QUALIMAP_RNASEQ" {
      extra ='  --dataVolume [opts=" --cache-dir /mnt/jfs_cache  -o writeback_cache"]jfs://10.128.0.44:6868/1:/mnt/jfs --dataVolume [size=120]:/mnt/jfs_cache'
    }
    */
}

podman.registry = 'quay.io'

float {
    address = '10.128.0.2:443'
    username = '<your_user_name>'
    password = '<your_password>'
}
Using Tmux
Start a tmux session named nextflow:
tmux new -s nextflowTo attach to an existing tmux session:
tmux attach -t nextflow
Tip: If you're new to
tmux, here's a handy Tmux Cheat Sheet.
Nextflow Version Check
Check the Nextflow version and update if necessary:
nextflow -vExample Output:
nextflow version 23.10.0.5889
Launch Nextflow
Launch a Nextflow or nf-core/<pipeline> by providing the MMC config file:
nextflow run nf-core/<pipeline> \
-profile test_full \
-c mmc-jfs.config \
--outdir s3://nextflow-work-dir/<pipeline>
Float Summary
Users can retrieve a summary report for a specific Nextflow run using the unique workflow name generated for each run
float costs -f tags=nextflow-io-run-name:stupefied-jonesExample output
Job Number: 409
  Succeeded:    400 ( 97.80%)
  Failed:         9 (  2.20%)
  Running:        0 (  0.00%)
Cloud Resource:
  vCPU:            2922 Core(s)
  Core Hours:       708.97
  Memory:         16031 GB
  Storage:        51408 GB
  Extra Storage:   3850 GB
Host Count:       421
Floating Count:    13
Costs:       16.1840 USD
  Compute:       14.6383 USD
  Storage:       0.7978 USD
  Extra Storage: 0.7479 USD
Savings:     17.4906 USD
This summary provides an overview of resource utilization and costs associated with a particular Nextflow run, aiding in budget management and efficiency analysis for large-scale computational workflows.
FAQ
Q: Why does nf-core/rnaseq fail at the QUALIMAP step?
A: The QUALIMAP process in nf-core/rnaseq often fails due to its high-frequency, small-size write requests, leading to timeouts. Enabling -o writeback_cache consolidates these requests and improves performance significantly. However, it turns sequential writes into random writes, affecting sequential write performance. Use this setting only in scenarios with intensive random writes.
Add the following in the process {} scope of your config:
withName: "QUALIMAP_RNASEQ" {
     extra ='  --dataVolume [opts=" --cache-dir /mnt/jfs_cache  -o writeback_cache"]jfs://<head-node-private-ip>:6868/1:/mnt/jfs --dataVolume [size=120]:/mnt/jfs_cache'
   }
Additional Reading
Data Volumes
For jobs that generate file system I/O, specifying data volumes is essential. The OpCenter supports a variety of data volume types. Learn more about configuring data volumes in MMCloud in the MMCloud Data Volumes Guide.
Allow / Deny Instance Types
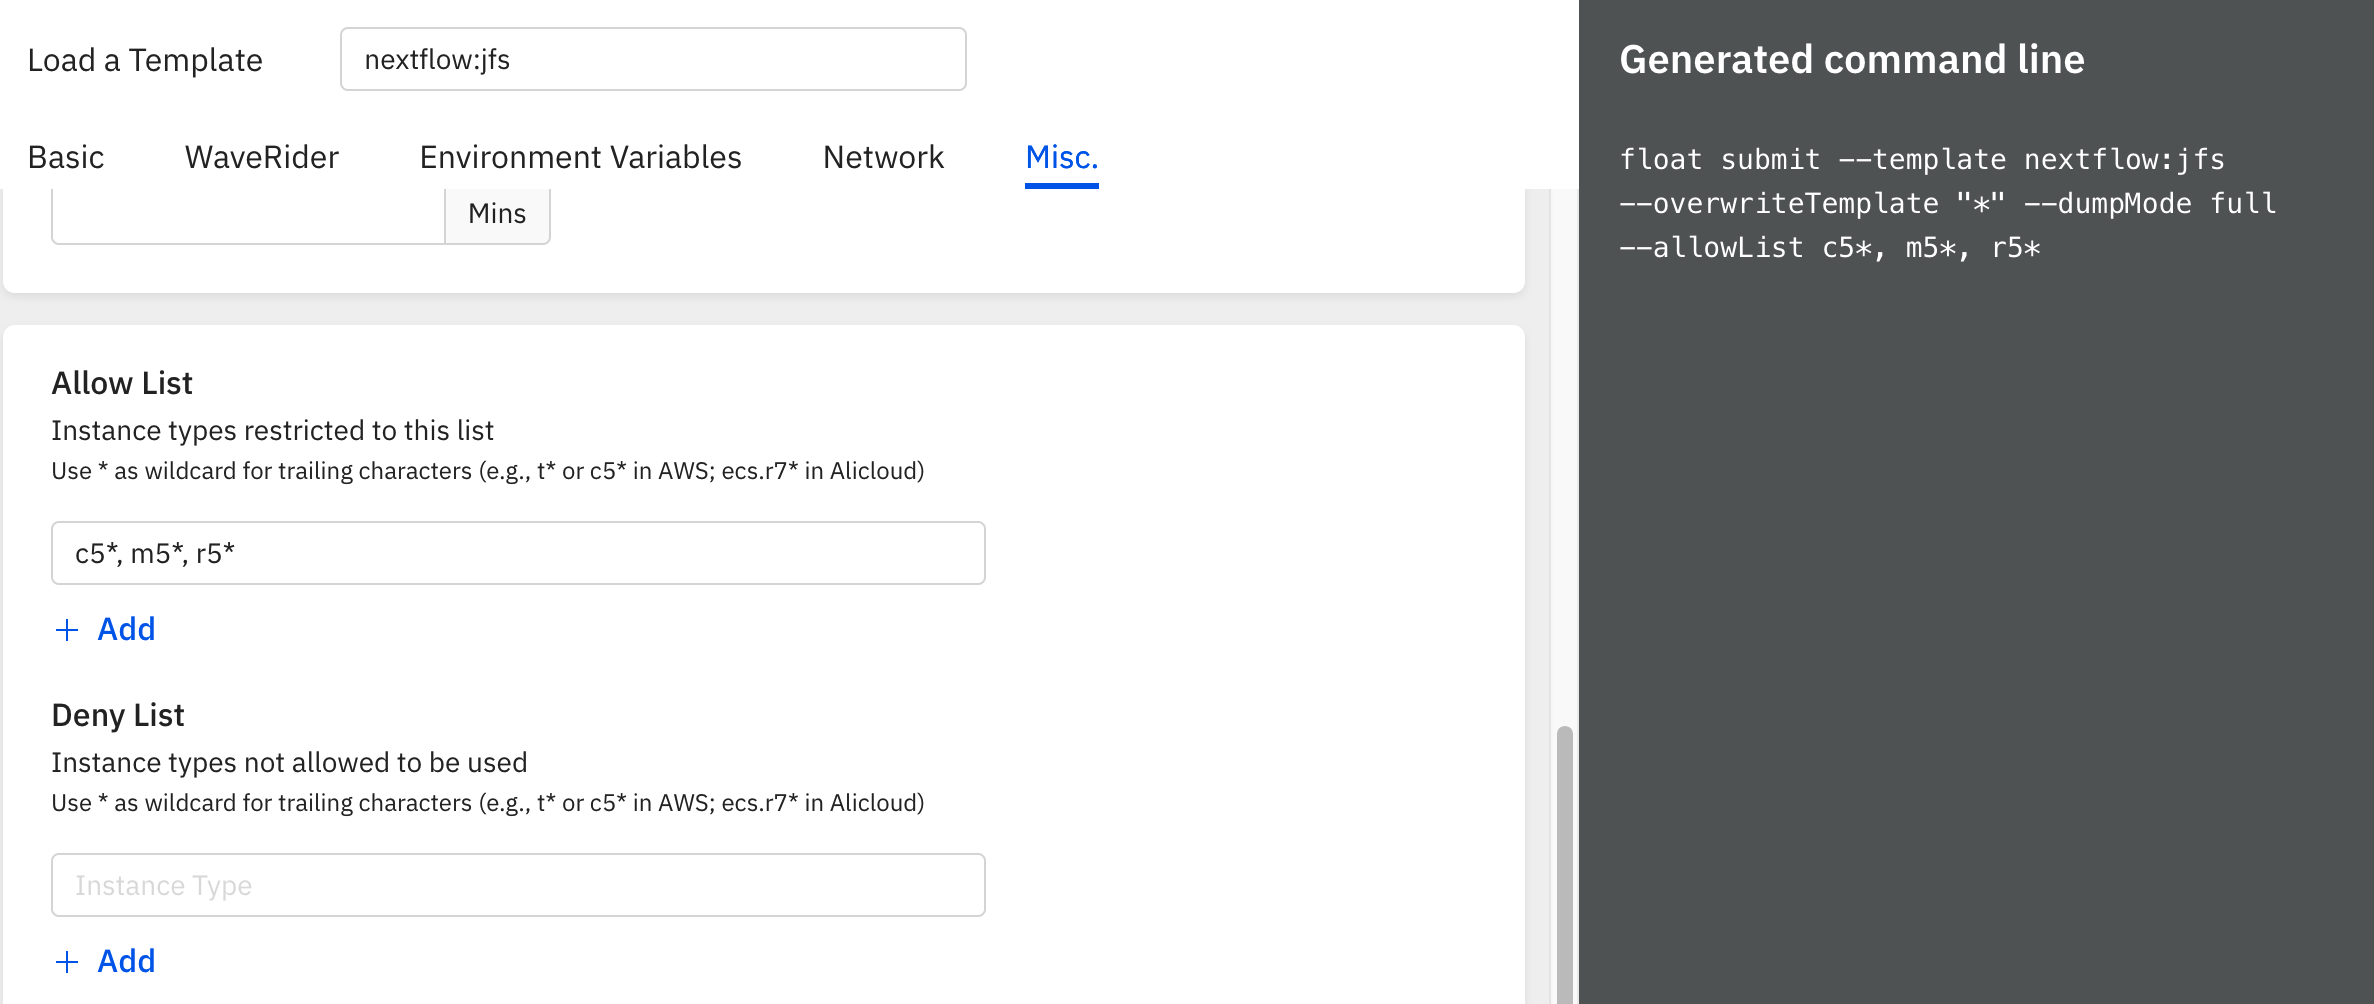
Configure which instance types are allowed or denied in your setup.
