Introduction
- MMCloud's Juiceflow solution provides a high-performance method for running Nextflow pipelines on the cloud by leveraging JuiceFS to optimize cloud storage for the work directory.
See the official Juiceflow Quick Guide for introduction on how to run nextflow pipelines on MMCloud
- This quick guide is aimed towards easy submission of nextflow workflows to your mmcloud opcenter via the air interface. No command line interface is needed via this method.
Admin Steps
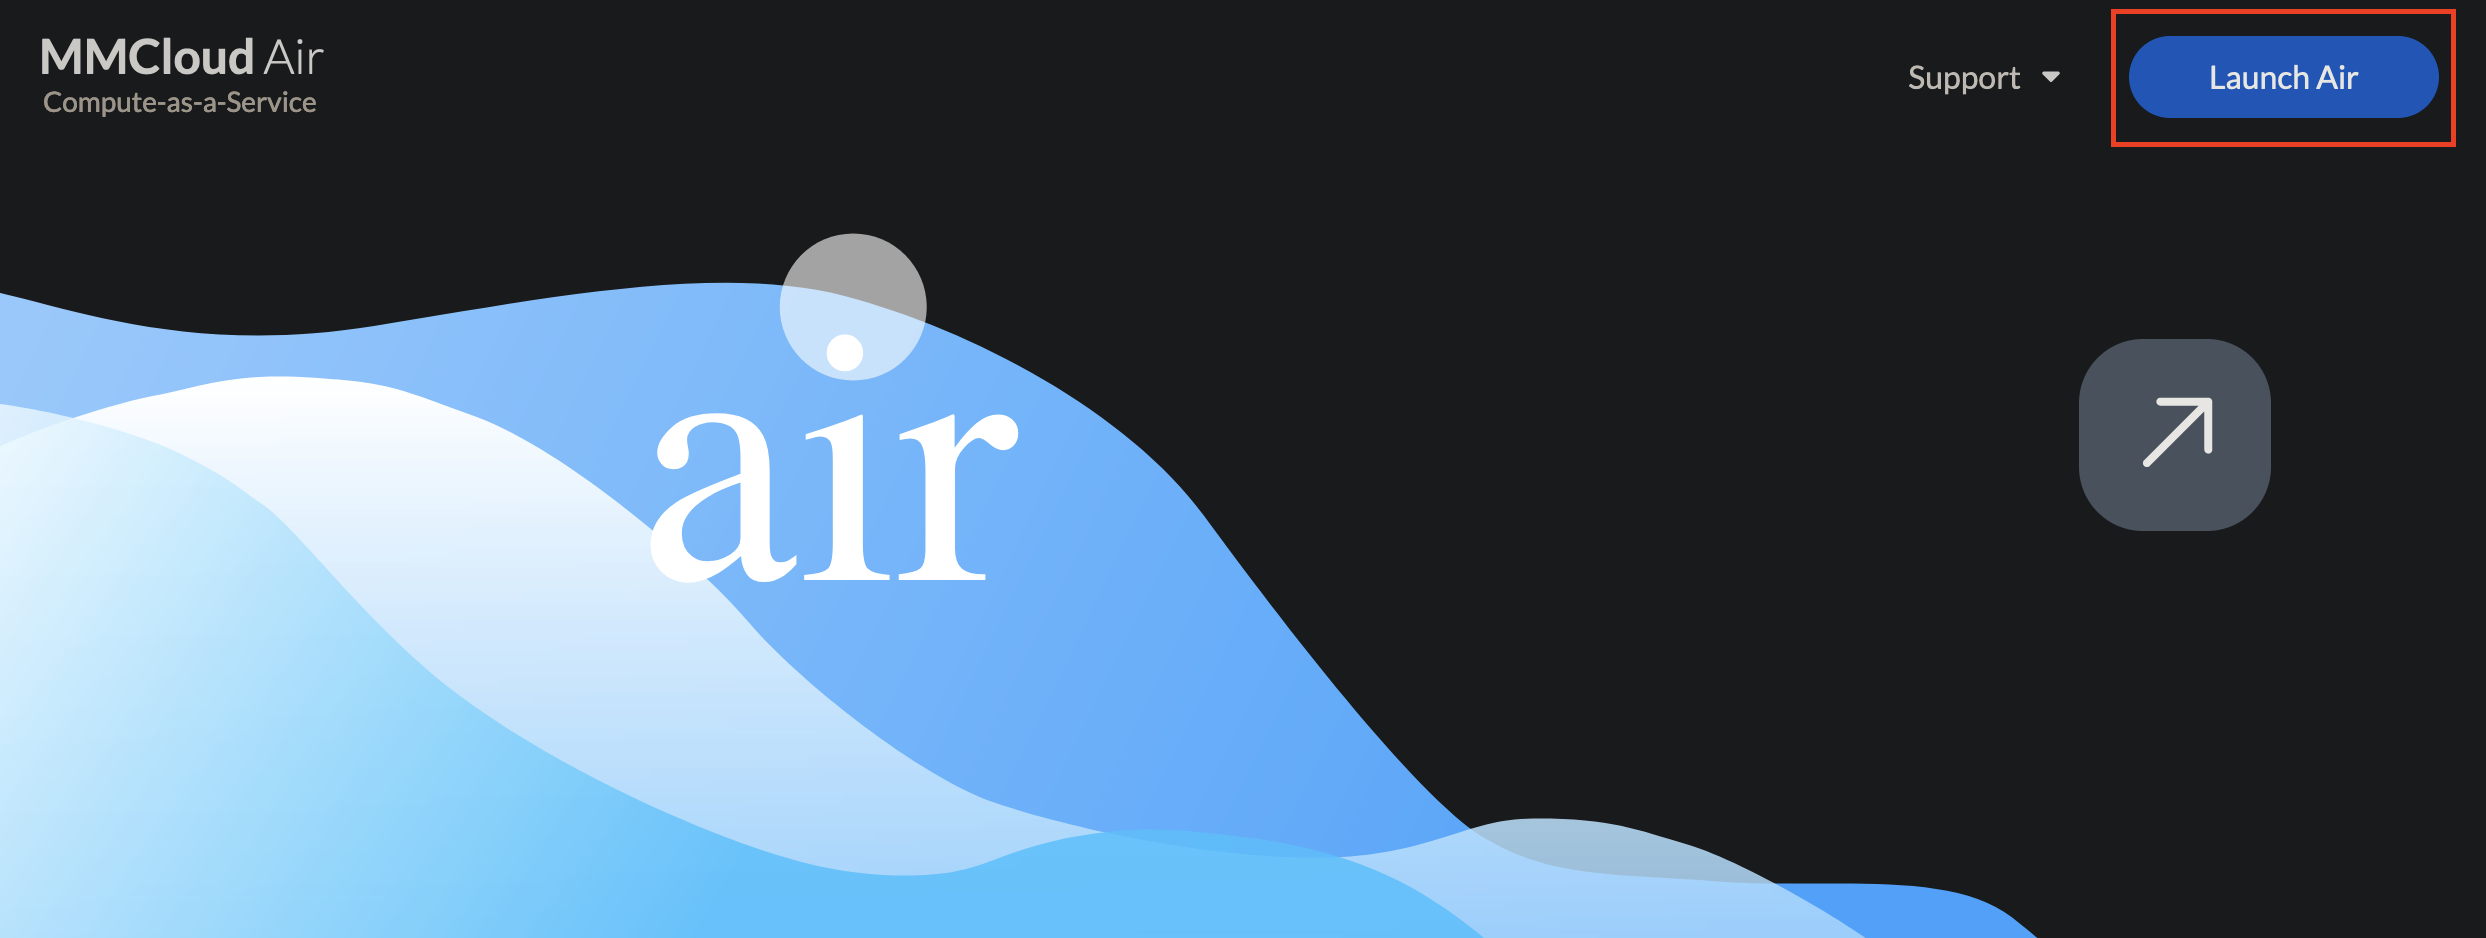
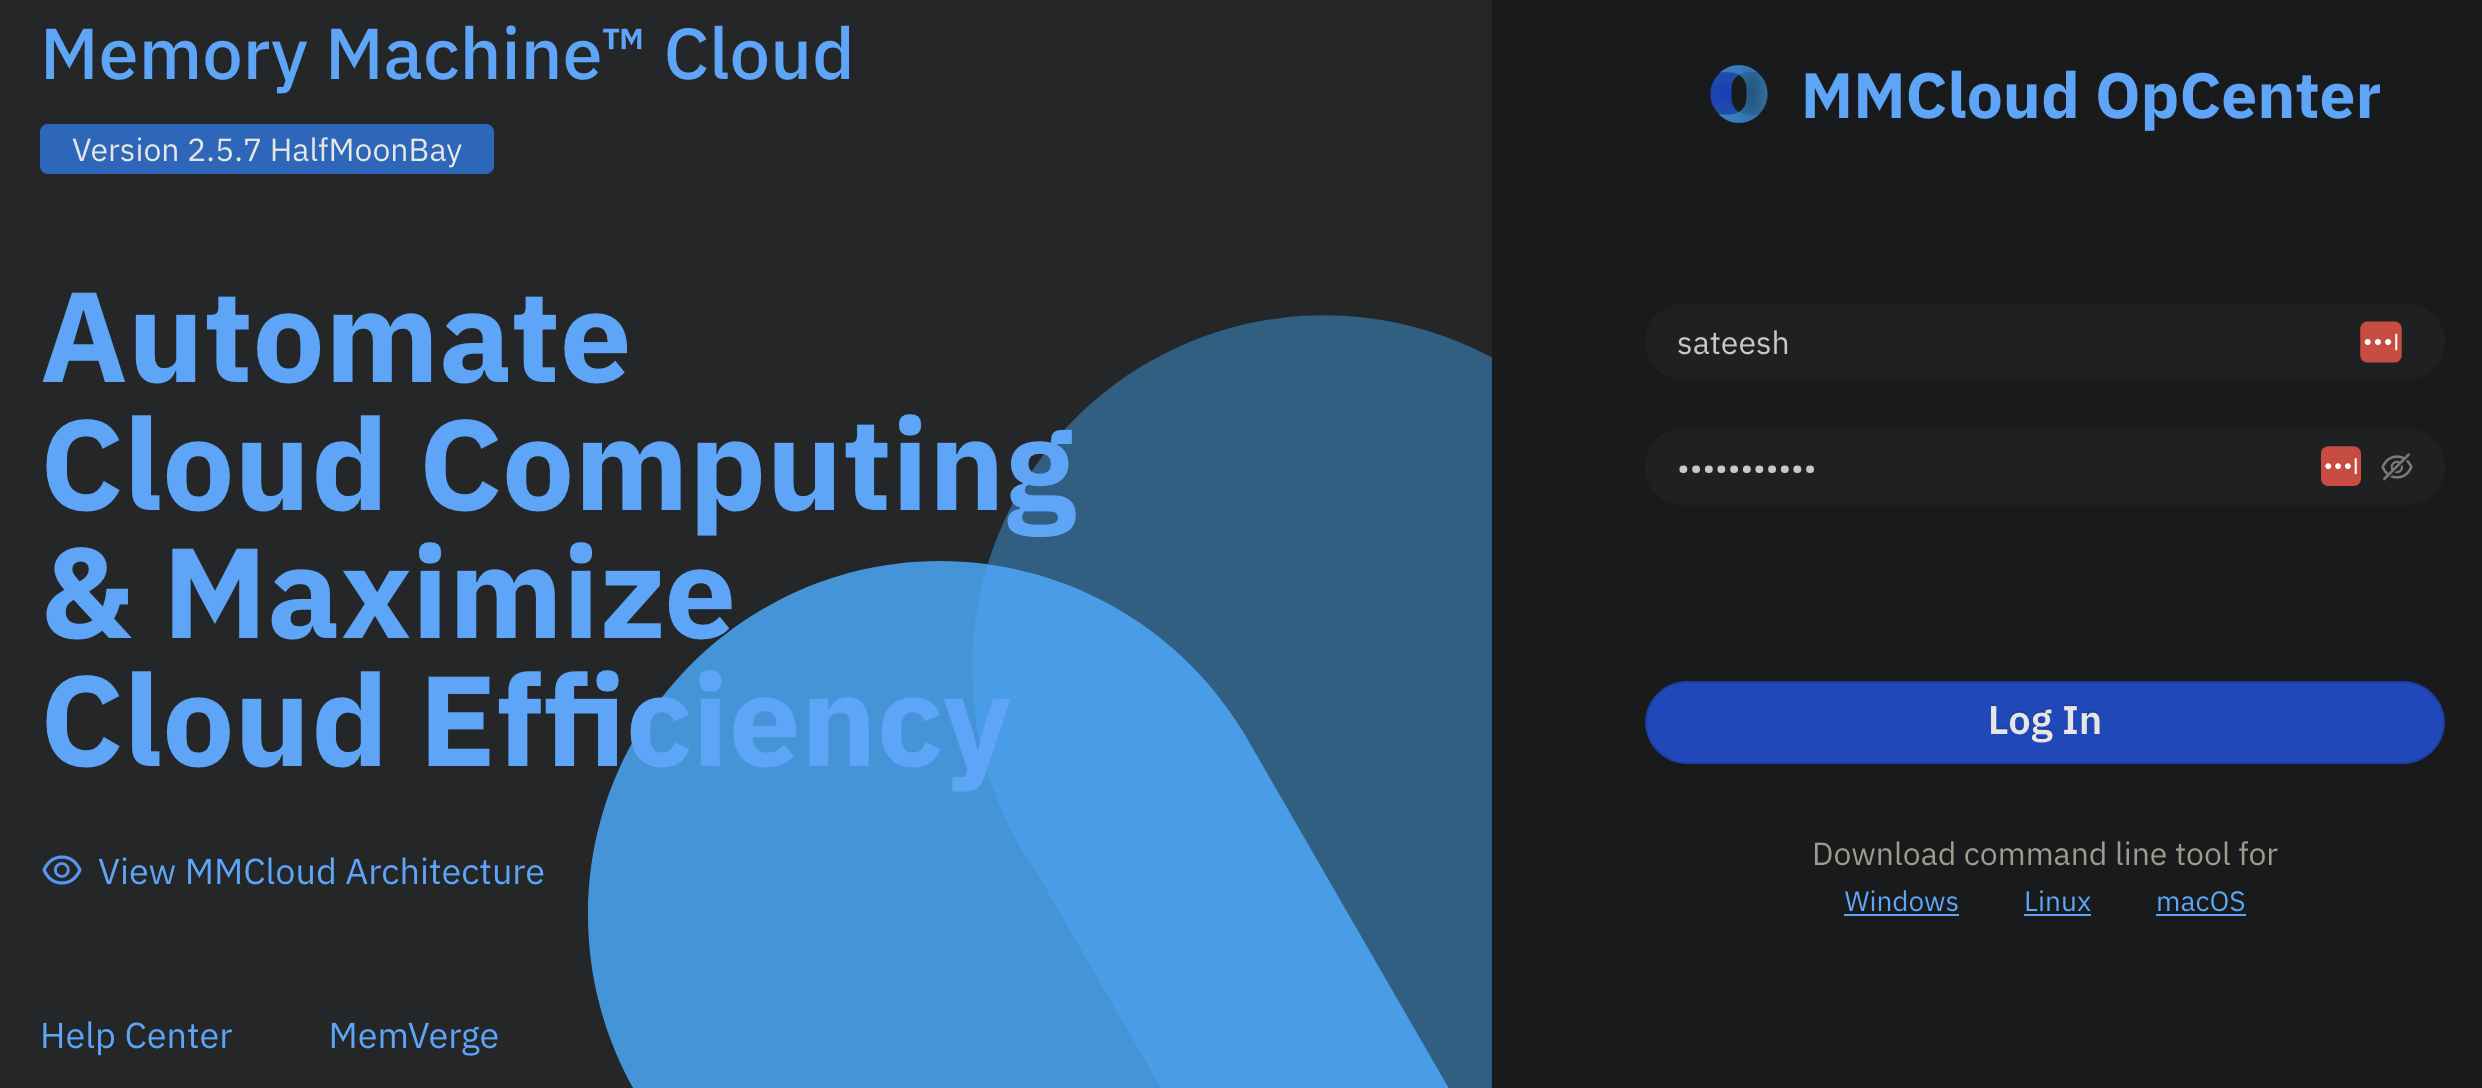
- Login to MMCloud's Air interface available publicly at this link
- Click on
Launch Airtowards the top navigation bar
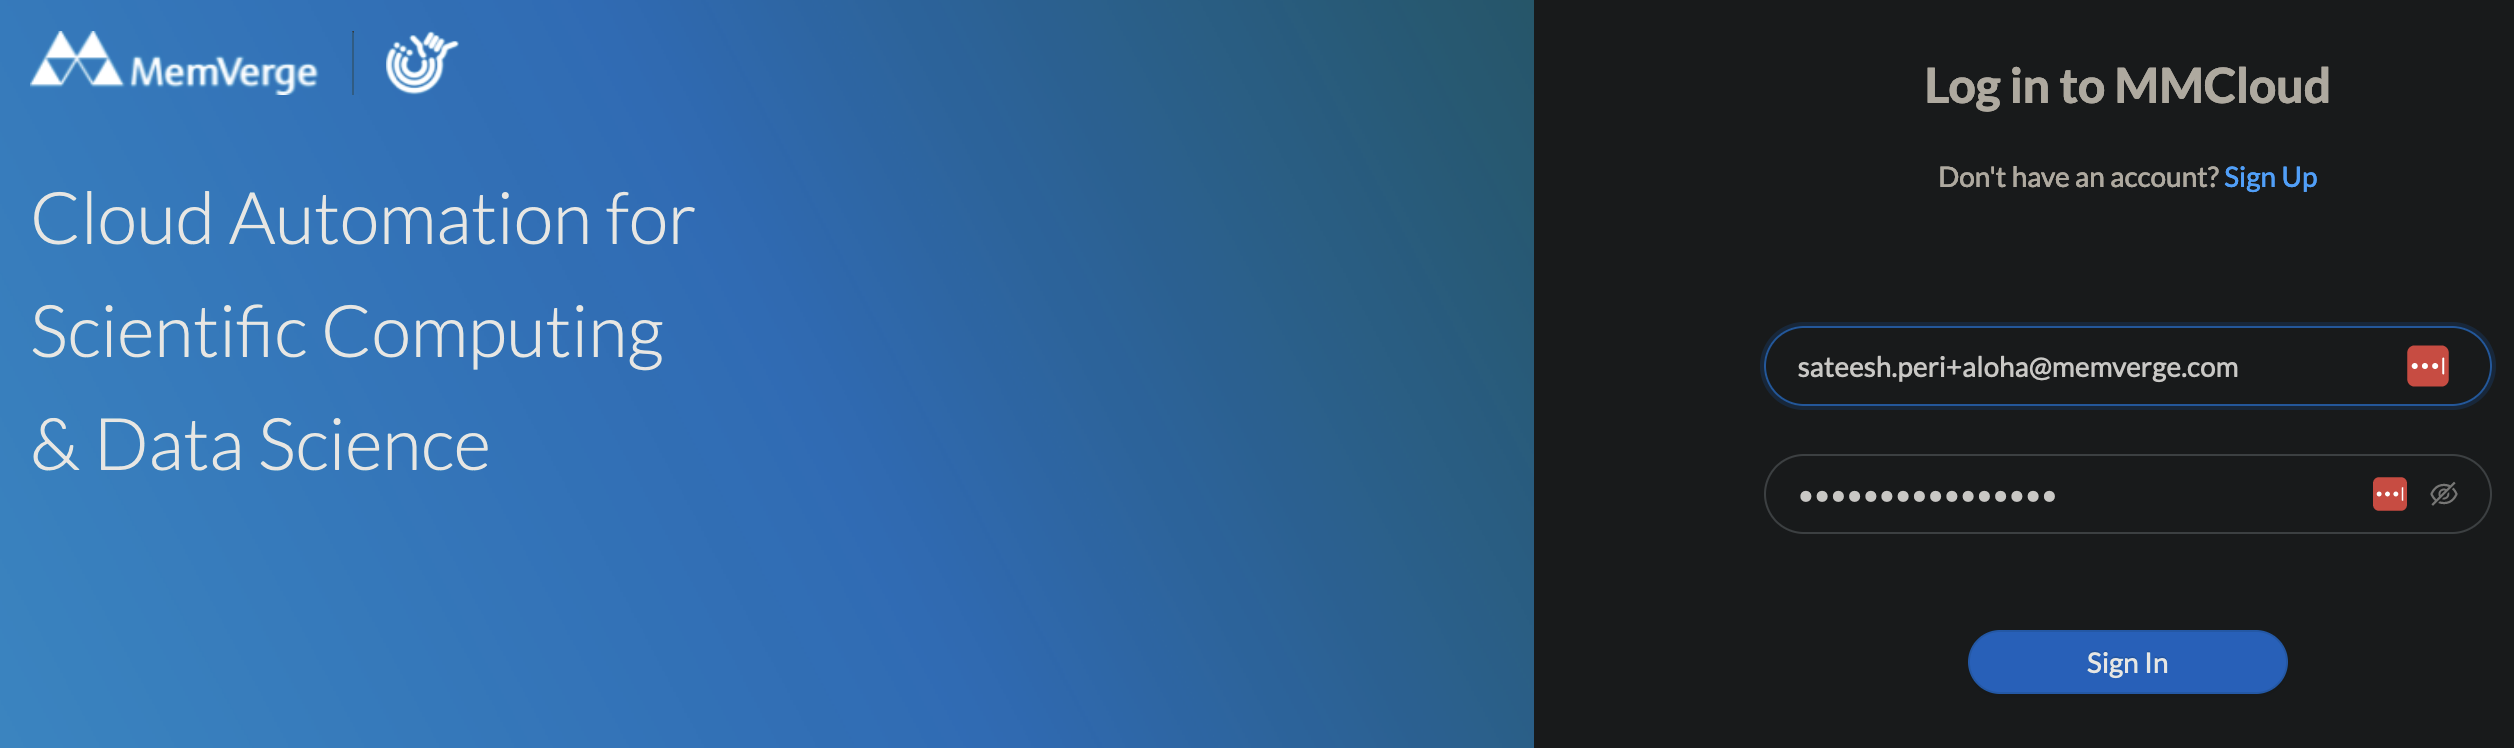
- Click on the user icon(top-right) to
Sign Into your MMCloud account

- Provide your MMCloud user credentials and click on
Sign In
- Once logged in, Click on
Execute through->Private MMCloud
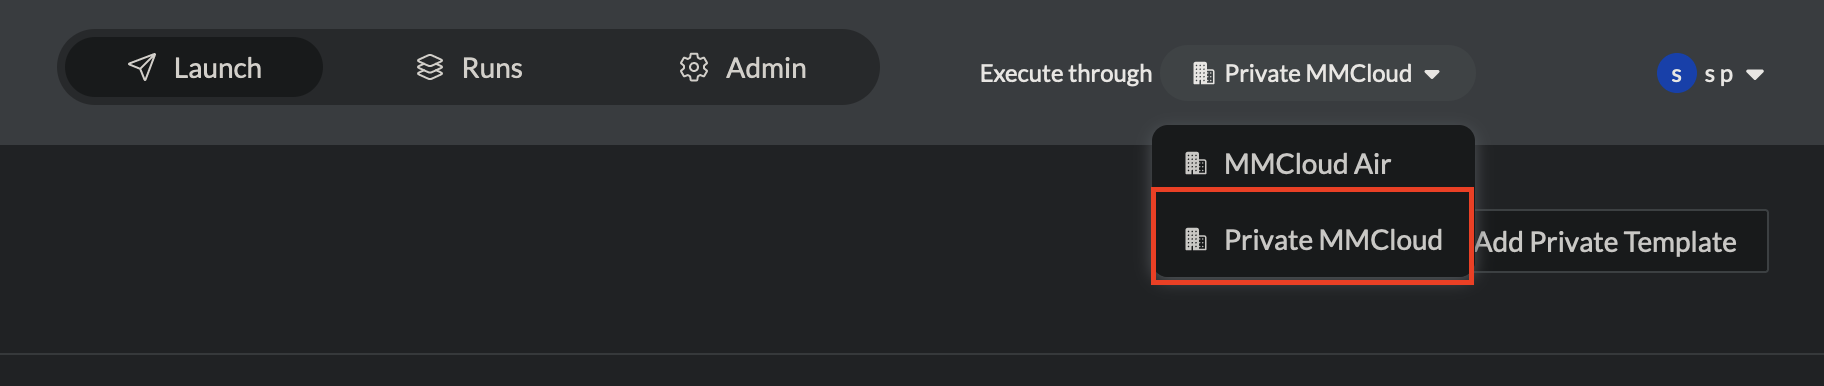
- Once confirmed that the execution mode is via private mmcloud, click on
Admintab from the top navigation bar

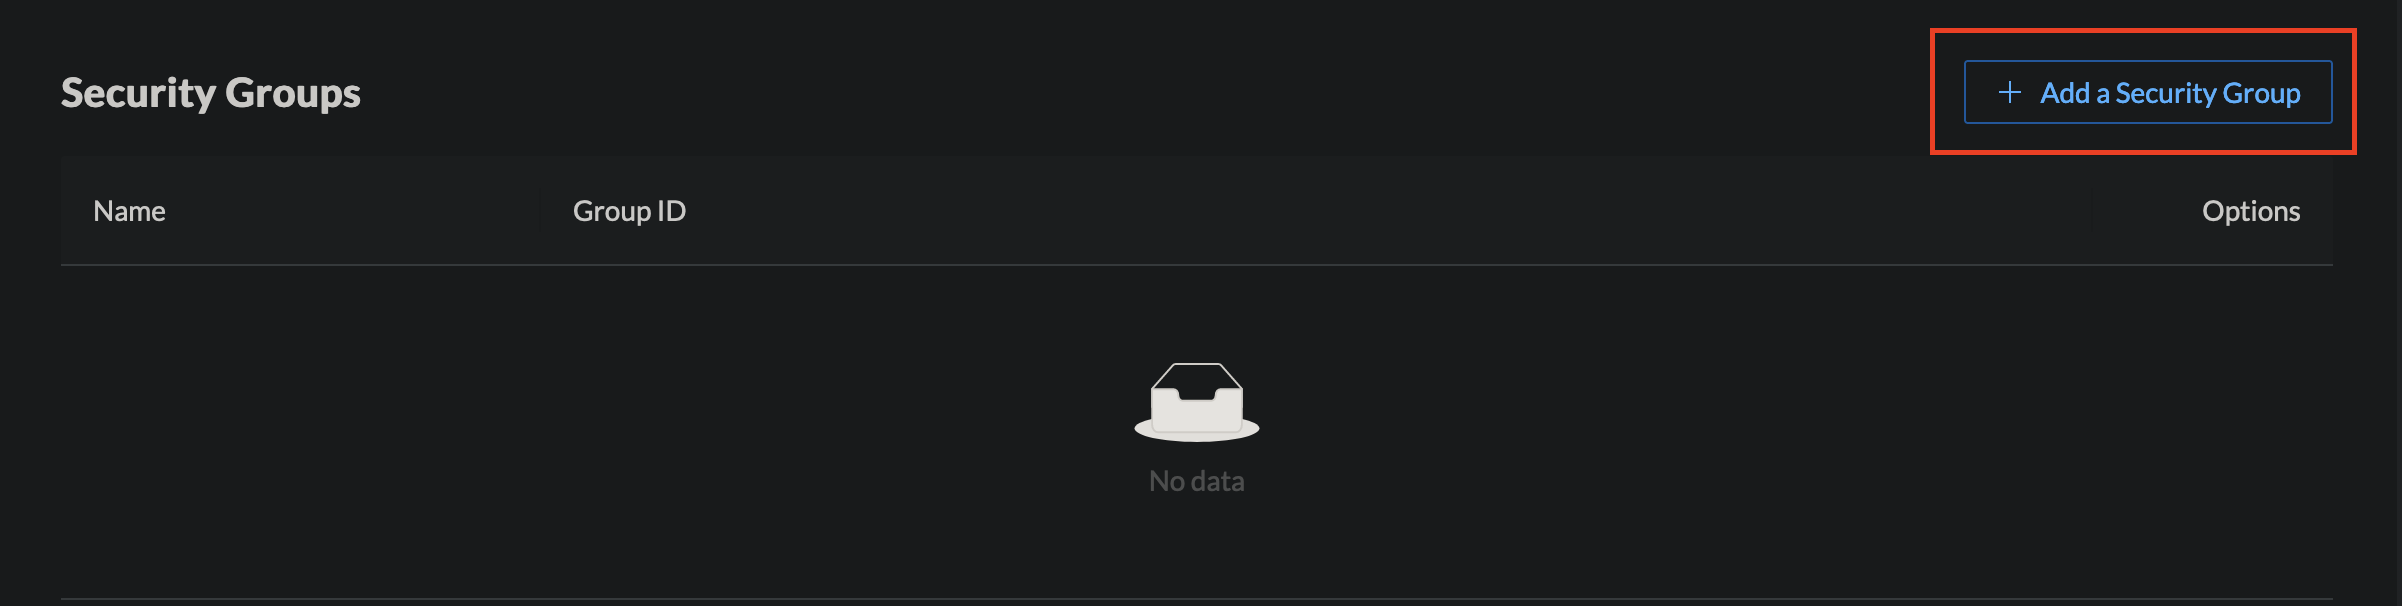
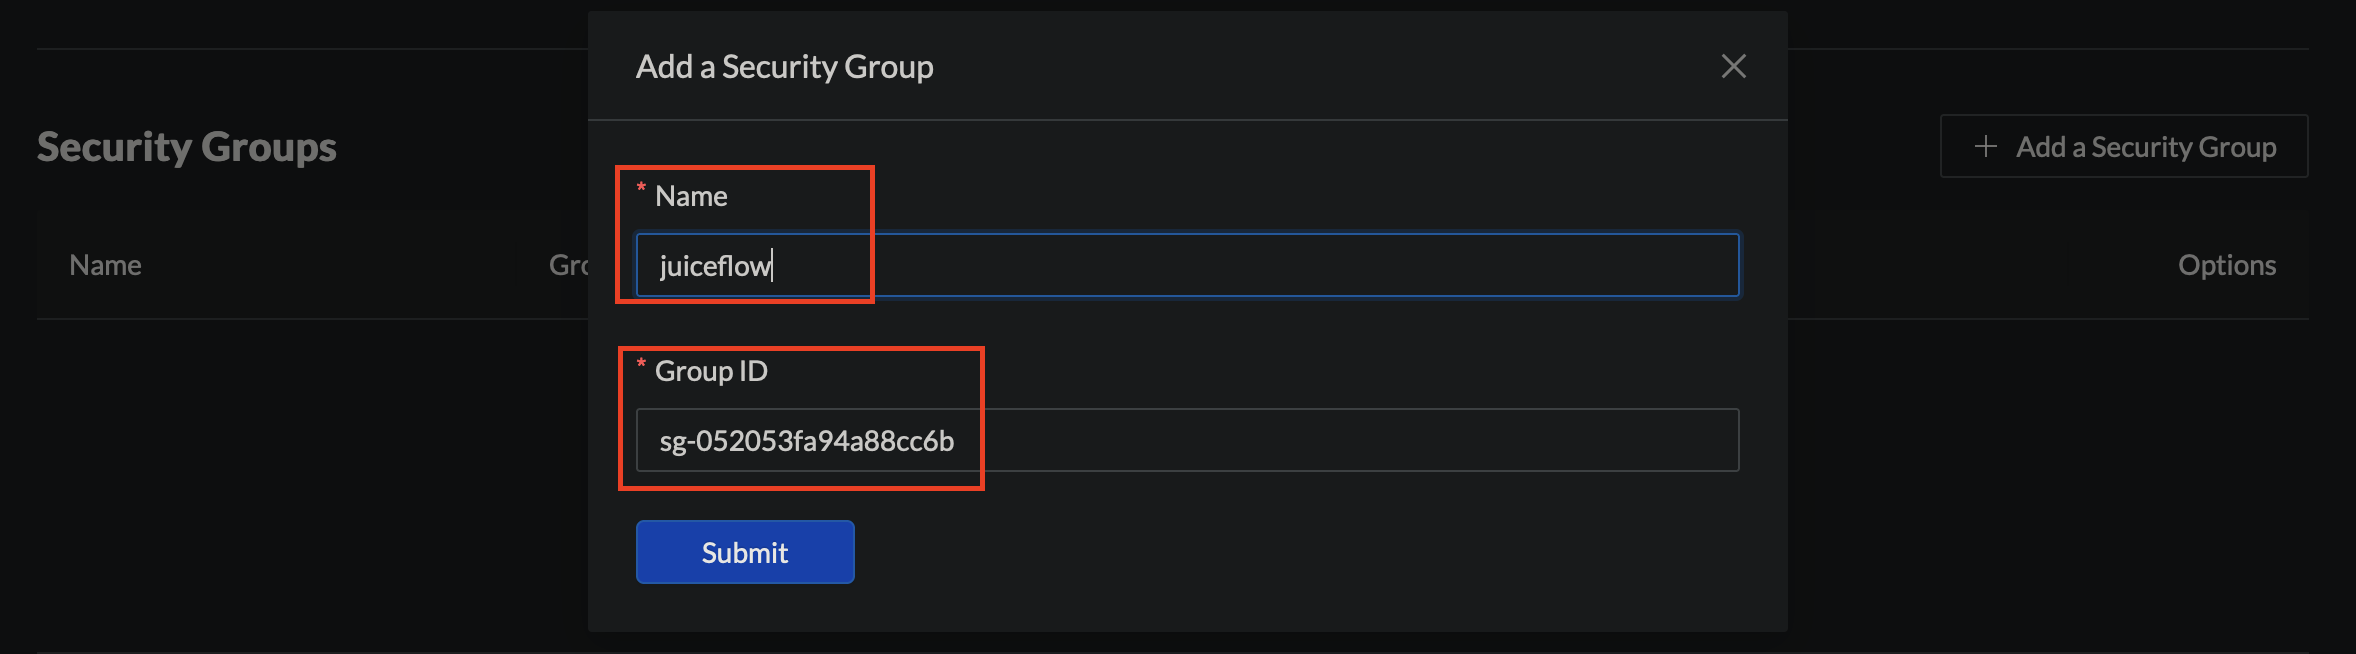
- Under the
Adminpage, first add theSecurity Grouprequired for juiceflow with port open on6868
- Next, under
Storage, add cloud storage bucket that will be used as the work directory for nextflow


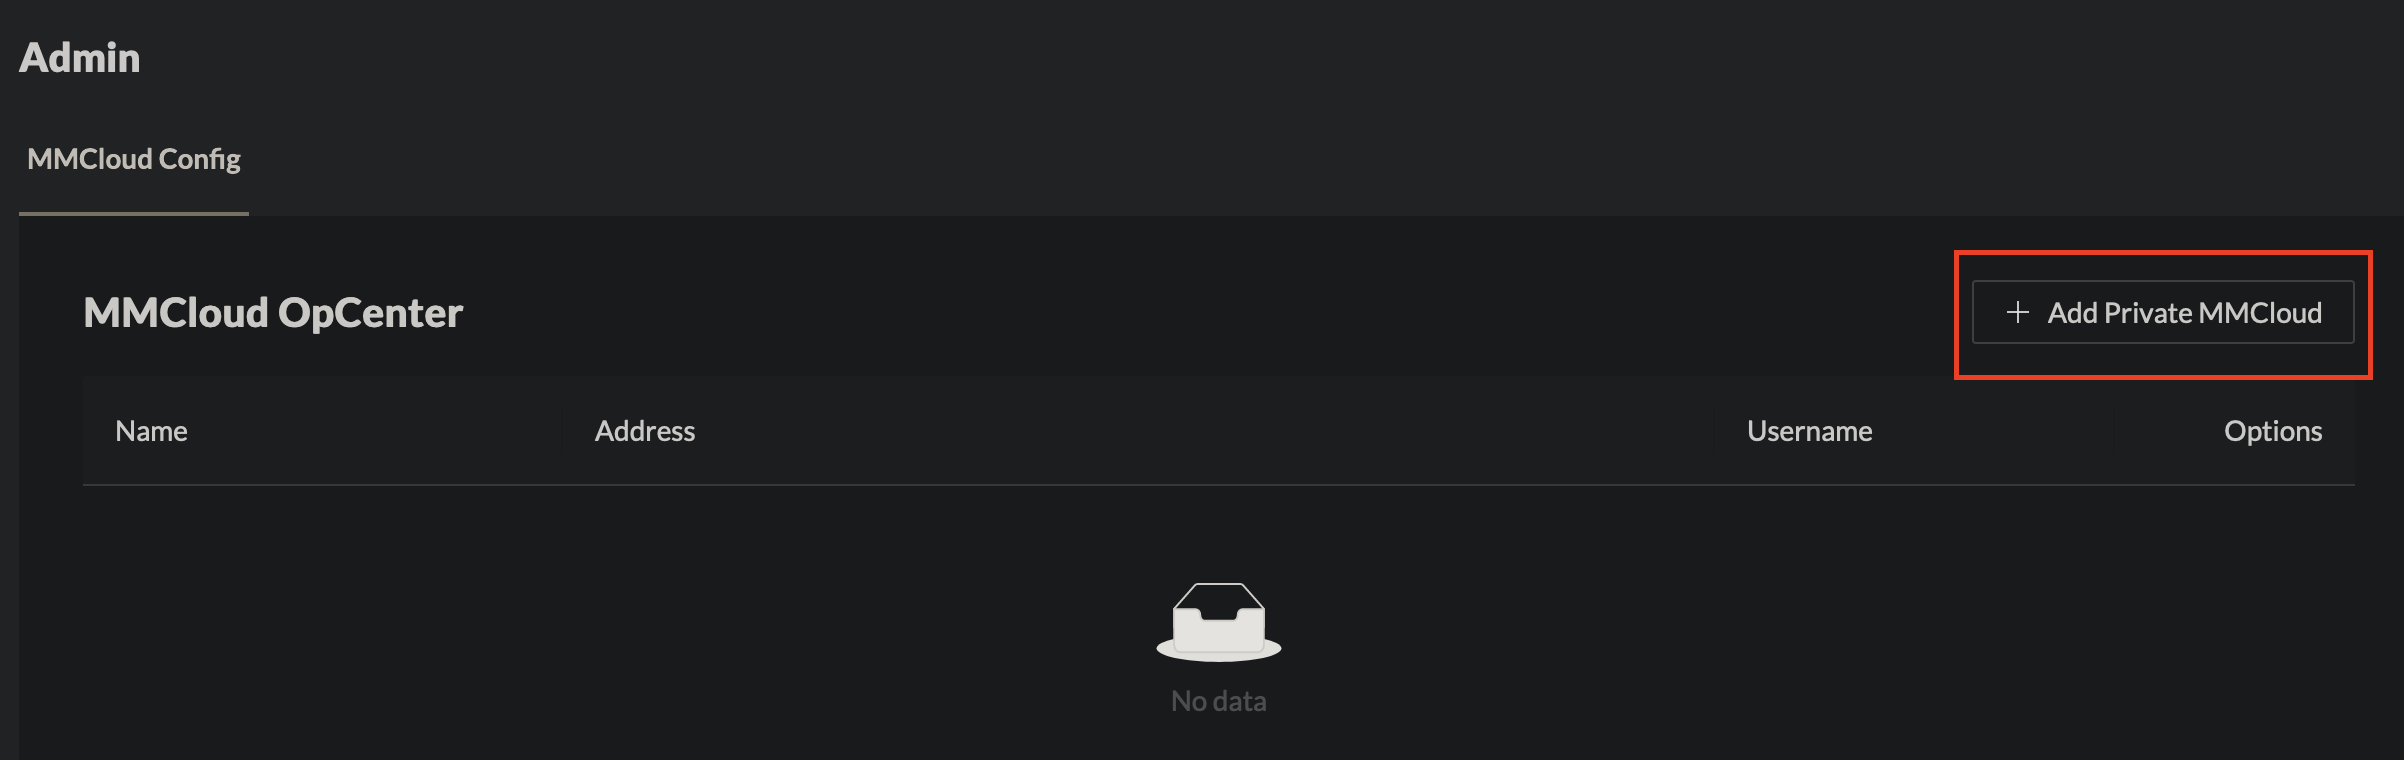
-
Next,
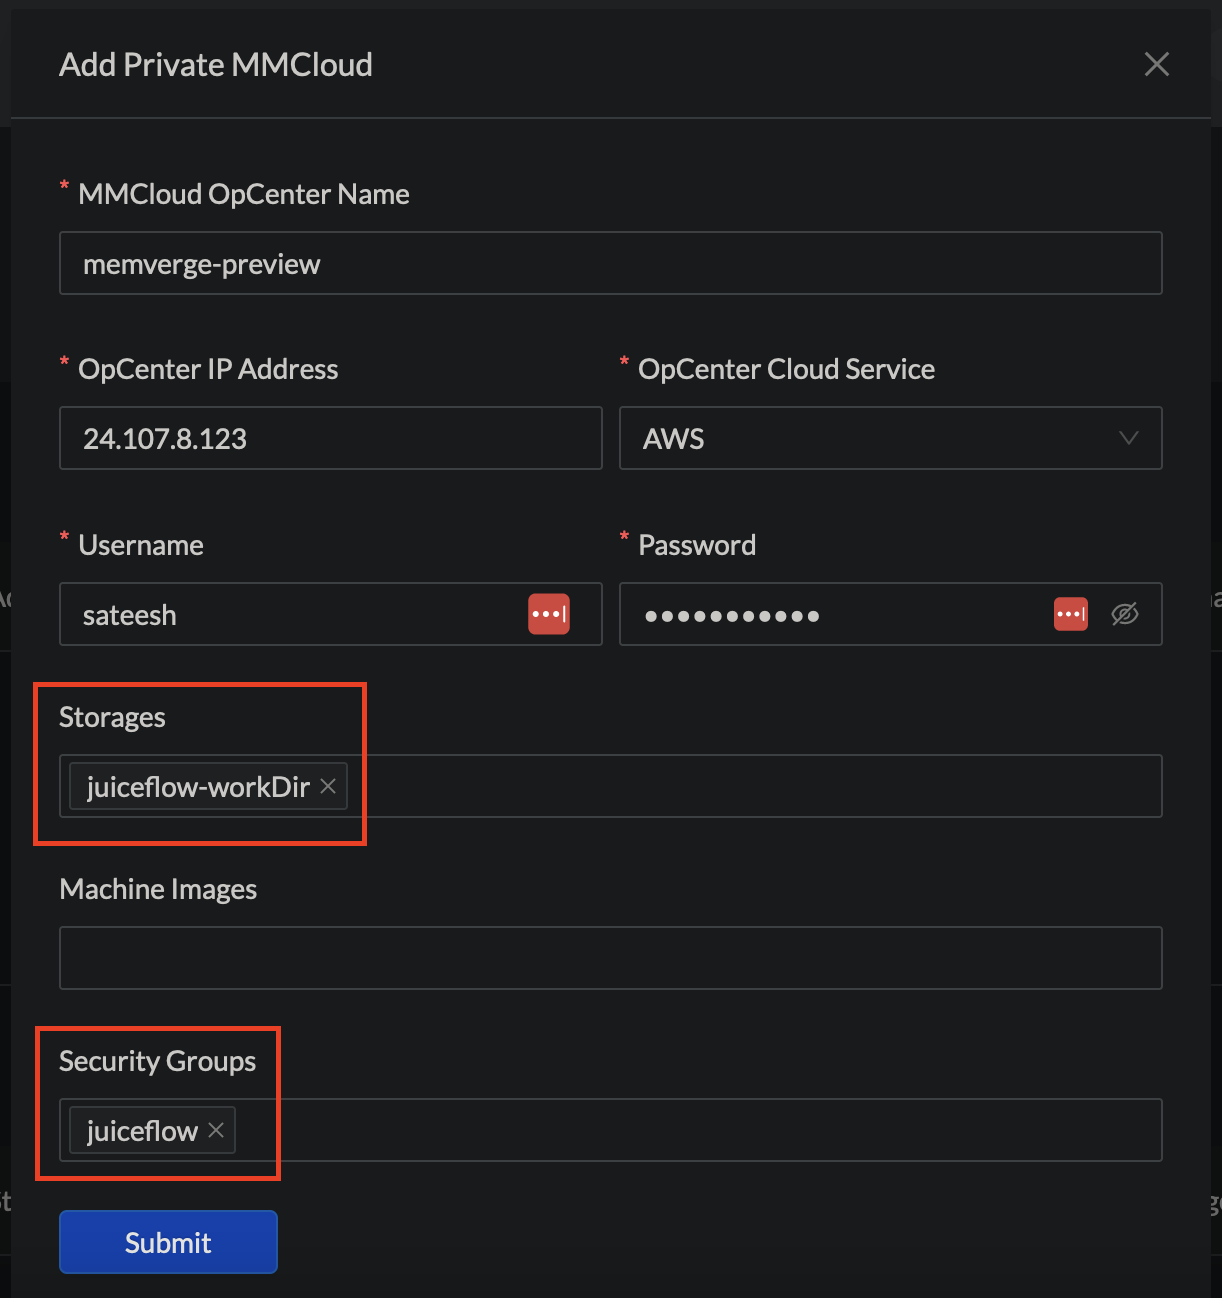
Add Private MMCloud OpCenter, by providing the IP address and user credentials. -
Add on any
Storagebuckets &Security Grouppreviously added to connect to this opcenter
These
Adminsteps are to be setup once and will be stored on air interface securely
Launch Steps
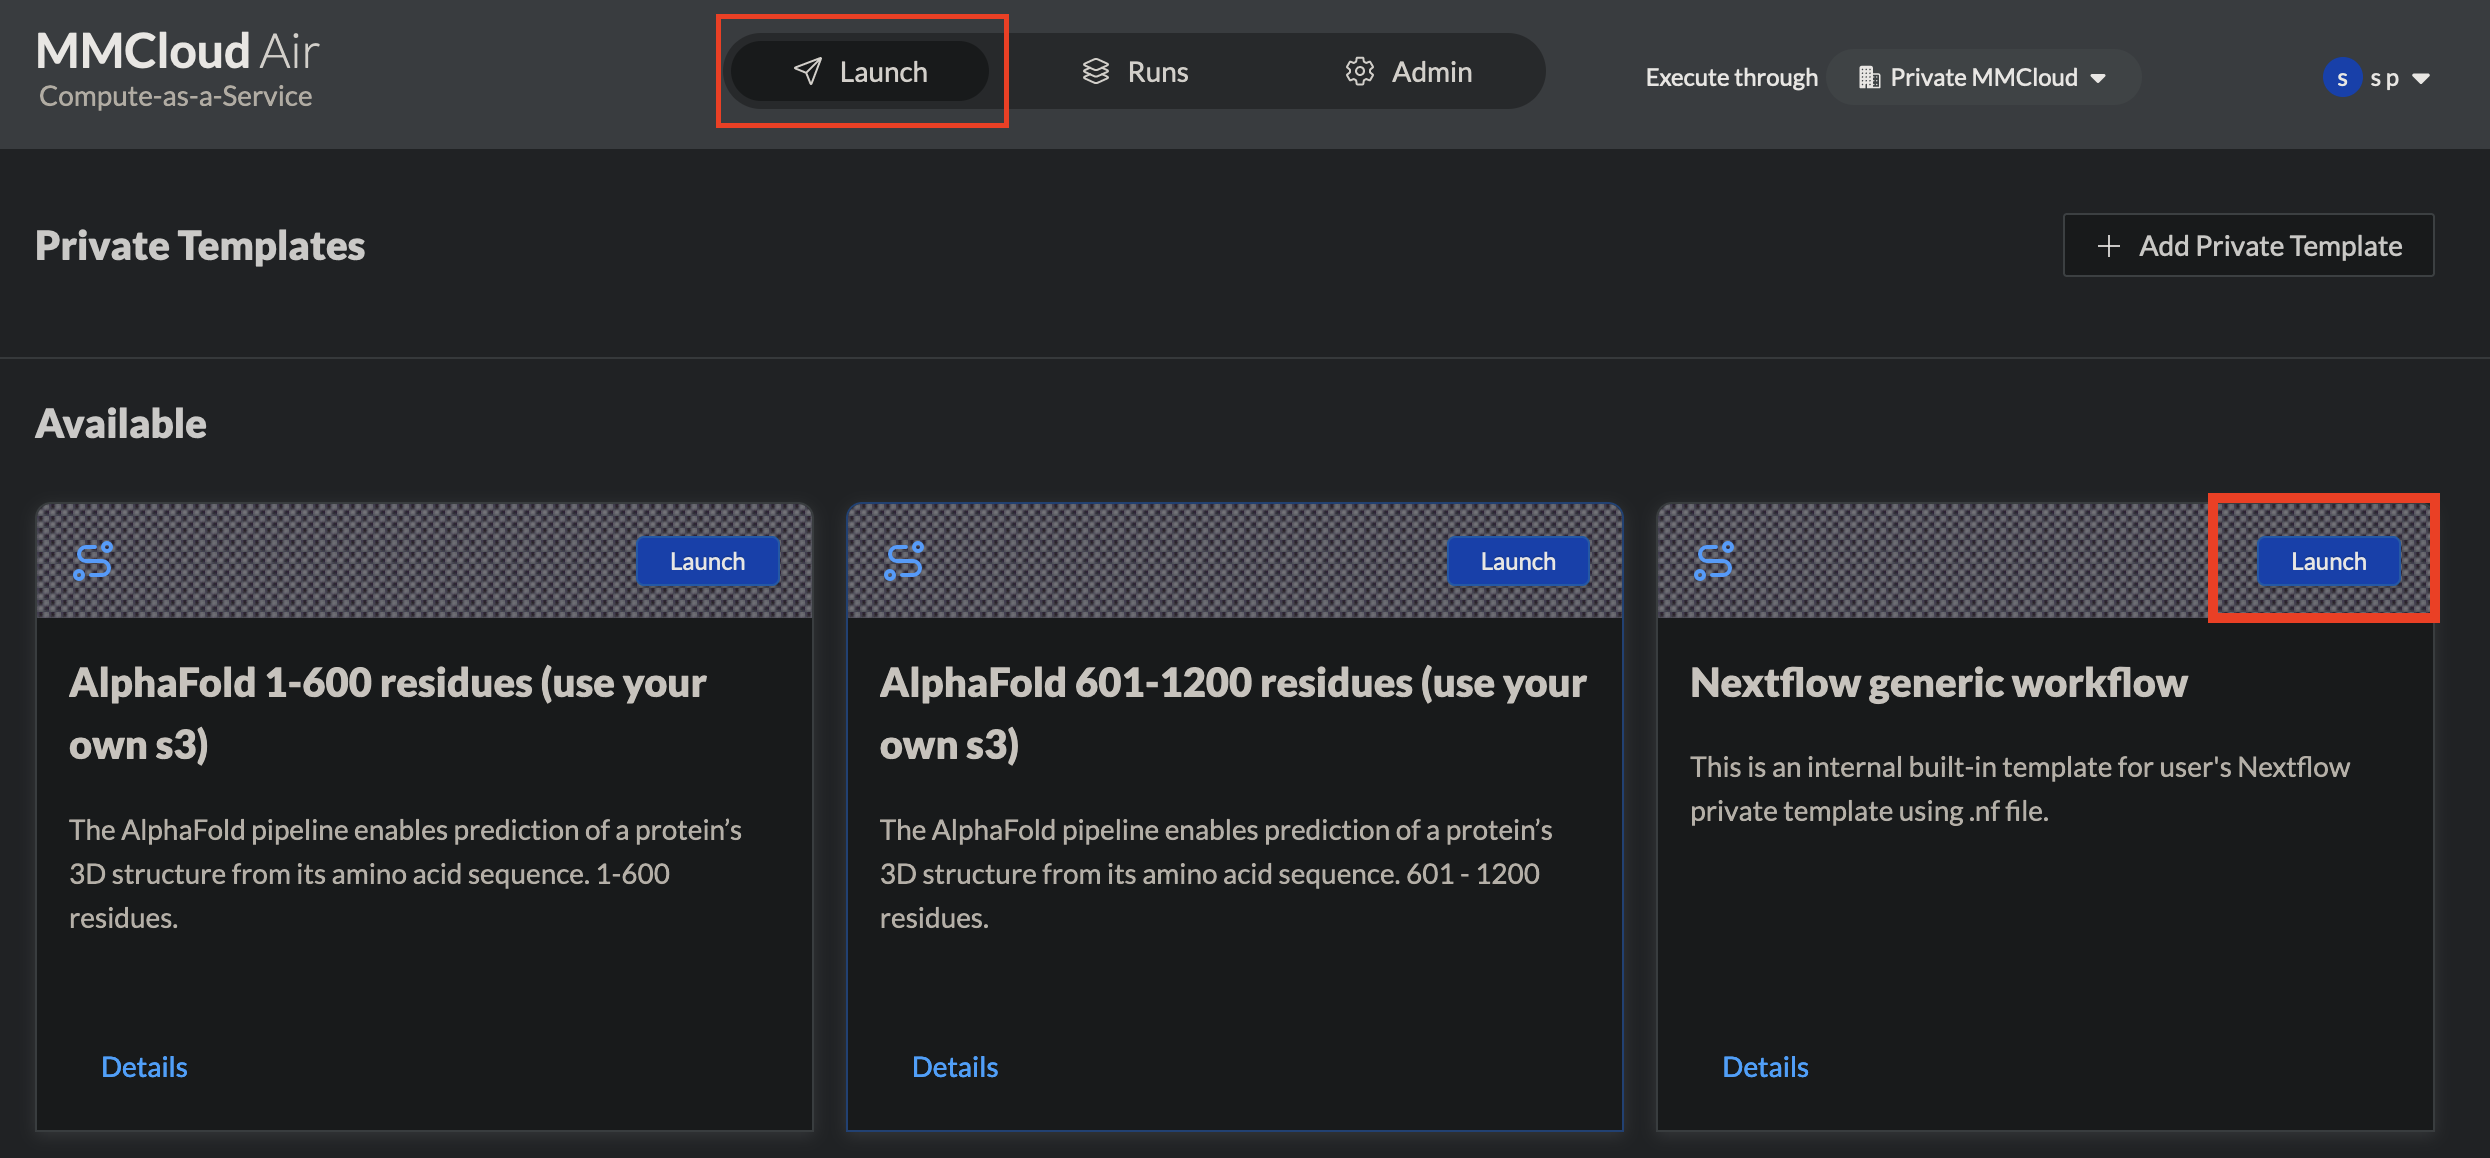
- Click on
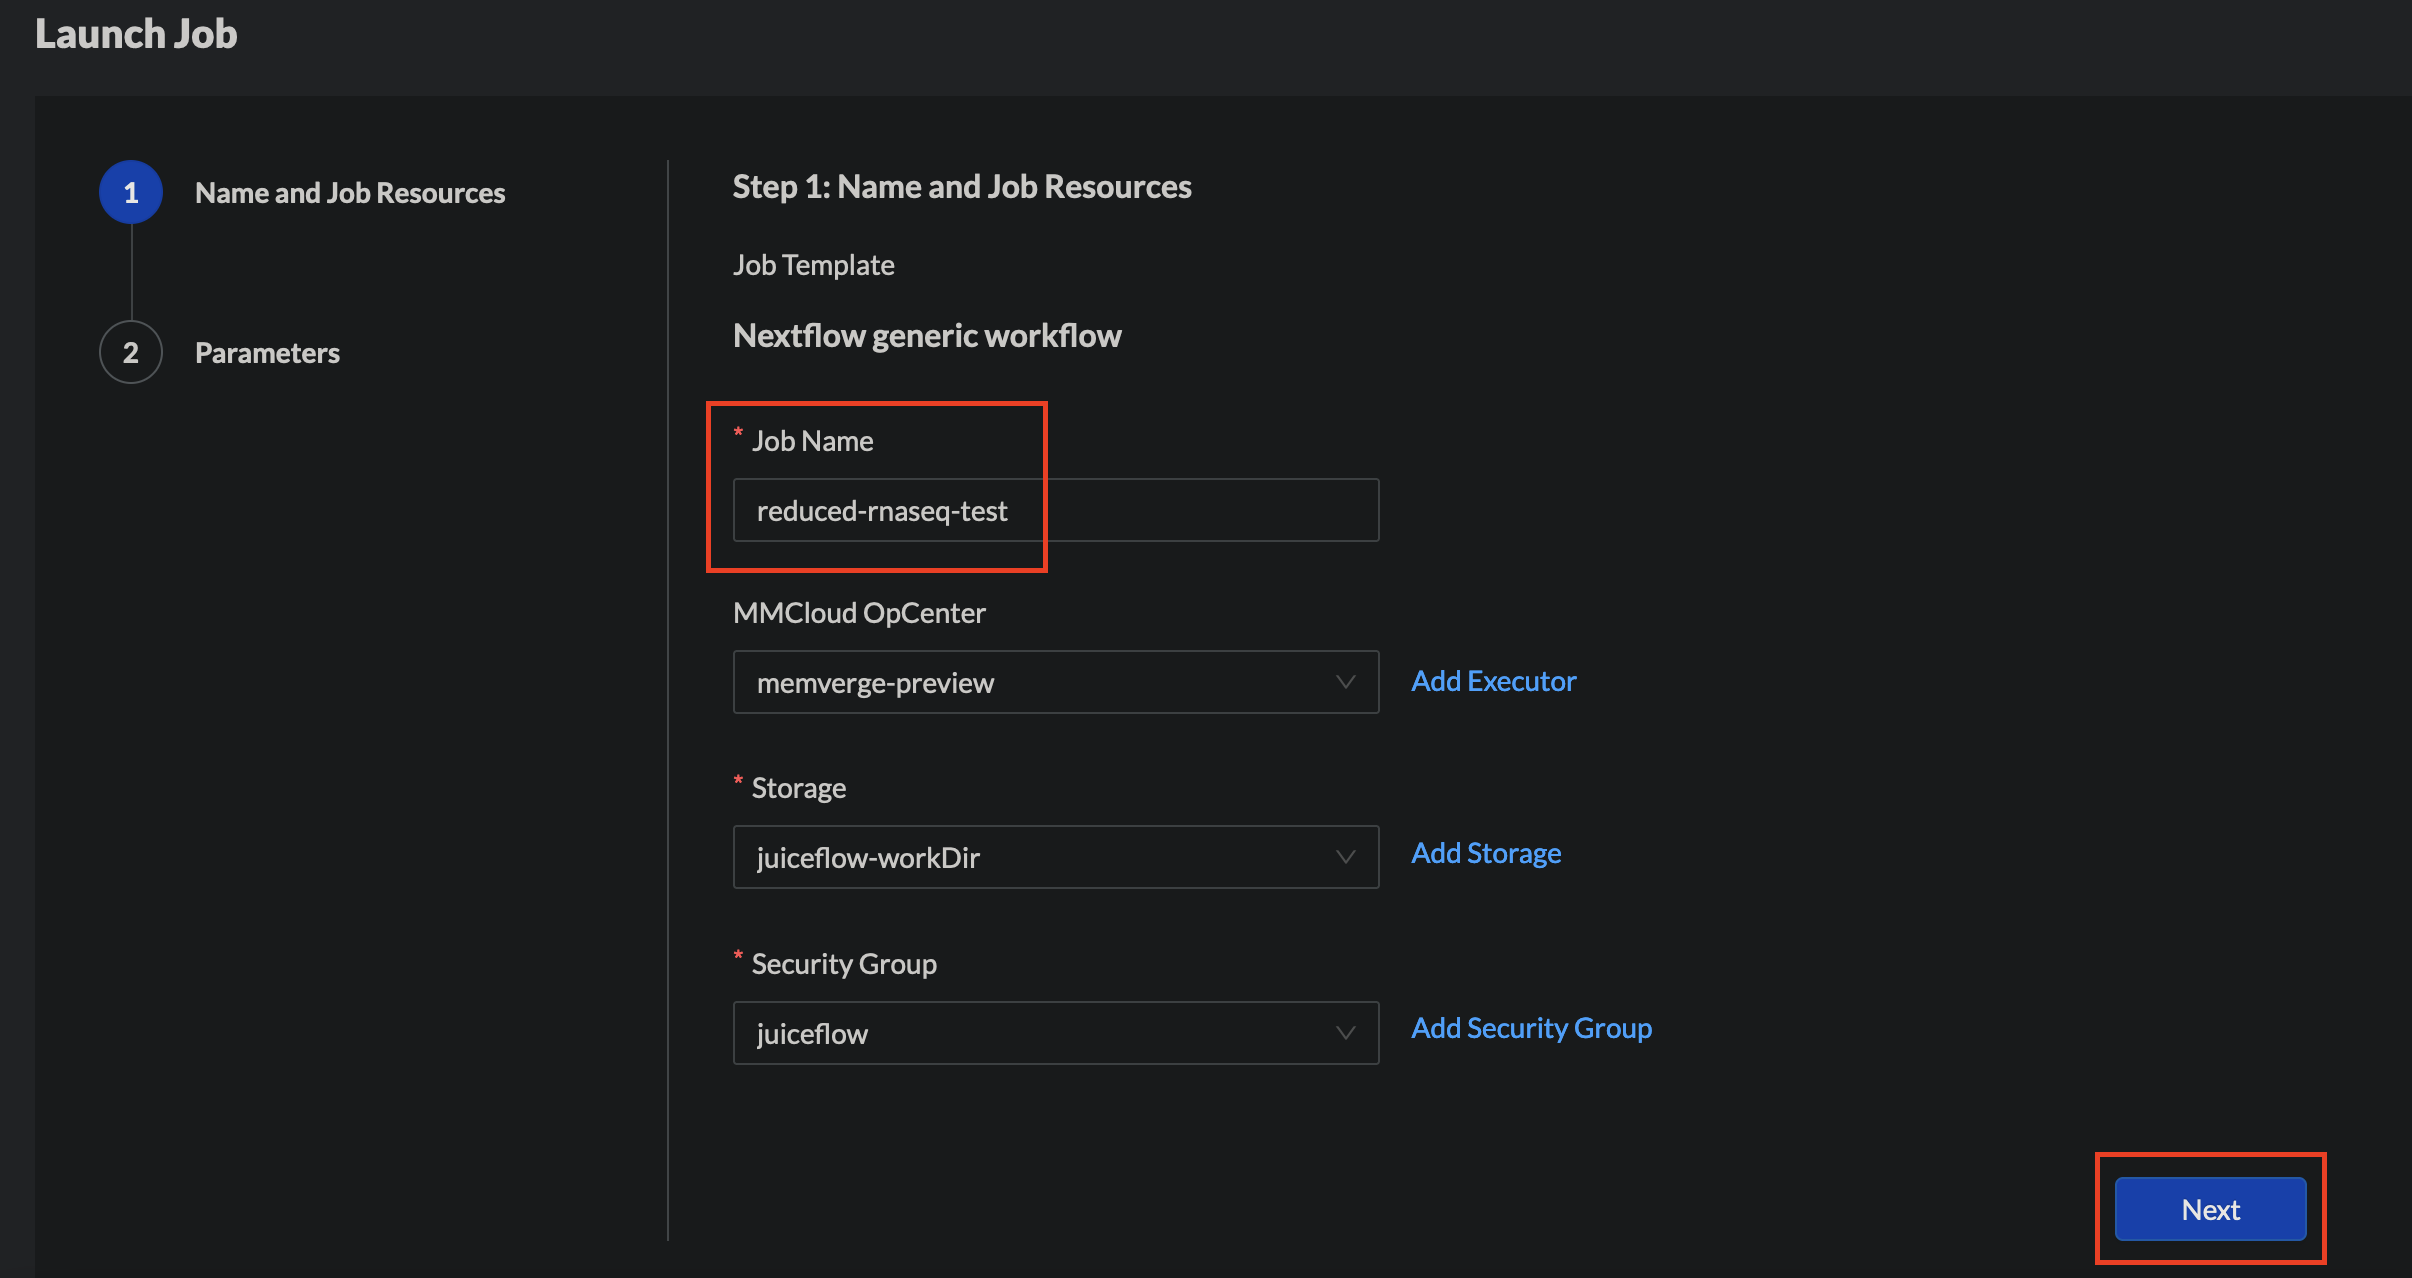
Launchtab from the top navigation bar and further click on launch of theNextflow Generic Workflowtemplate.
- Provide a
Job Nameand select theMMCloud OpCenterexecutor,StorageandSecurity Groupfor execution and click onNext
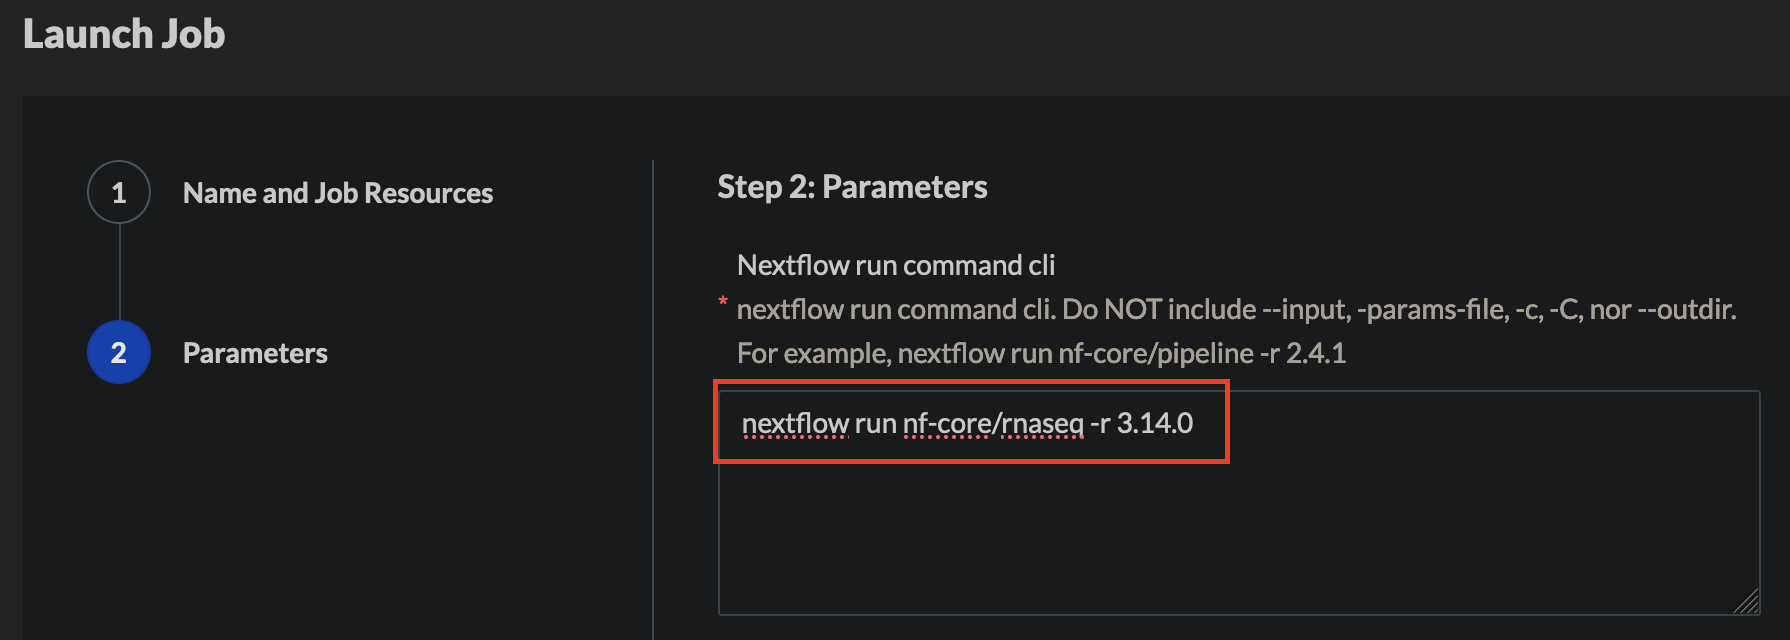
- Under parameters, provide the repository for nextflow run execution including the revision/branch.
NOTE: Do NOT include --input, -params-file, -c, -C, nor --outdir.
- Next, provide the VM selection policy for worker nodes along with additional settings like
retryLimit&retryInterval
Available policies:
SpotFirst,SpotOnly,OnDemand

-
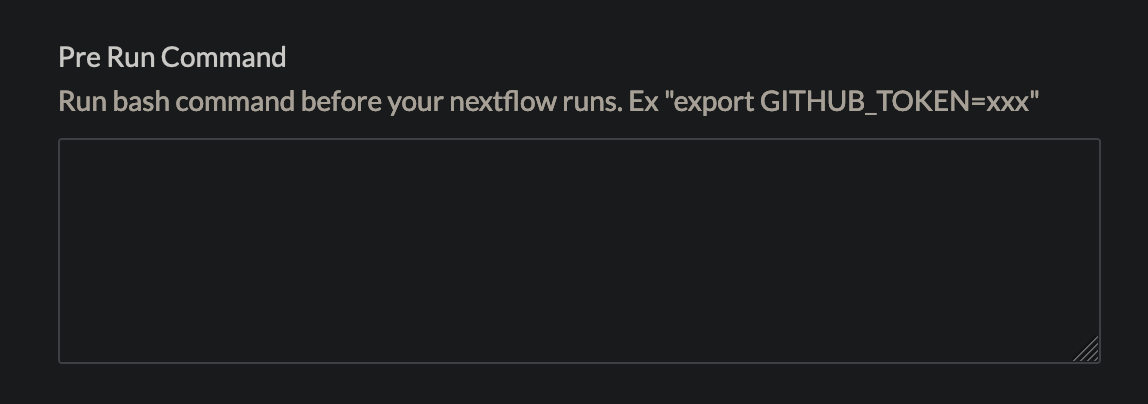
Pre-Run Command: Use this field to run any bash commands that need to be executed before the main nextflow run command
-
If using private git repositories, use this pre-run field to export your
GITHUB_TOKEN(ignore, if repository is publicly accessible)
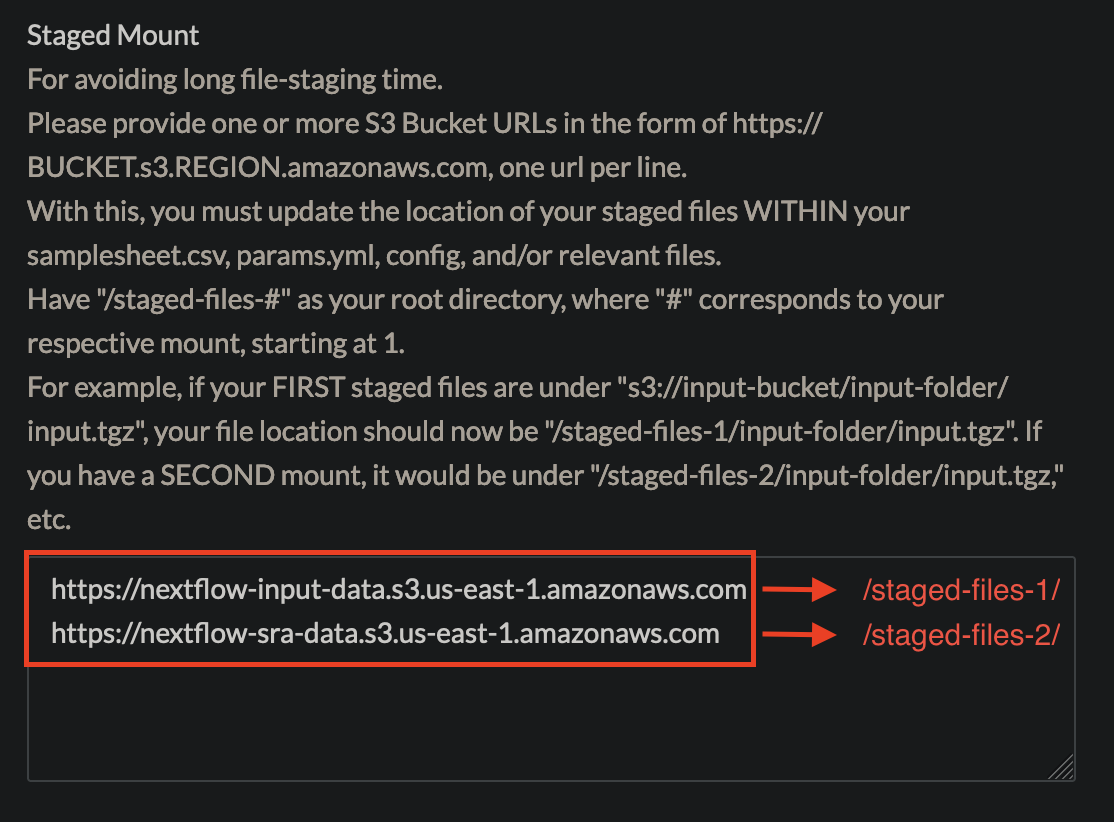
- Staged Mount: Provide one or more cloud storage bucket urls in the form of
https://BUCKET.s3.REGION.amazonaws.comto be mounted as data volumes.
Staging buckets with multiple input data sources such as raw-data, references as data volumes, will make the files available locally and will bypass any long staging times.
Note: This step is optional and can be skipped if you wish nextflow to stage the files to the work directory instead
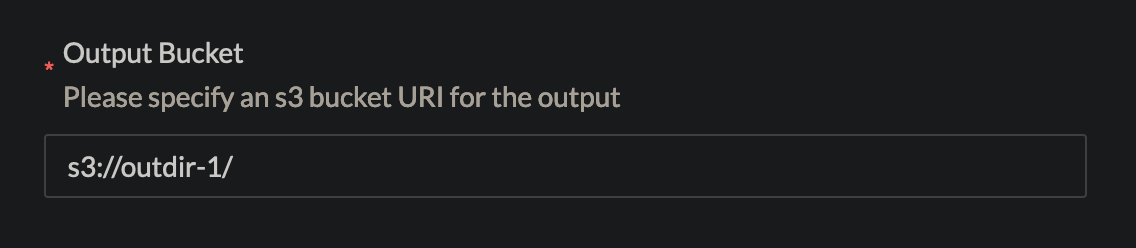
- Provide the output cloud storage bucket url for nextflow output
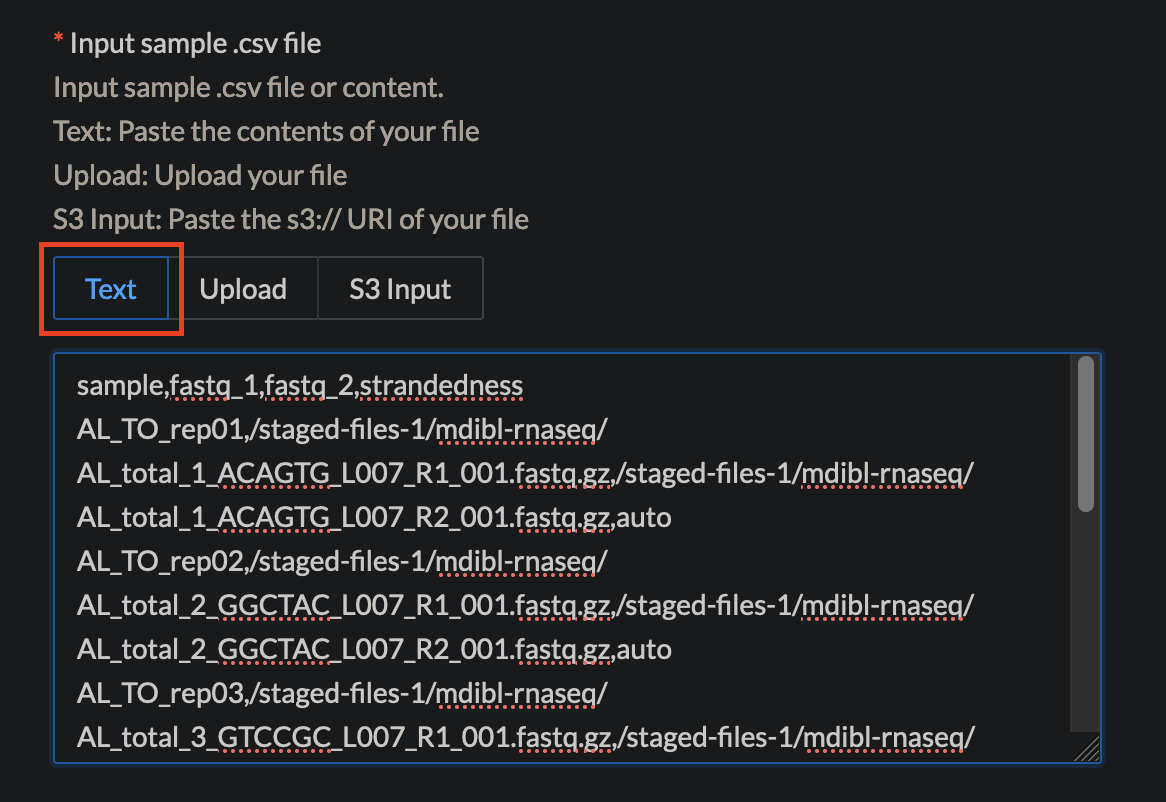
- Paste, upload or provide an s3 URL for your samplesheet with the input files
NOTE: If using the
Staged Mount, update the location of your all input files to have/staged-files-#as your root directory, where#corresponds to your respective mount, starting at 1.For example, if your FIRST input files (example: raw-data) are under
s3://input-bucket/input-folder/input.tgz, your file path should now be/staged-files-1/input-folder/input.tgz.
If you have a SECOND mount (example: references), it would be under/staged-files-2/input-folder/input.tgz
Pasting the samplesheet in plain text
Providing an S3 URL for samplesheet

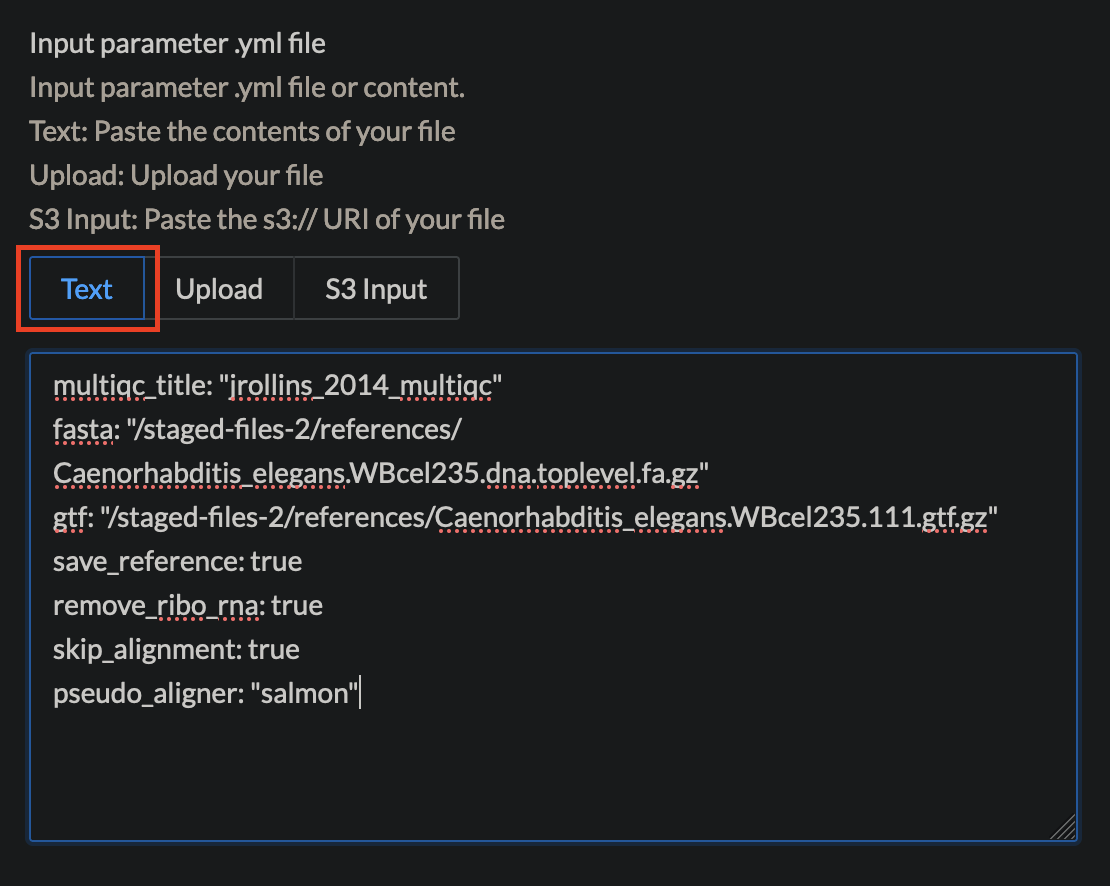
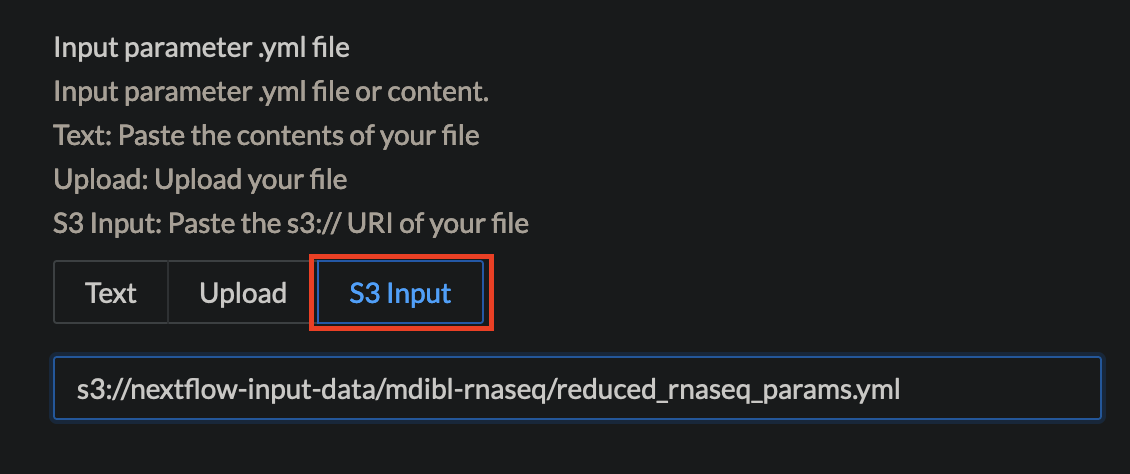
- Paste, upload or provide an s3 URL the nextflow params in a
ymlformat
Pasting the params.yml in plain text
Providing an S3 URL for params.yml
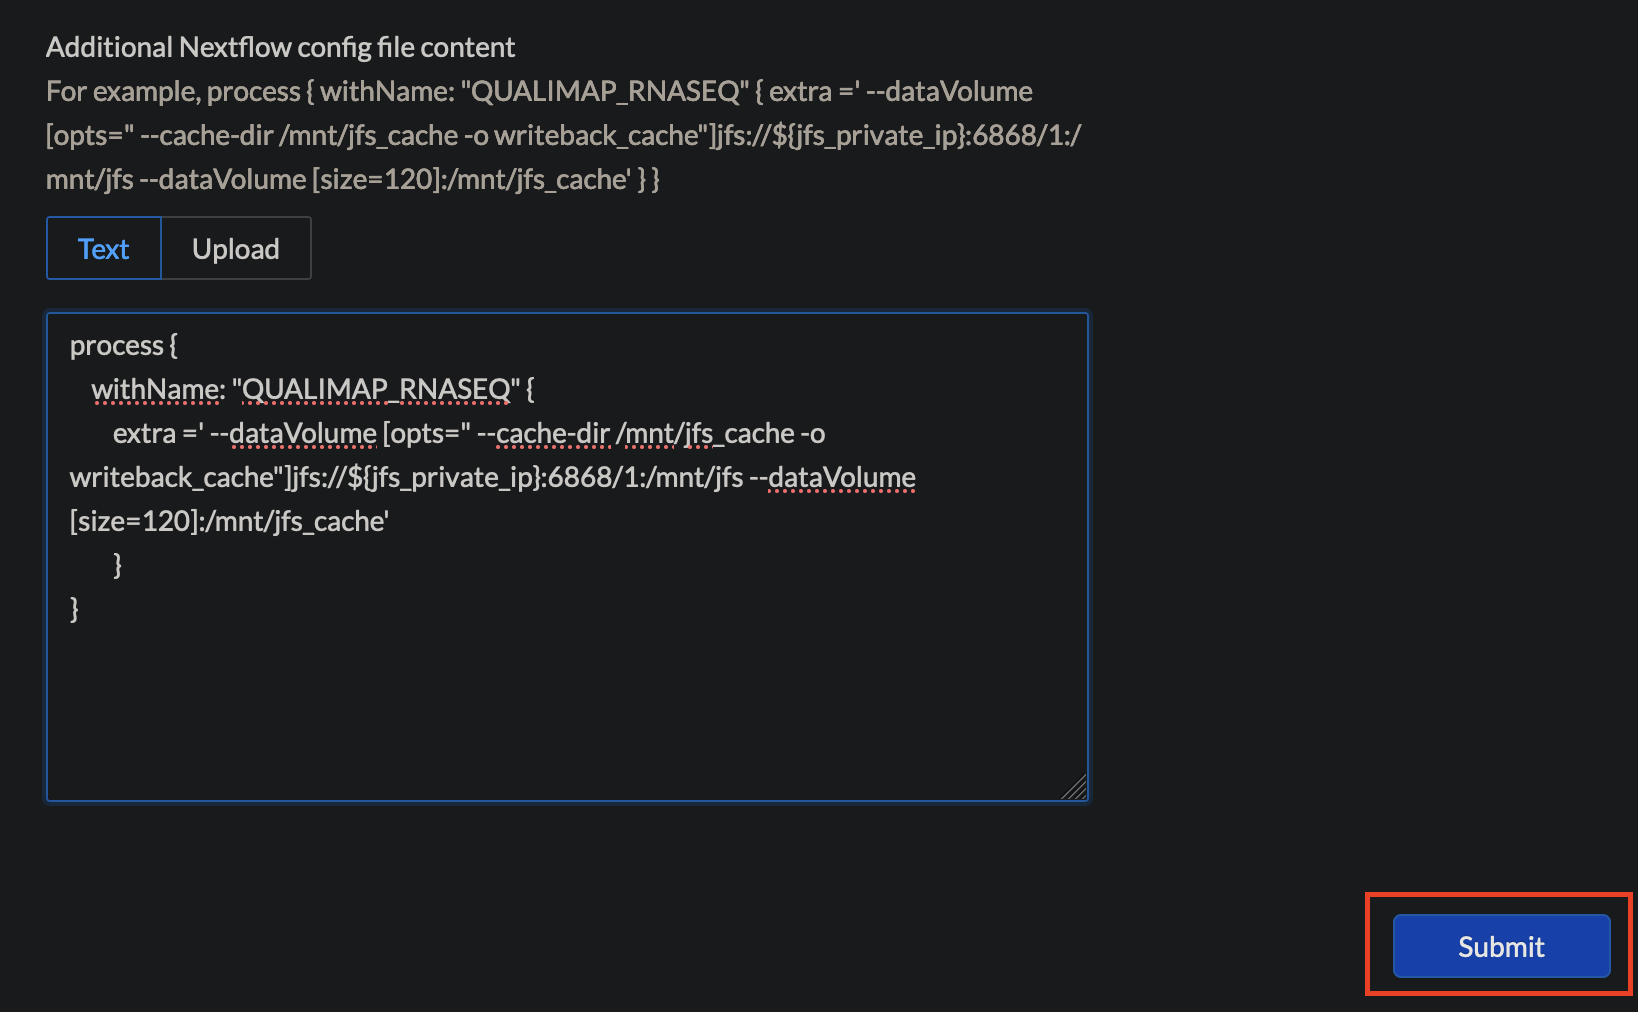
- Provide any additional nextflow config values that will be appended to existing nextflow config
NOTE: providing this additional config is OPTIONAL
- Click on
Submitwhen ready
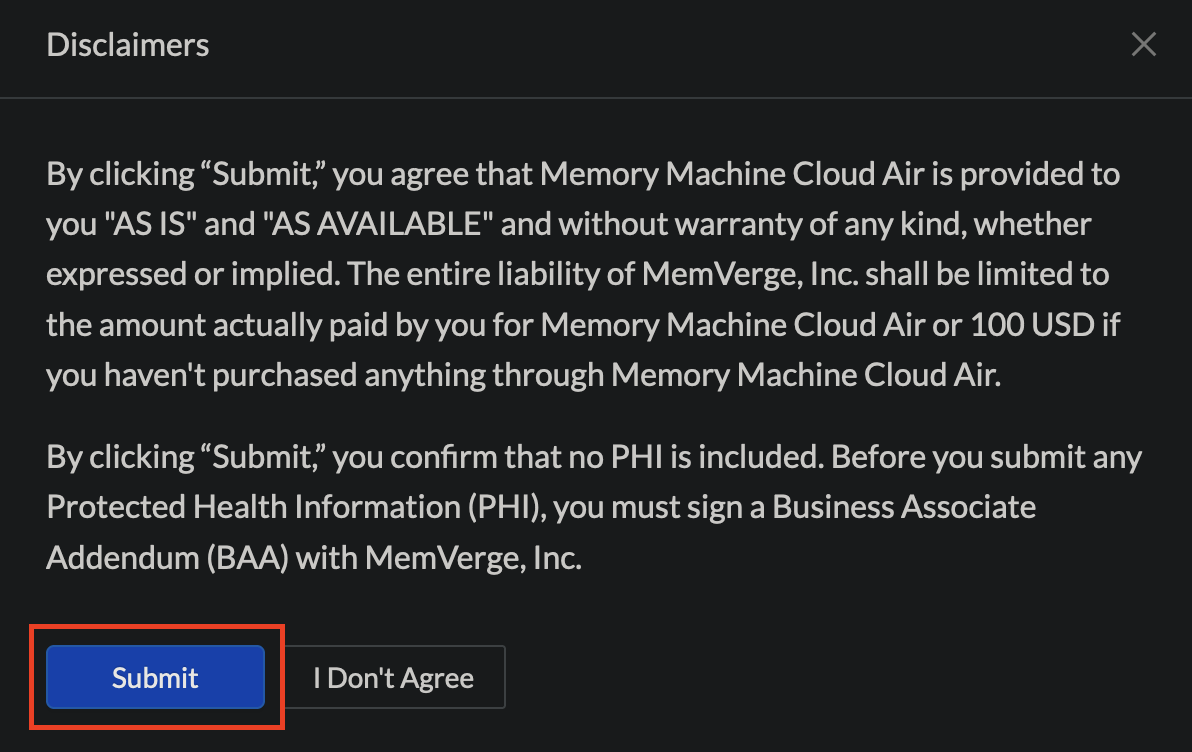
- Read the following disclaimer and click on
Submit
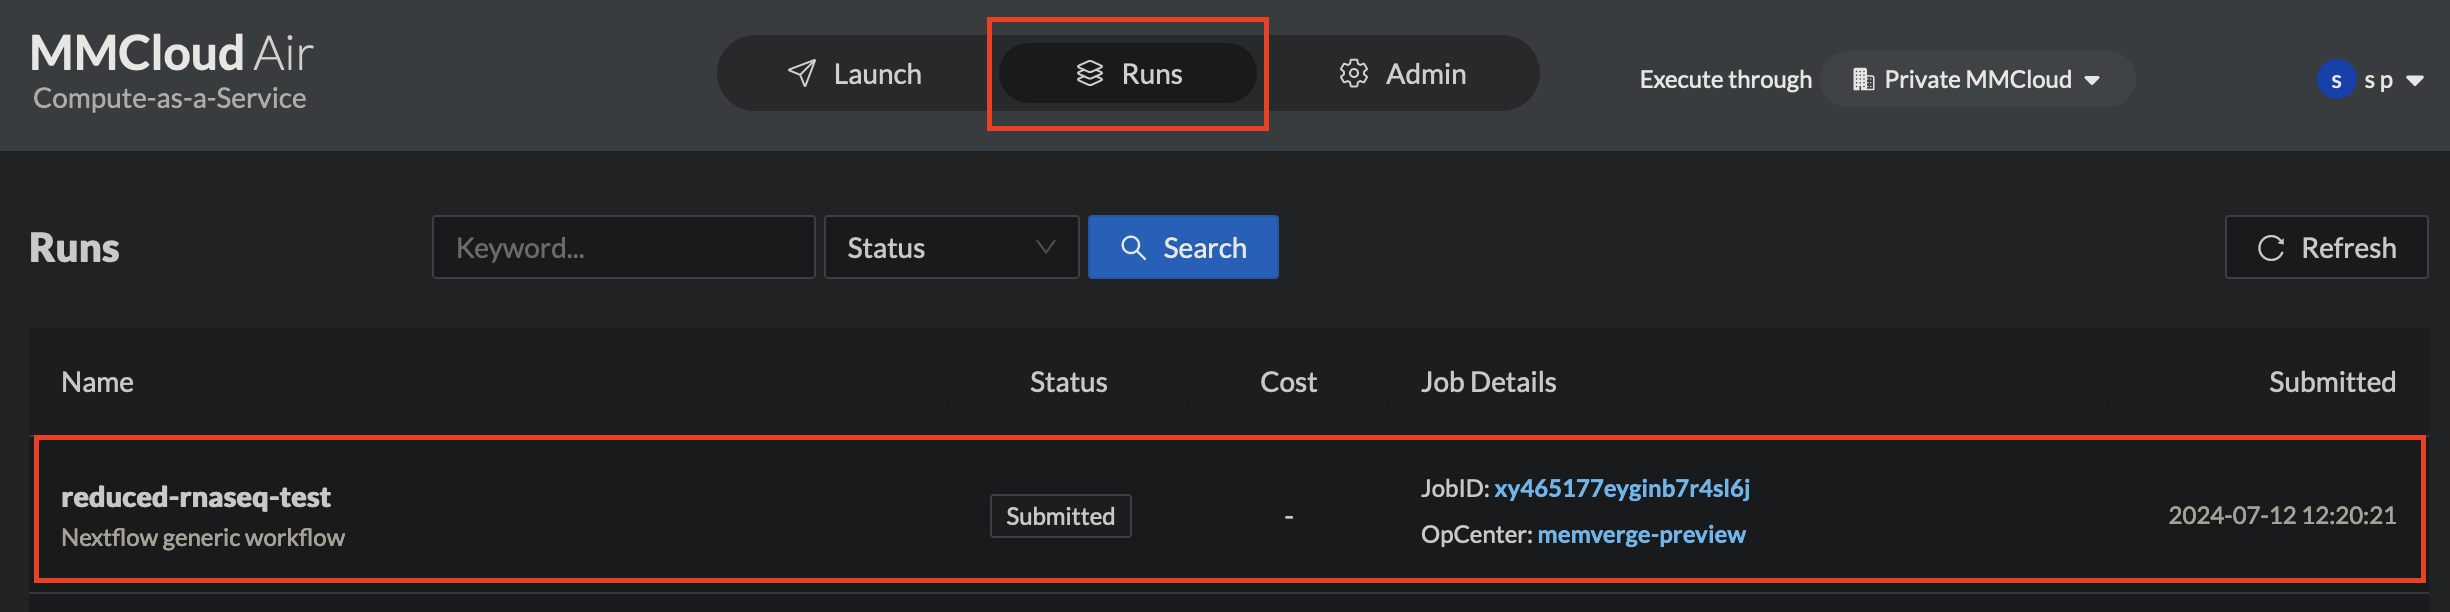
- Upon confirmation that the job has been submitted, Click on the
Runstab on the top navigation bar to monitor the workflow execution state
- For more detailed workflow run & log monitoring, navigate and login to your MMCloud OpCenter
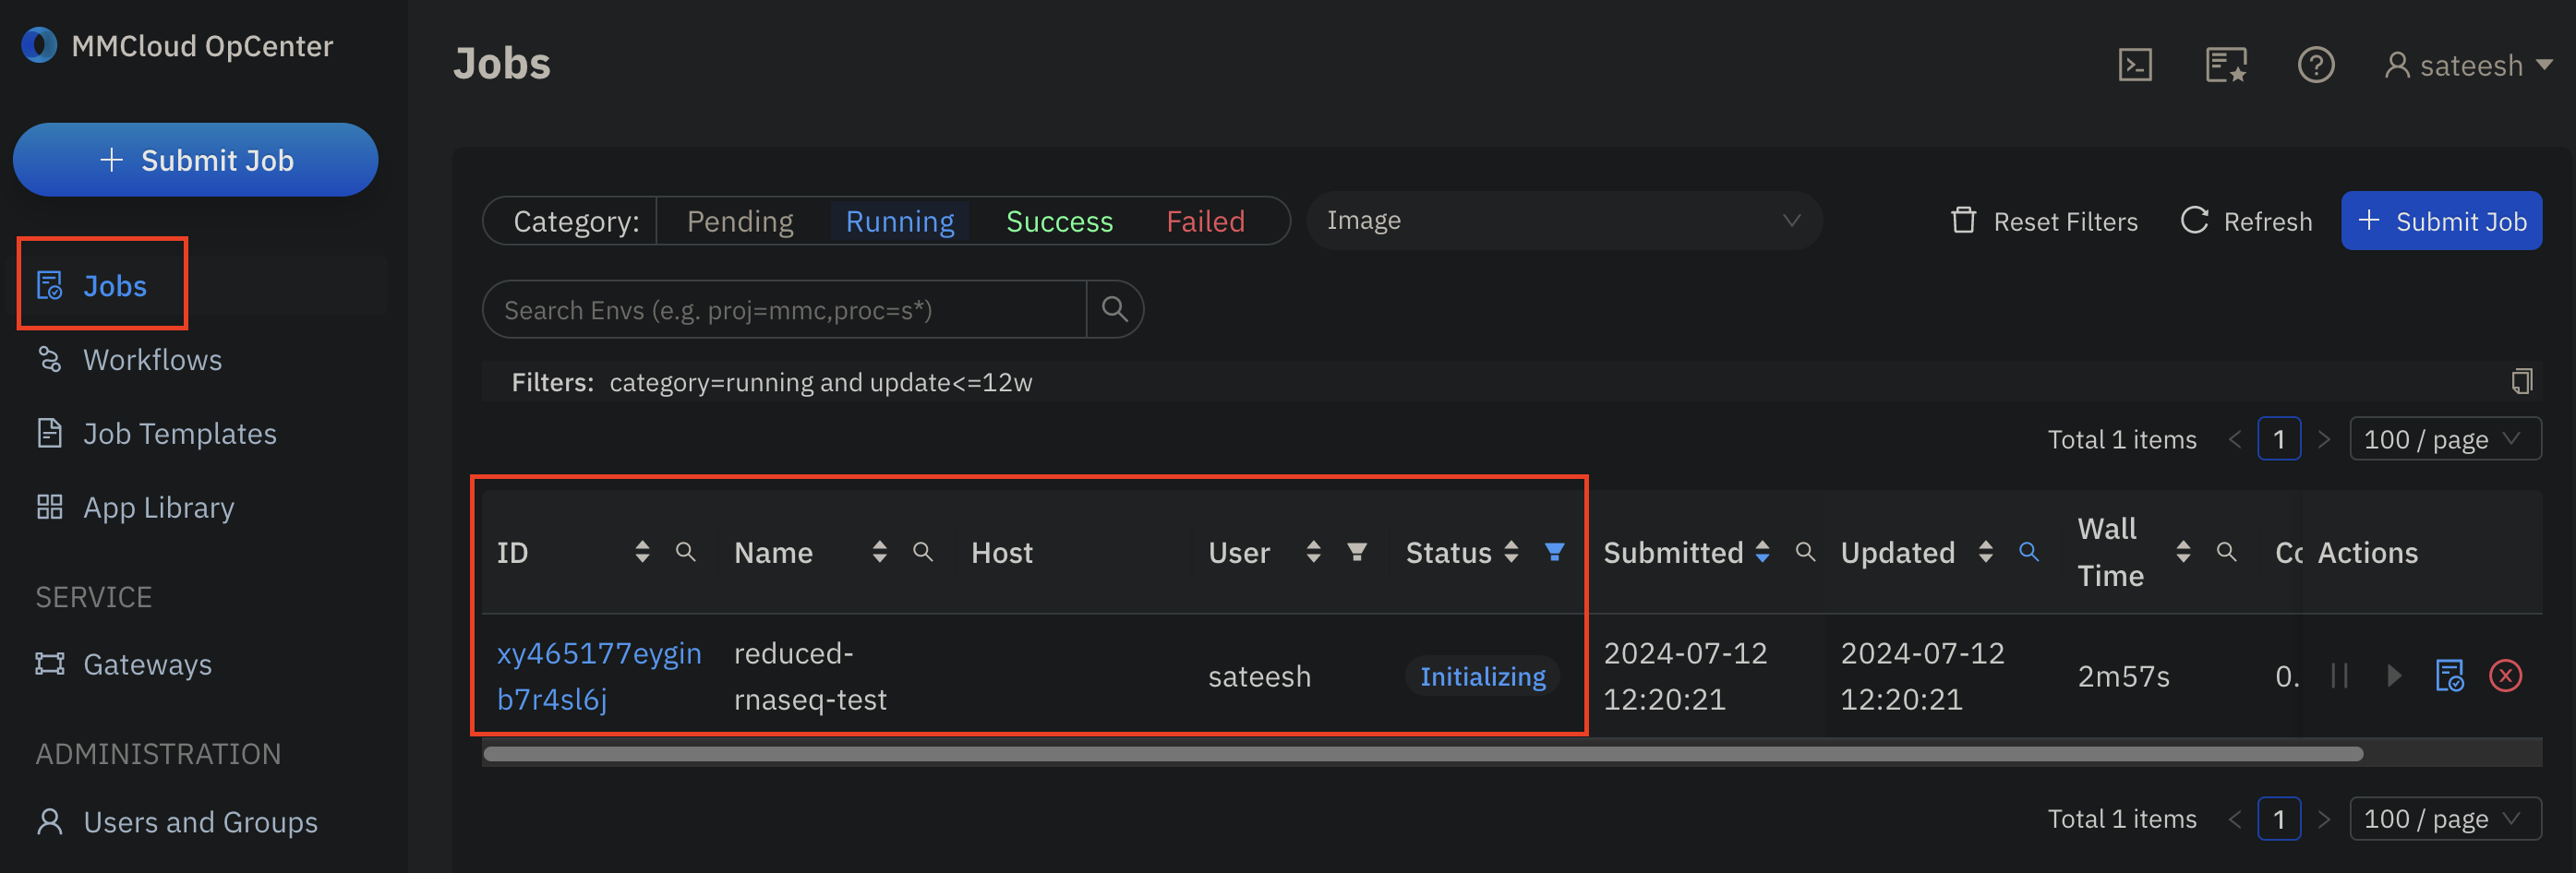
- Under
Jobsdashboard, monitor the status of head node execution
- Under
Workflowsdashboard, monitor the status of workflow execution
